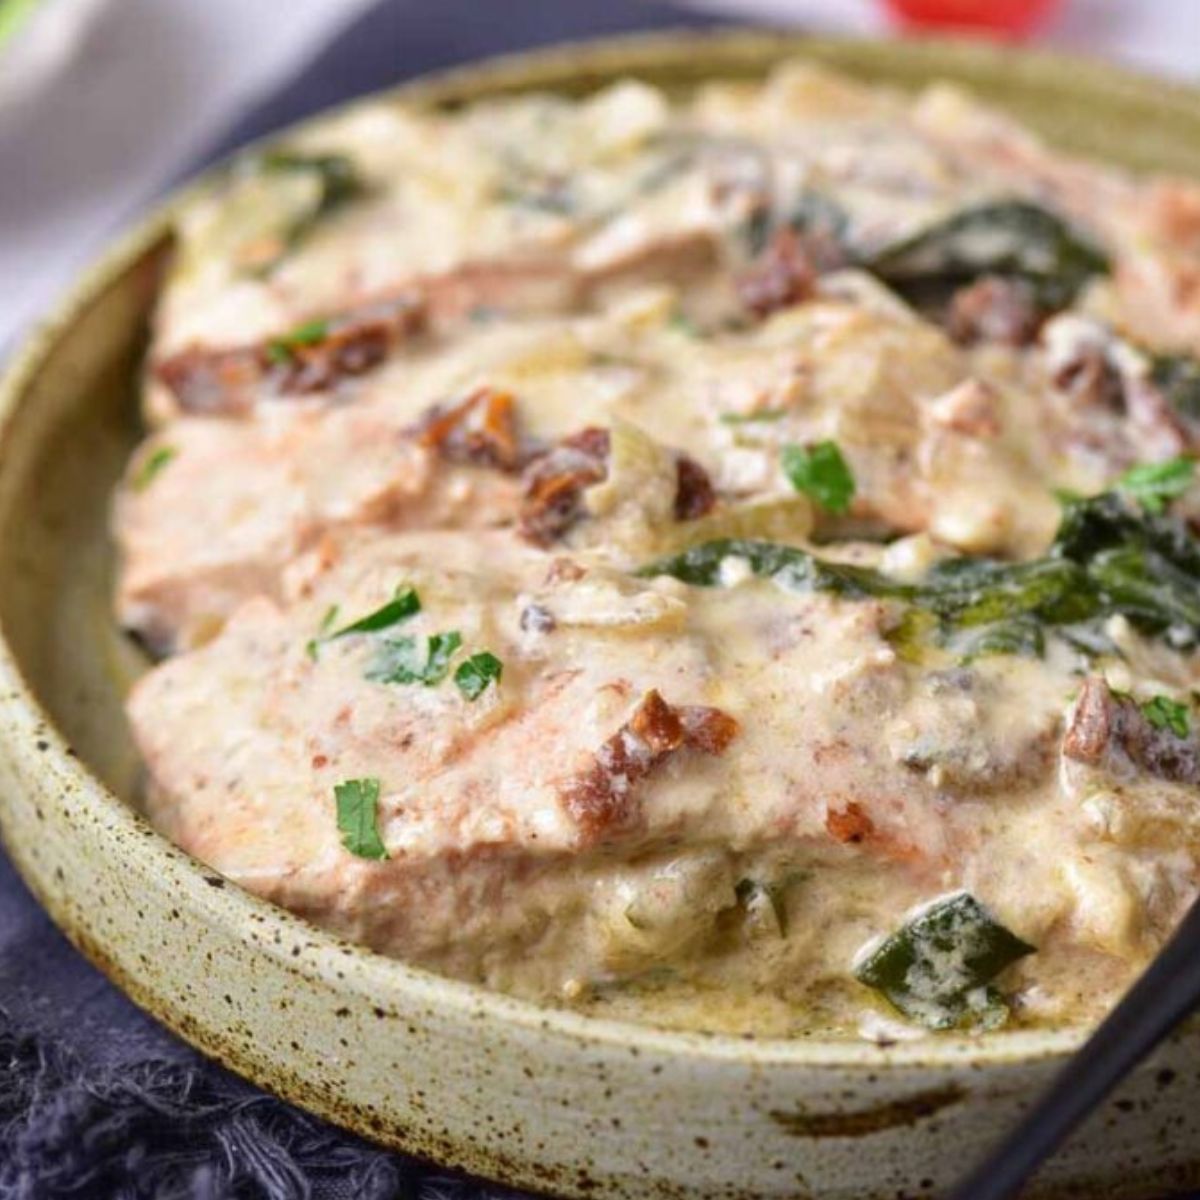

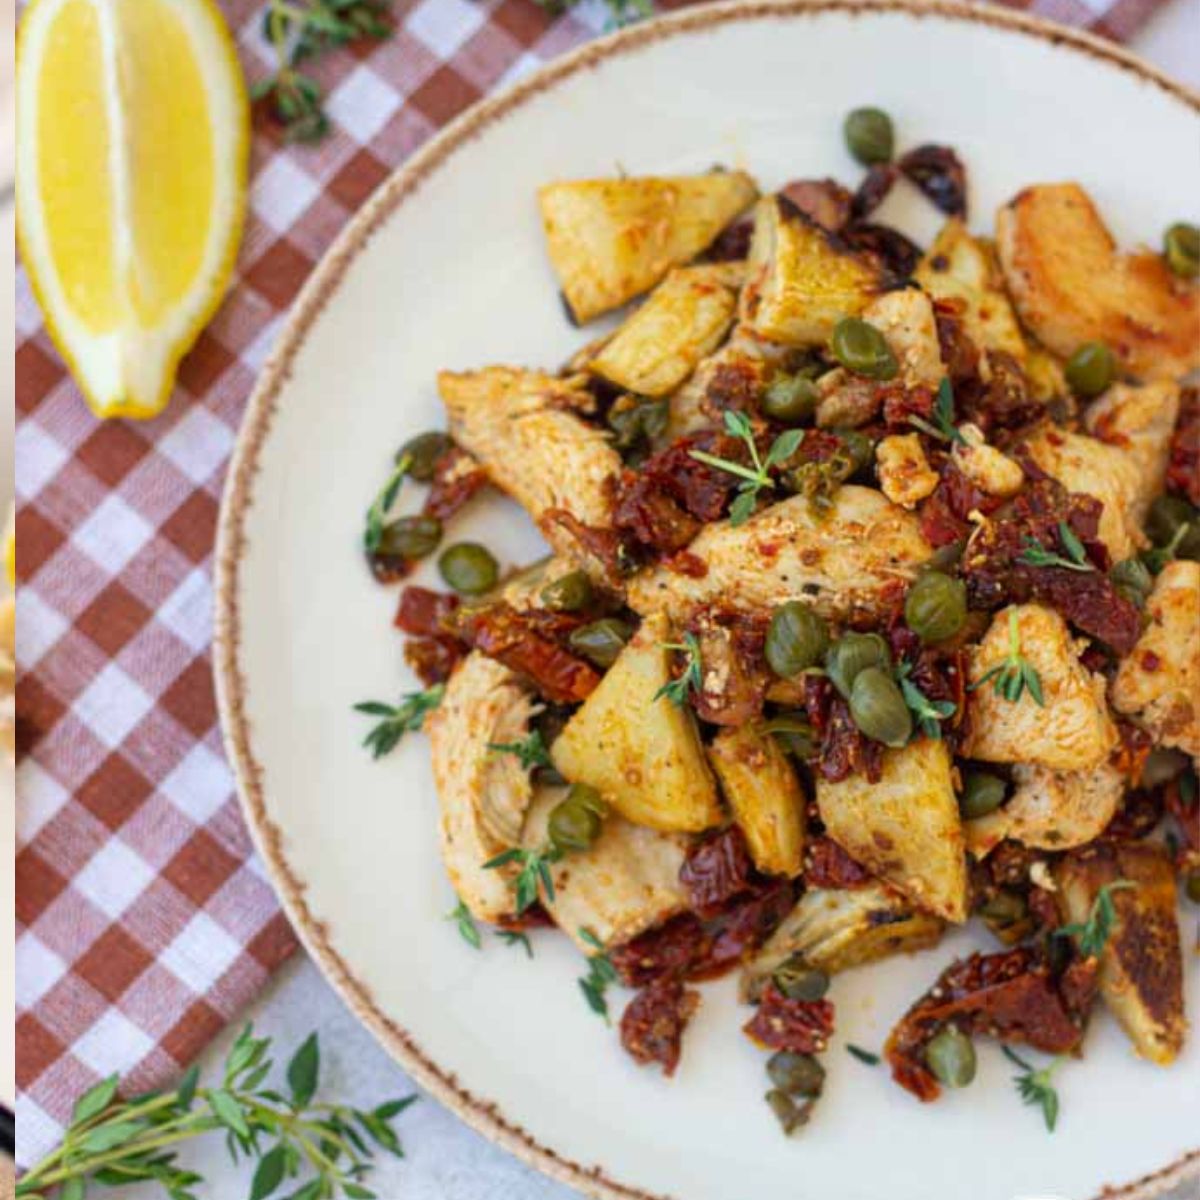
This Chicken with Artichokes and Sun-Dried Tomatoes is a bold, one-pan dinner packed with Mediterranean flavor. Juicy chicken, tangy artichokes, and sweet sun-dried tomatoes come together fast in under 30 minutes—perfect for busy nights!
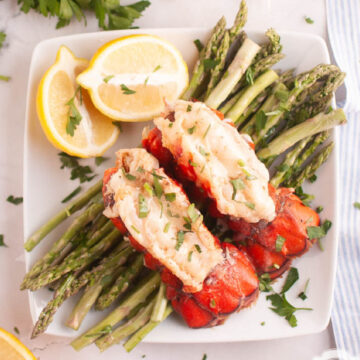
This dish is perfect year-round but especially shines in spring and summer when lighter, Mediterranean-style meals are in demand. It was inspired by my love for simple one-pan dinners, and it pairs perfectly with my Lemon Parmesan Asparagus or Instant Pot Wild Rice for a full, balanced plate.
[feast_advanced_jump_to]💖 Why This Recipe Works
- Big Mediterranean flavor with simple pantry staples.
- Ready in 30 minutes—great for weeknights.
- One skillet = fewer dishes and more flavor.
⭐ Star Ingredients

- Boneless Skinless Chicken Breasts – Juicy and lean, perfect for quick searing
- Sun-Dried Tomatoes – Sweet, tangy, and full of umami
- Fried Artichokes – Crisp edges + savory flavor = perfection
- Olive oil, lemon juice, kosher salt, black pepper, capers
For the complete list of ingredients with measurements and instructions, please see the recipe card at the bottom of the post.
📖 Substitutions & Variations
- Extra Herbs, Add extra herbs such as fresh parsley and fresh thyme for extra flavor.
- Chicken Fillet: Substitute with boneless skinless chicken thighs for a juicier, richer flavor. Try turkey breast for a leaner option that’s just as delicious.
- Sun Dried Tomatoes: Use cherry tomatoes for a fresher, lighter taste. Just cook them a bit longer to concentrate the flavor.
- Roasted red peppers also work well for a smoky, slightly sweet twist. You can also use our Sun-Dried Tomatoes Without Oil recipe.
- Olive Oil: Replace with avocado oil for a neutral, high-heat option. Butter can add richness if you're okay with a bit of dairy.
If you love this Chicken with Artichokes and Sun-Dried Tomatoes, you might also love my Skillet Pan Gnocchi with Mushrooms for a cozy one-pan dinner, or Baked Seabass with Lemon and Herbs if you're in the mood for something light and zesty. Craving something hearty? Try the Chicken and Cabbage Stir Fry or my Chicken Broccoli Cashew Stir Fry. For a colorful side, don’t miss the Roasted Butternut Squash Salad—it pairs beautifully with any protein!
🔪 How To Cook Lemon Chicken With Artichokes And Sun Dried Tomatoes
Use this section for process shots, alternating between the step and image showing the step. Users don't like seeing process shots cluttering up the recipe card, so include your process shots here.

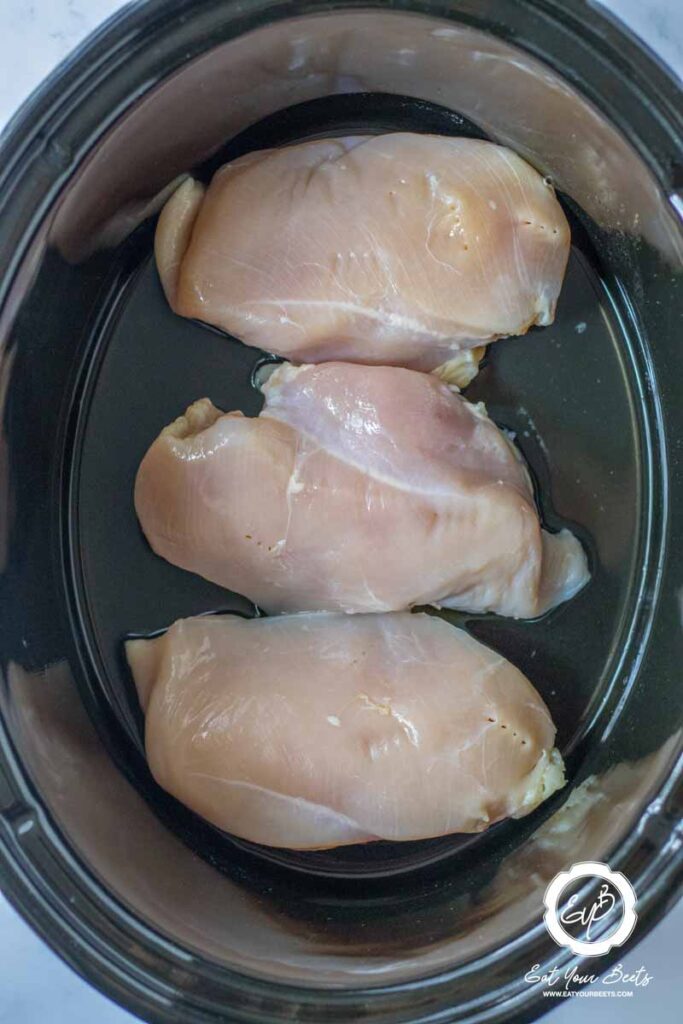
- Step 1: Slice and season both sides of the chicken breast using kosher salt and pepper. This simple step enhances the flavor of the chicken. In a large skillet, heat a drizzle of olive oil over medium-high heat. Once hot, add the seasoned chicken fillets and cook for about 4-5 minutes per side, until golden brown and cooked through.

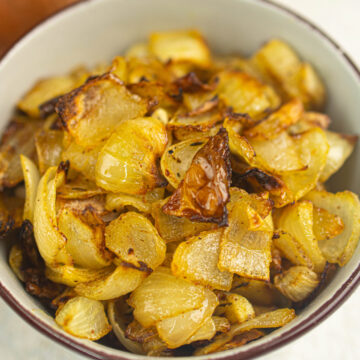
- Step 2: In the same skillet, add a bit more olive oil if needed. Add the fried artichokes, stirring occasionally until they become fragrant and lightly crisped for around 10 minutes.

- Step 3: Add the sun dried tomatoes and capers. Next add lemon juice, stirring occasionally until they become fragrant and lightly crisped, about 2-3 minutes. This adds brightness and a bit of briny tang to the dish.

- Step 4: Plate the chicken fillets artichoke and sun dried tomato mixture. Serve warm and enjoy the layers of flavor!

👀 Hint: Add a splash of chicken broth or white wine after sautéing the veggies to deglaze the pan—this lifts all the browned bits and adds an extra layer of flavor to the sauce.
👩🍳 Expert Tips
- Cut Chicken Evenly: To ensure even cooking, cut the chicken fillet into similar-sized pieces. This helps all pieces cook at the same rate and keeps the chicken juicy.
- Drain The Capers Well: Excess liquid from the capers can dilute the flavor. Pat them dry before adding to the pan to keep the dish rich and flavorful.
- Use High-Quality Olive Oil: A good-quality olive oil will enhance the Mediterranean flavors in the dish and give it a fragrant finish.
💭 FAQs
Yes. If you don’t have fresh artichokes, canned artichoke hearts make an excellent substitute. Canned artichokes offer the same tender texture and distinct flavor, making them perfect for this dish with minimal prep!
No. If you’re not a fan of capers, you can opt to use green olives or jalapenos in this artichoke chicken recipe.
Yes, adding chicken broth can enhance the flavors and create a bit more sauce for the dish. After cooking the chicken and adding the artichokes and sun-dried tomatoes, you can pour in ¼ to ½ cup of chicken broth to deglaze the pan and add depth to the flavors. Let it simmer for a few minutes to slightly reduce before serving.
Yes, this recipe is similar to Chicken Piccata! Both dishes feature chicken cooked with tangy, briny ingredients and lemony flavors. Traditional Chicken Piccata includes capers and lemon in a buttery sauce, whereas this recipe incorporates artichokes and sun-dried tomatoes, which add a unique Mediterranean twist.
💖 Serving Suggestions
Here are some sides to serve with Chicken with Artichokes and Sun Dried Tomatoes:
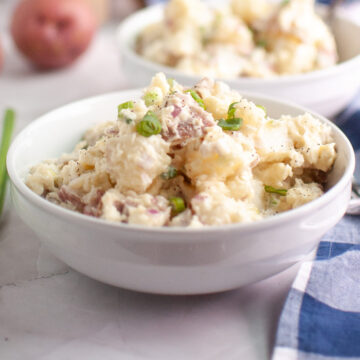
- Garlic Mashed Cauliflower – Creamy and comforting without the heaviness of traditional mash
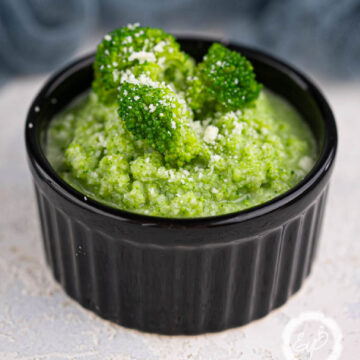
- Zucchini Noodles with Basil Pesto – Light, low-carb, and bursting with fresh herb flavor
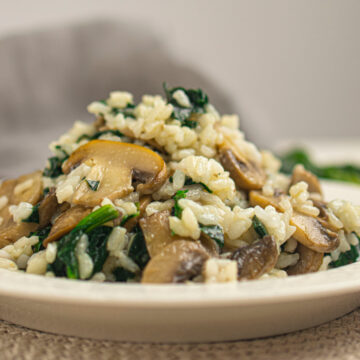
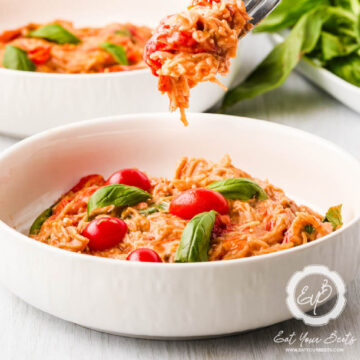
- Toasted Orzo with Lemon and Dill – A flavorful grain alternative that soaks up the sauce beautifully
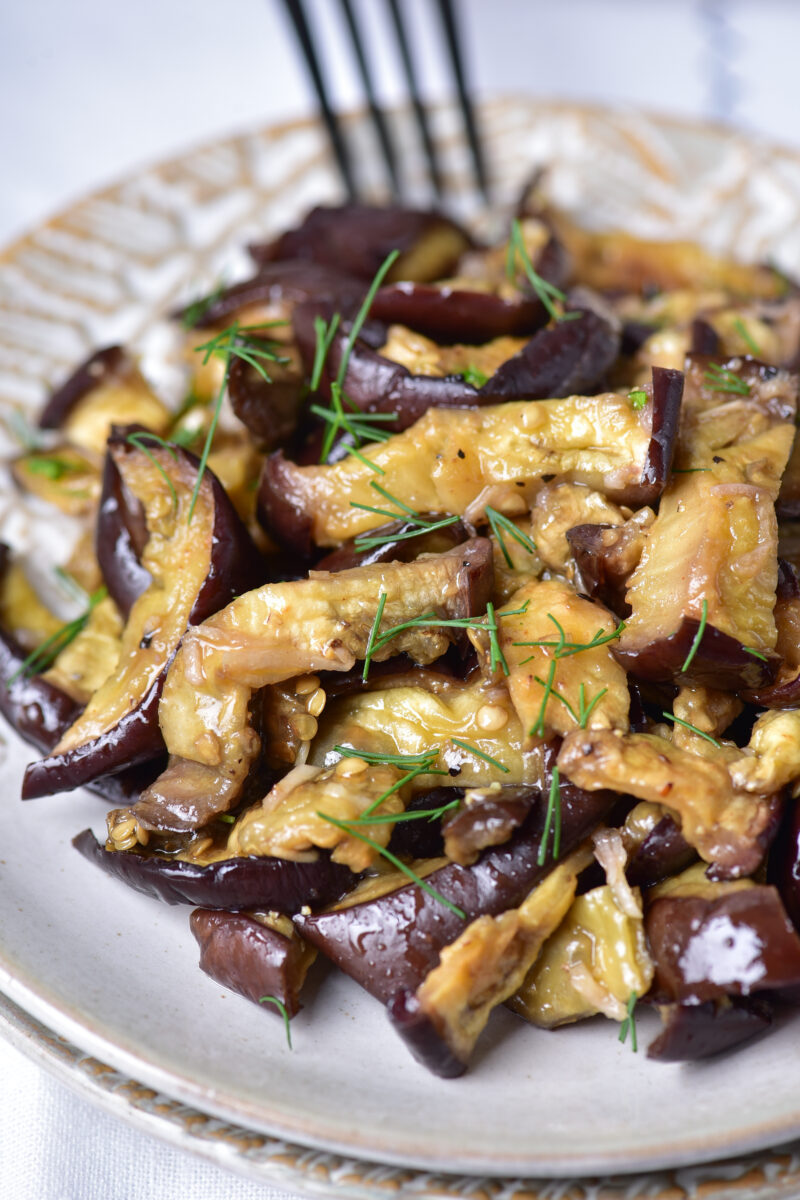
- Grilled Eggplant Slices – Smoky, tender, and a perfect veggie sidekick for Mediterranean meals

🍽 Try These Easy Dinner Recipes


Did you make this recipe? Leave a review and a ⭐⭐⭐⭐⭐ rating below, or tag us in our Facebook Group! Alternatively, bookmark it in your browser or save to Pinterest.

Skillet Chicken With Artichokes And Sun Dried Tomatoes
Ingredients
- 1 lb Chicken Fillet
- ½ Cup Sun Dried Tomatoes
- 1 Cup Fried Artichokes
- ¼ Cup Olive Oil
- 2 teaspoon Lemon Juice
- Salt
- Black Pepper
- ¼ Cup Capers
Instructions
- Slice and season both sides of the chicken breast using kosher salt and pepper. This simple step enhances the flavor of the chicken. In a large skillet, heat a drizzle of olive oil over medium-high heat. Once hot, add the seasoned chicken fillets and cook for about 4-5 minutes per side, until golden brown and cooked through.
- In the same skillet, add a bit more olive oil if needed. Add the fried artichokes, stirring occasionally until they become fragrant and lightly crisped for around 10 minutes.
- Add the sun dried tomatoes and capers. Next add lemon juice, stirring occasionally until they become fragrant and lightly crisped, about 2-3 minutes. This adds brightness and a bit of briny tang to the dish.
- Plate the chicken fillets artichoke and sun dried tomato mixture. Serve warm and enjoy the layers of flavor!