

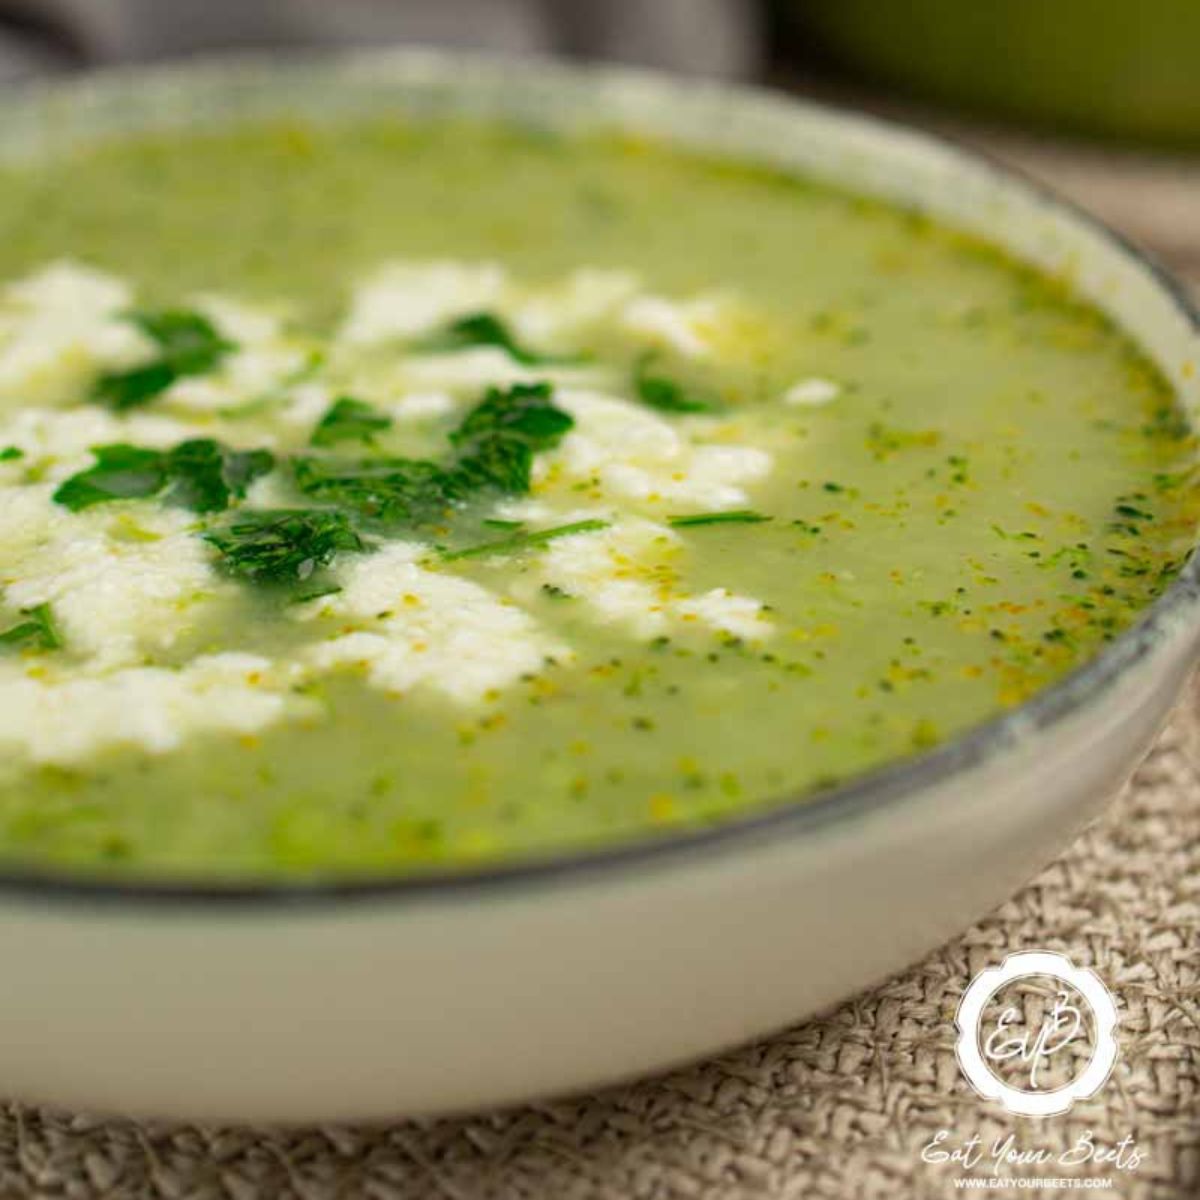
Holy moly – this Smoked Texas Twinkies Recipe is so much fun to make! Loaded with bacon and brisket flavor, you really can’t go wrong! Once you have a Texas Twinkie, you’re going to be hooked and want more! Luckily they’re easy to make in just under 30 minutes.

💖 Why This Recipe Works
- A Texas Twinkie or Brisket Stuffed Jalapeno Pepper is a type of Jalapeño pepper that is filled with brisket and then smoked.
- Texas Twinkies also known as Texas Torpedoes can also be oven-baked or air-fried, however, the bacon-wrapped brisket tastes amazing after being cooked on the smoker.
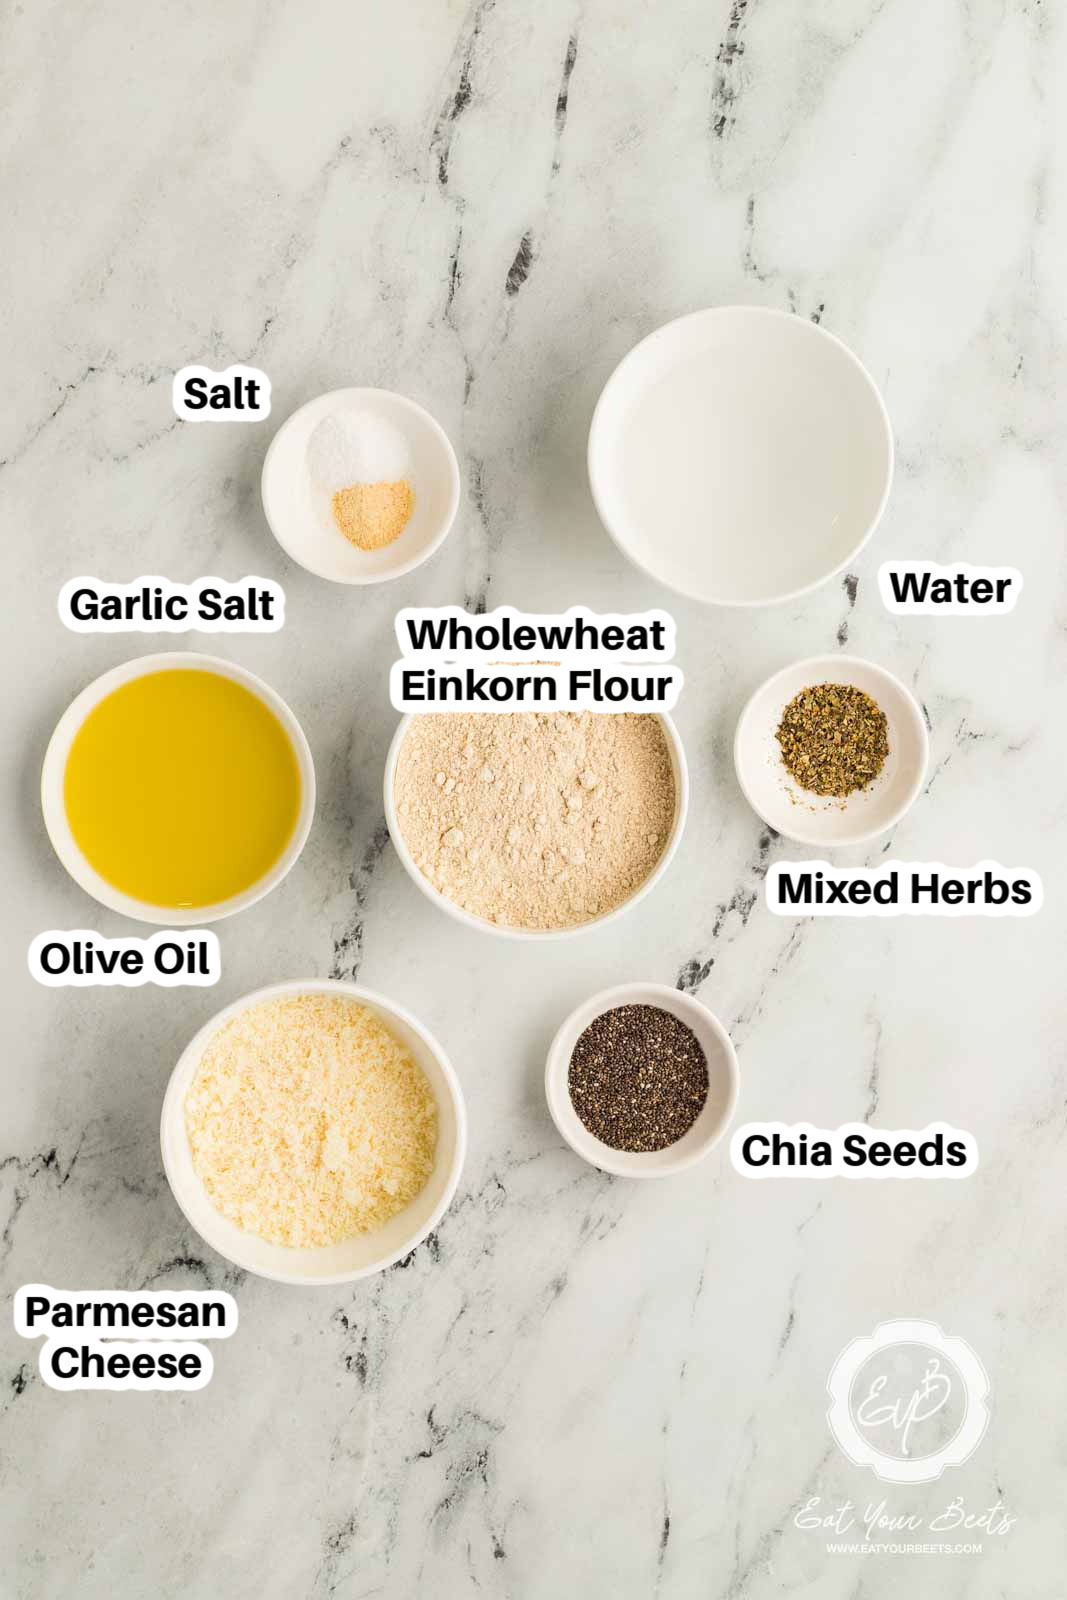
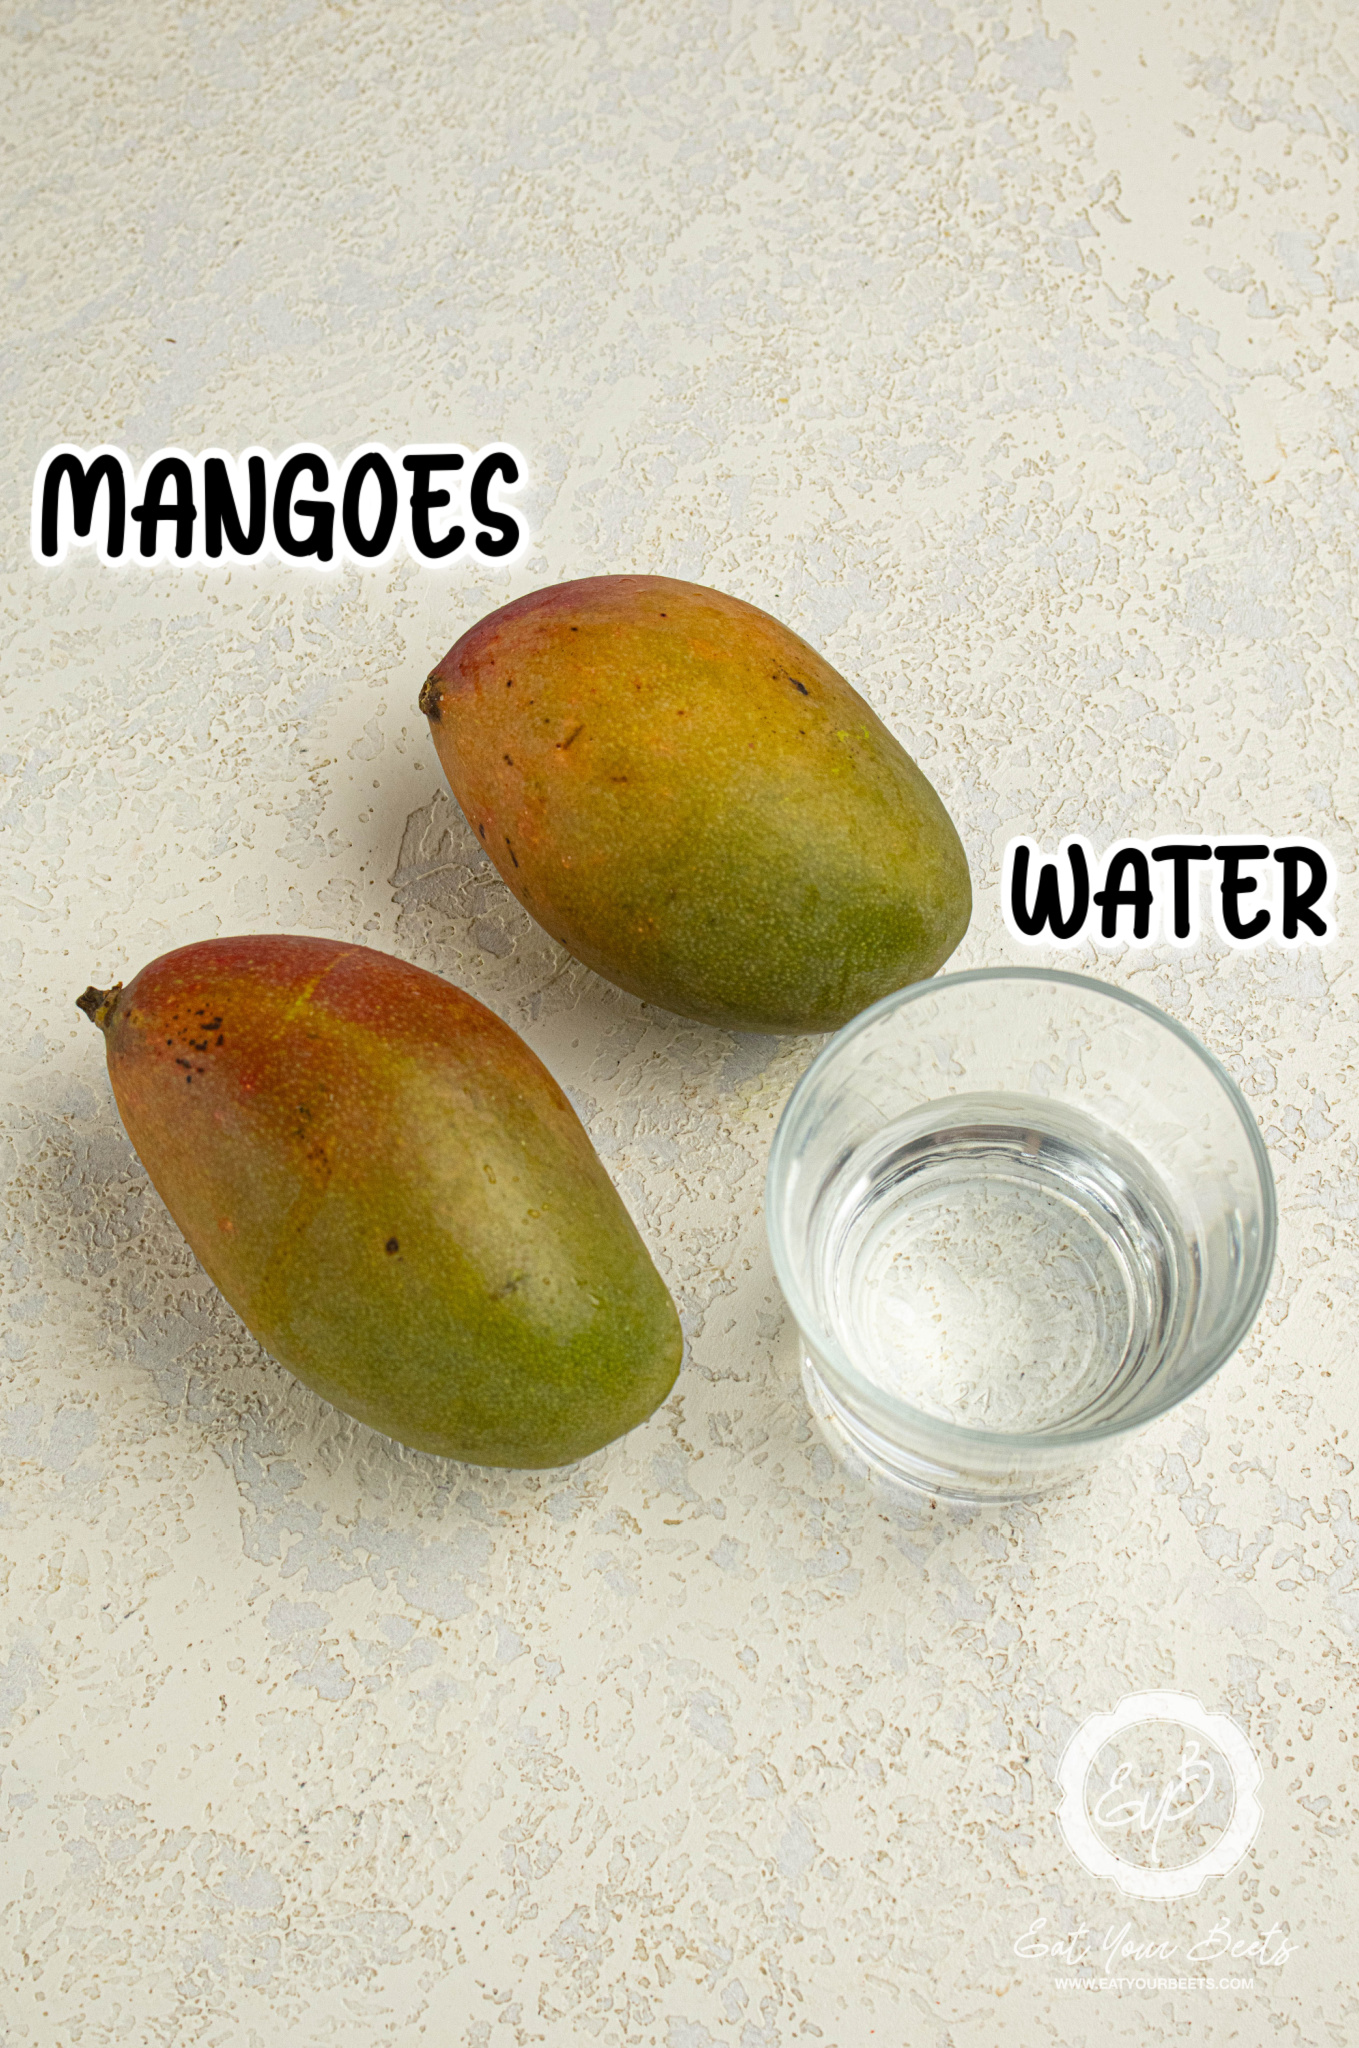
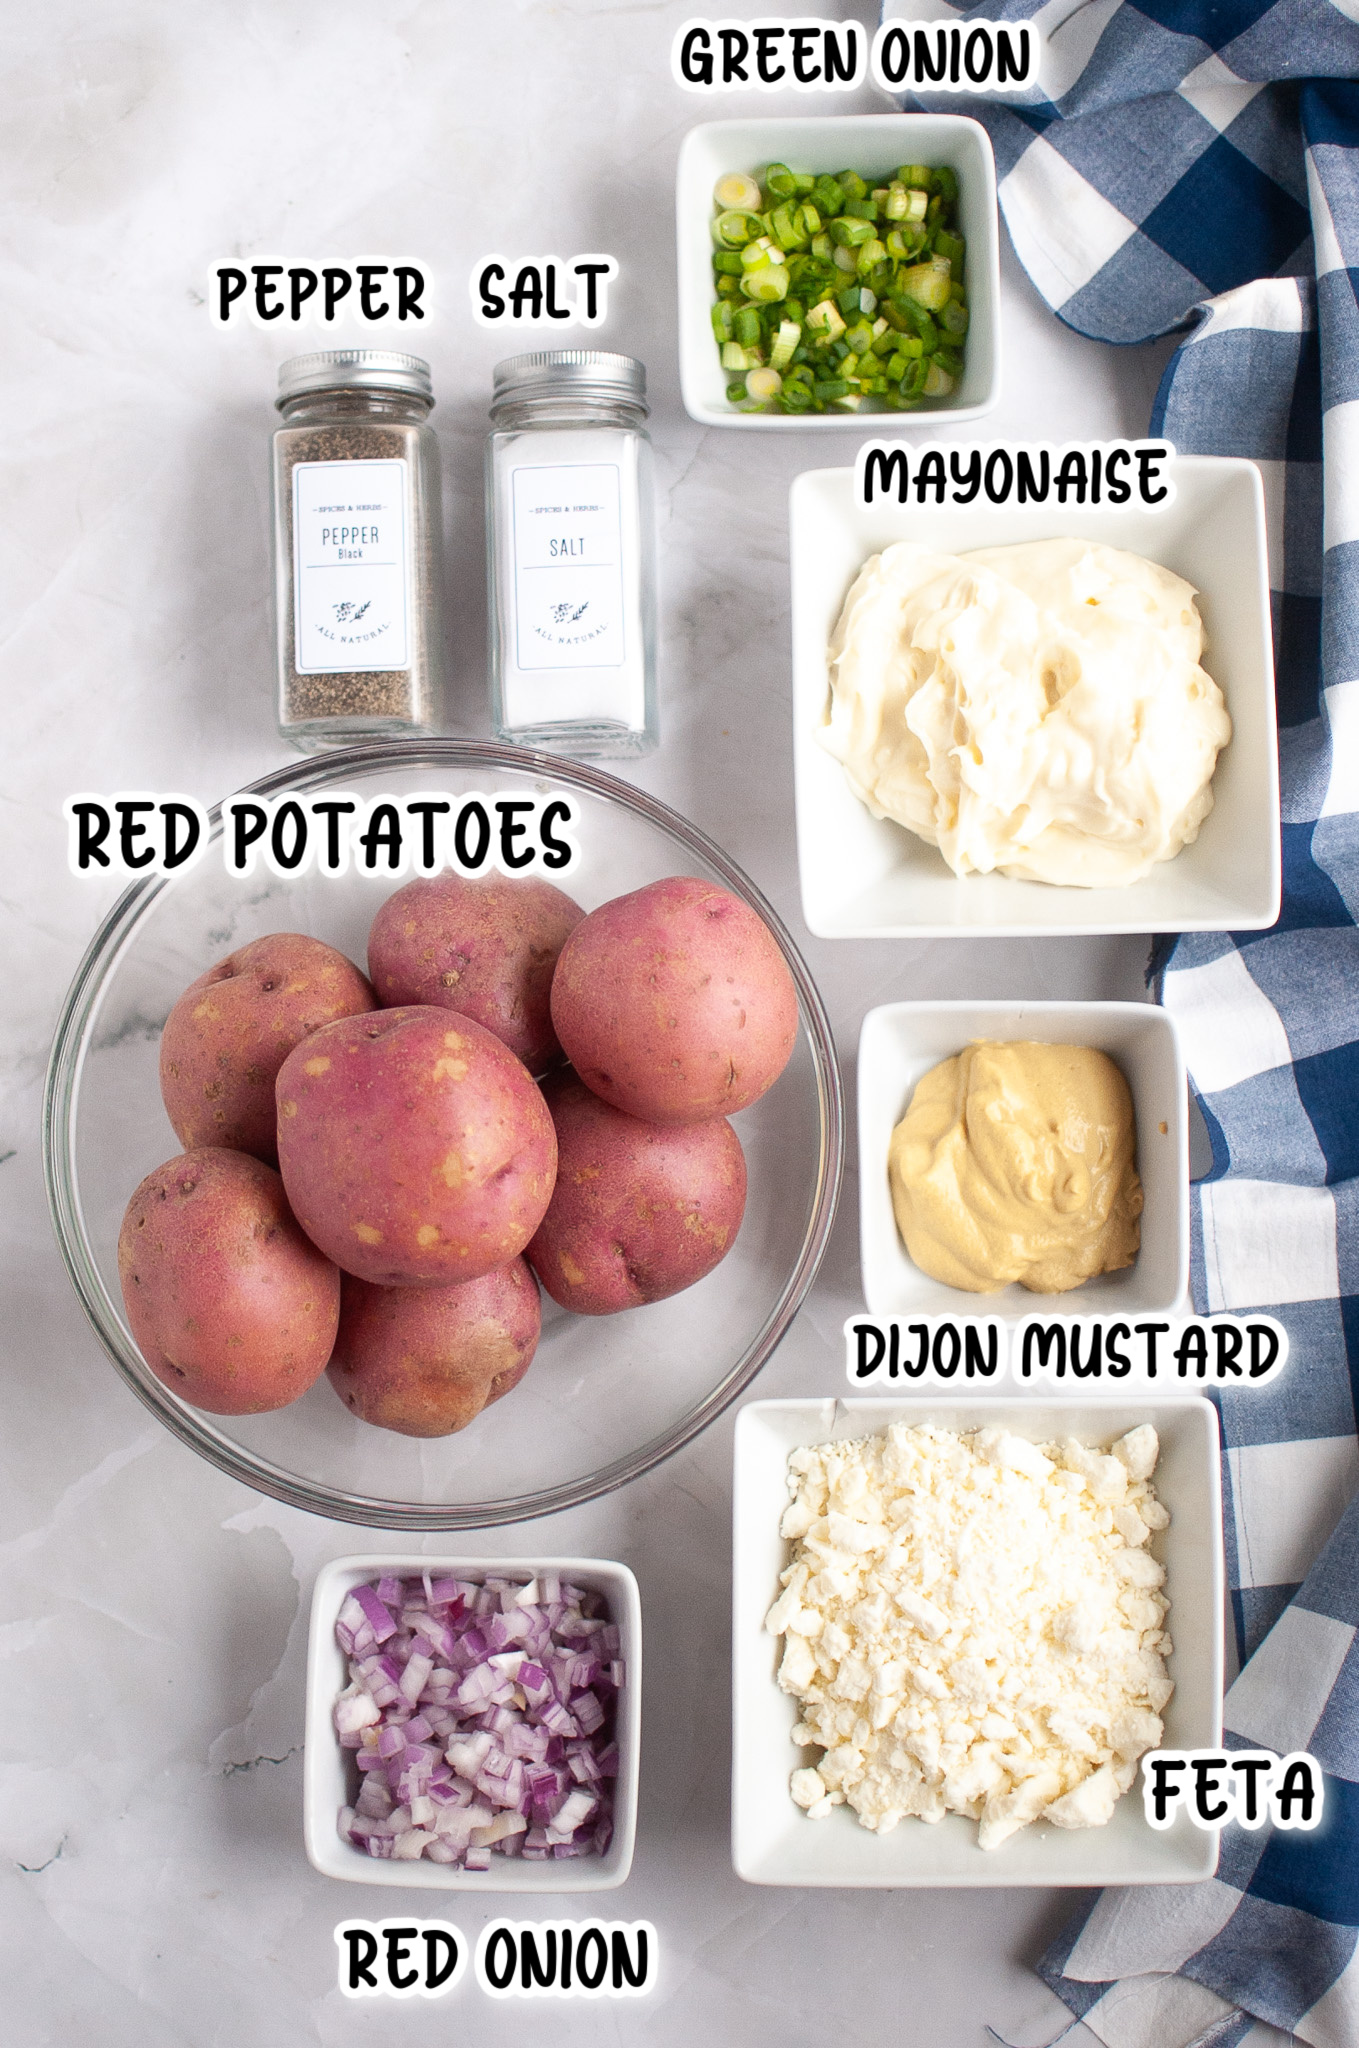
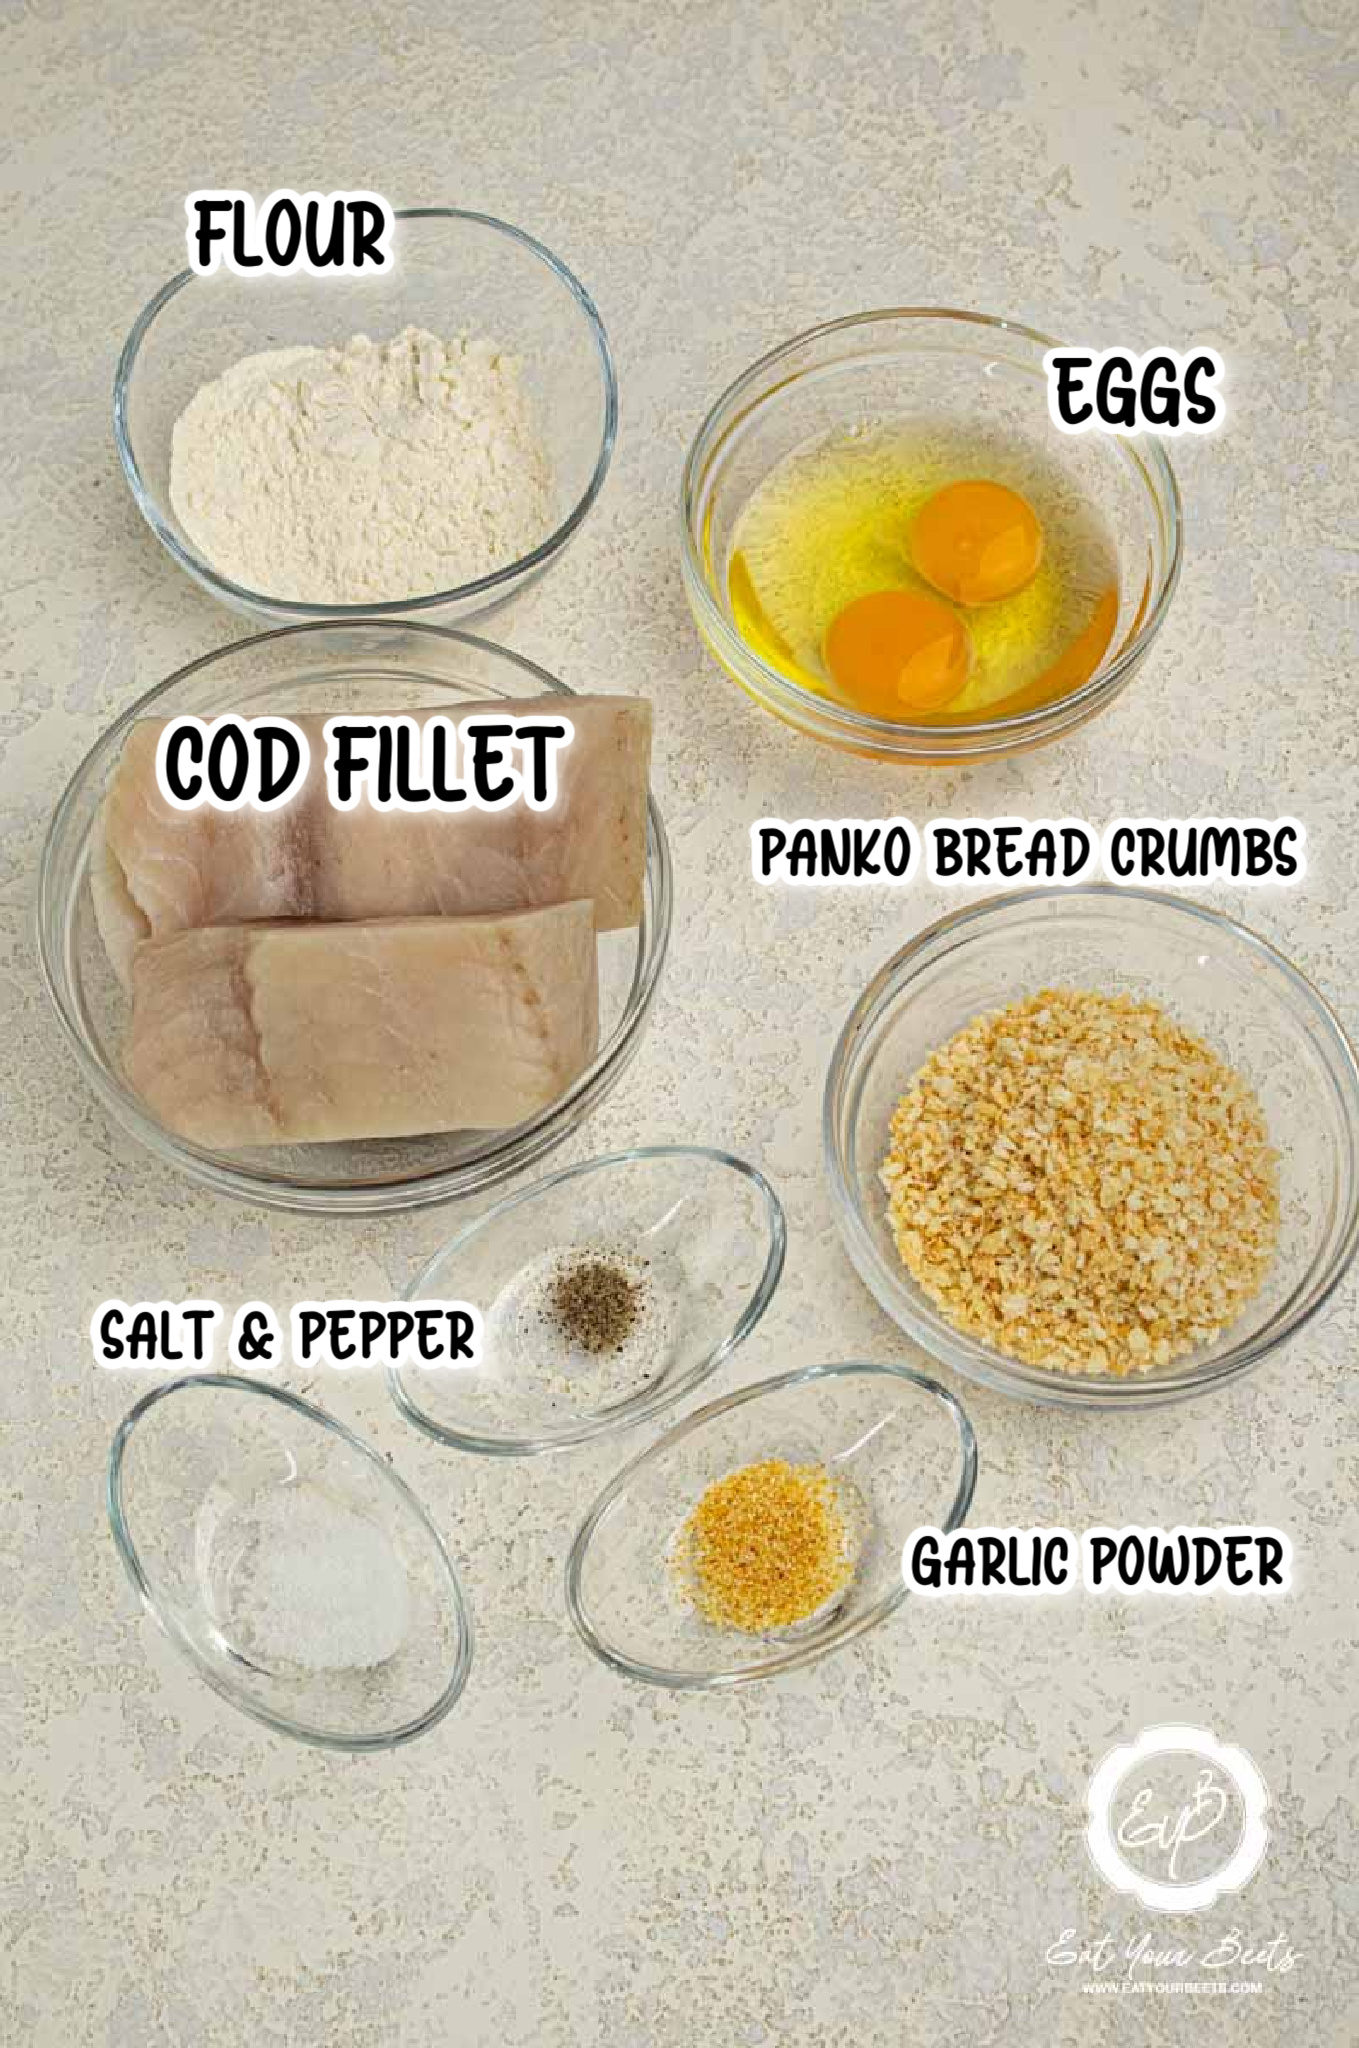
⭐ Star Ingredients

Be sure to check out our post on How To Smoke Brisket On A Pellet Grill!
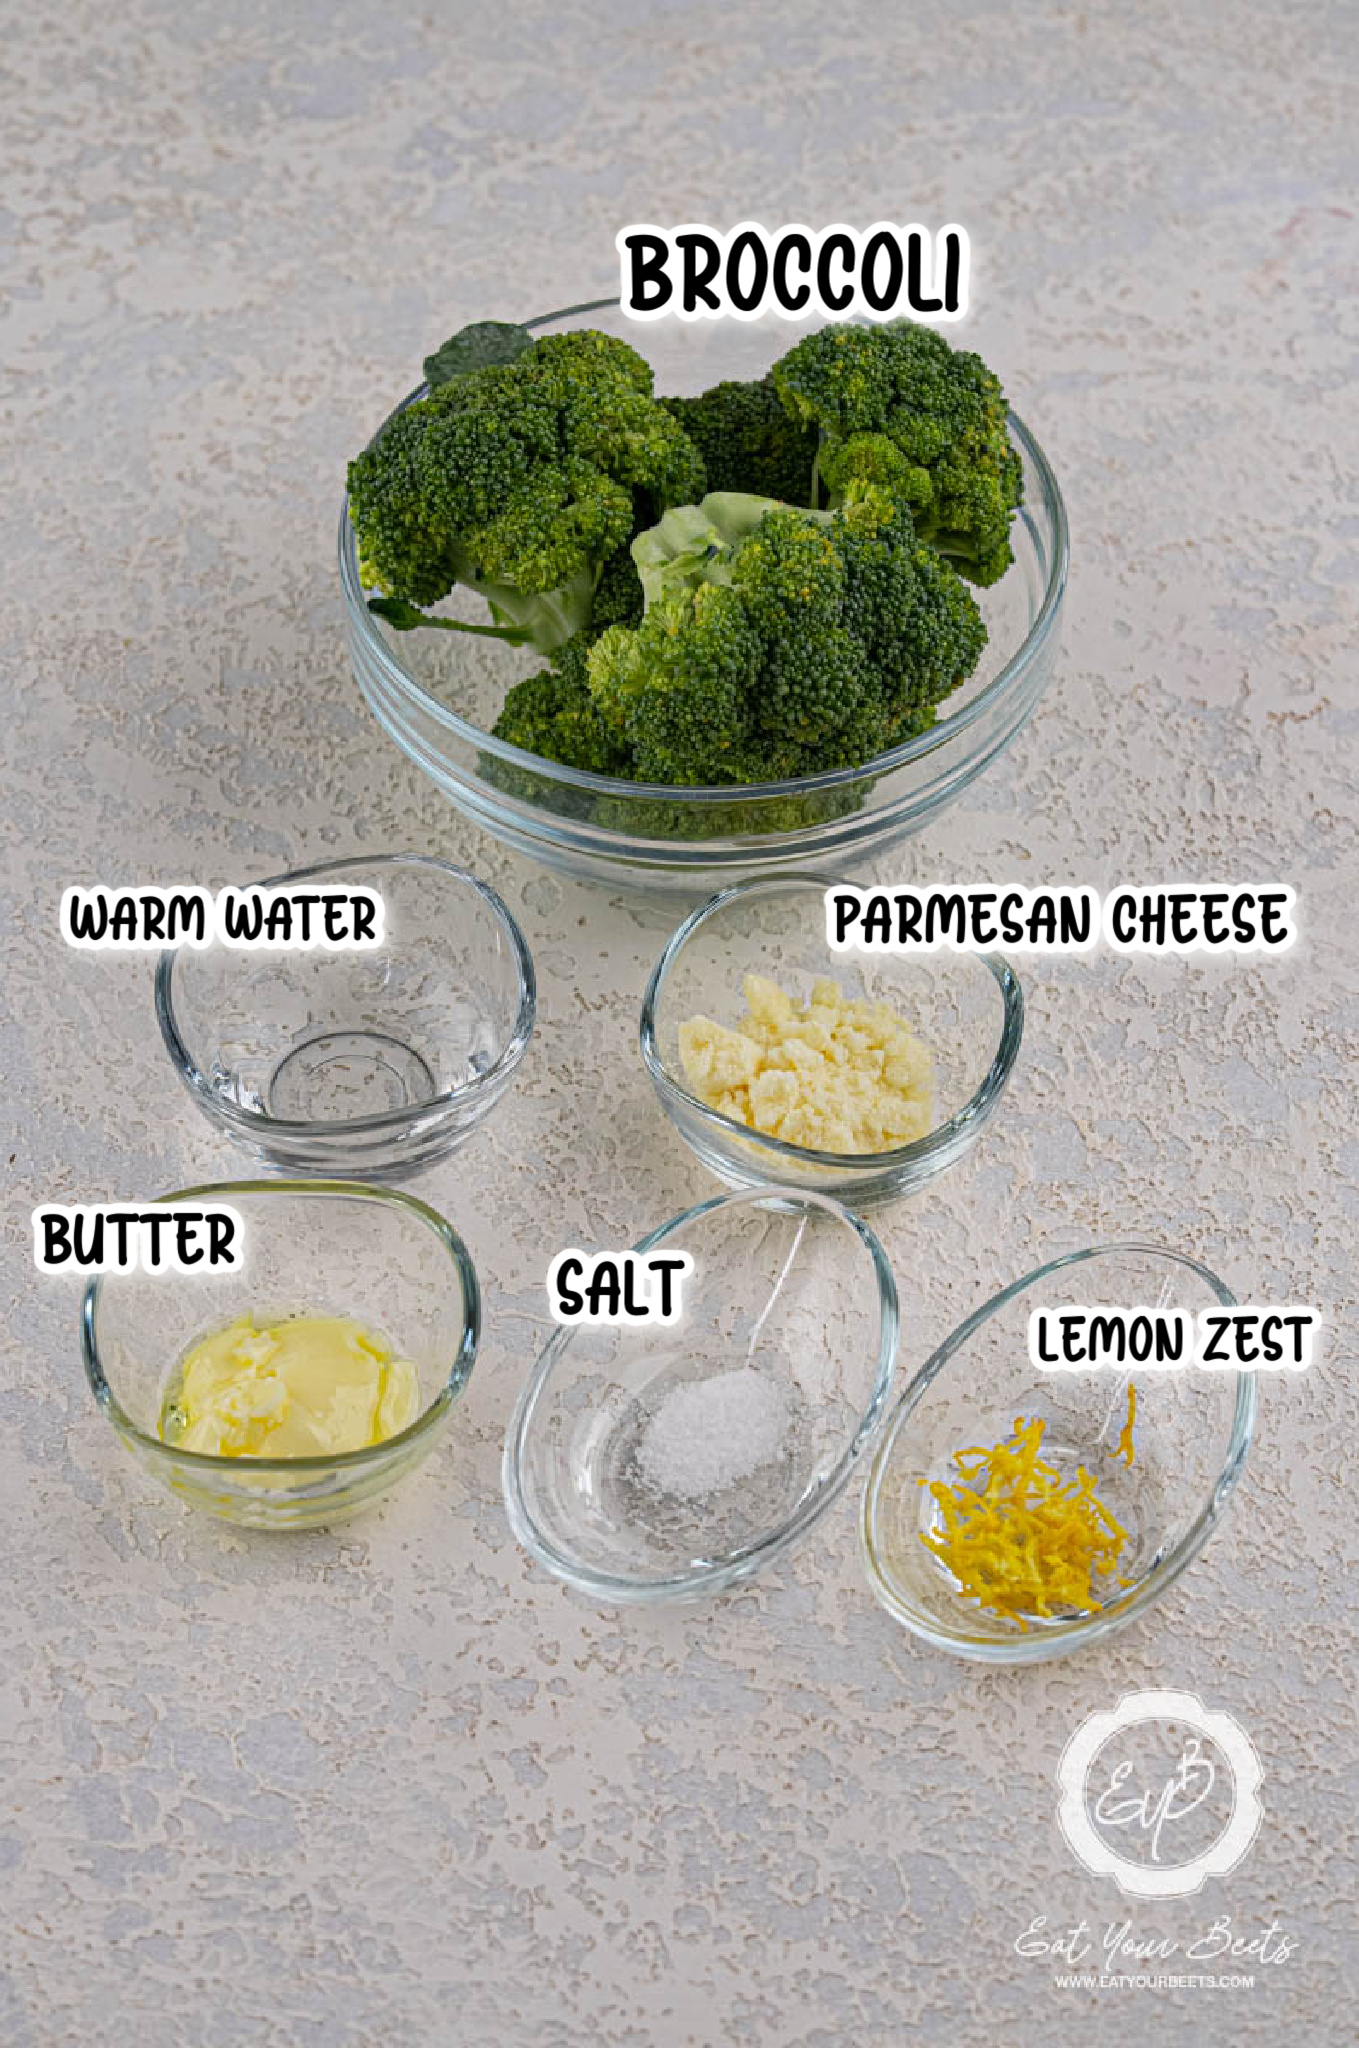
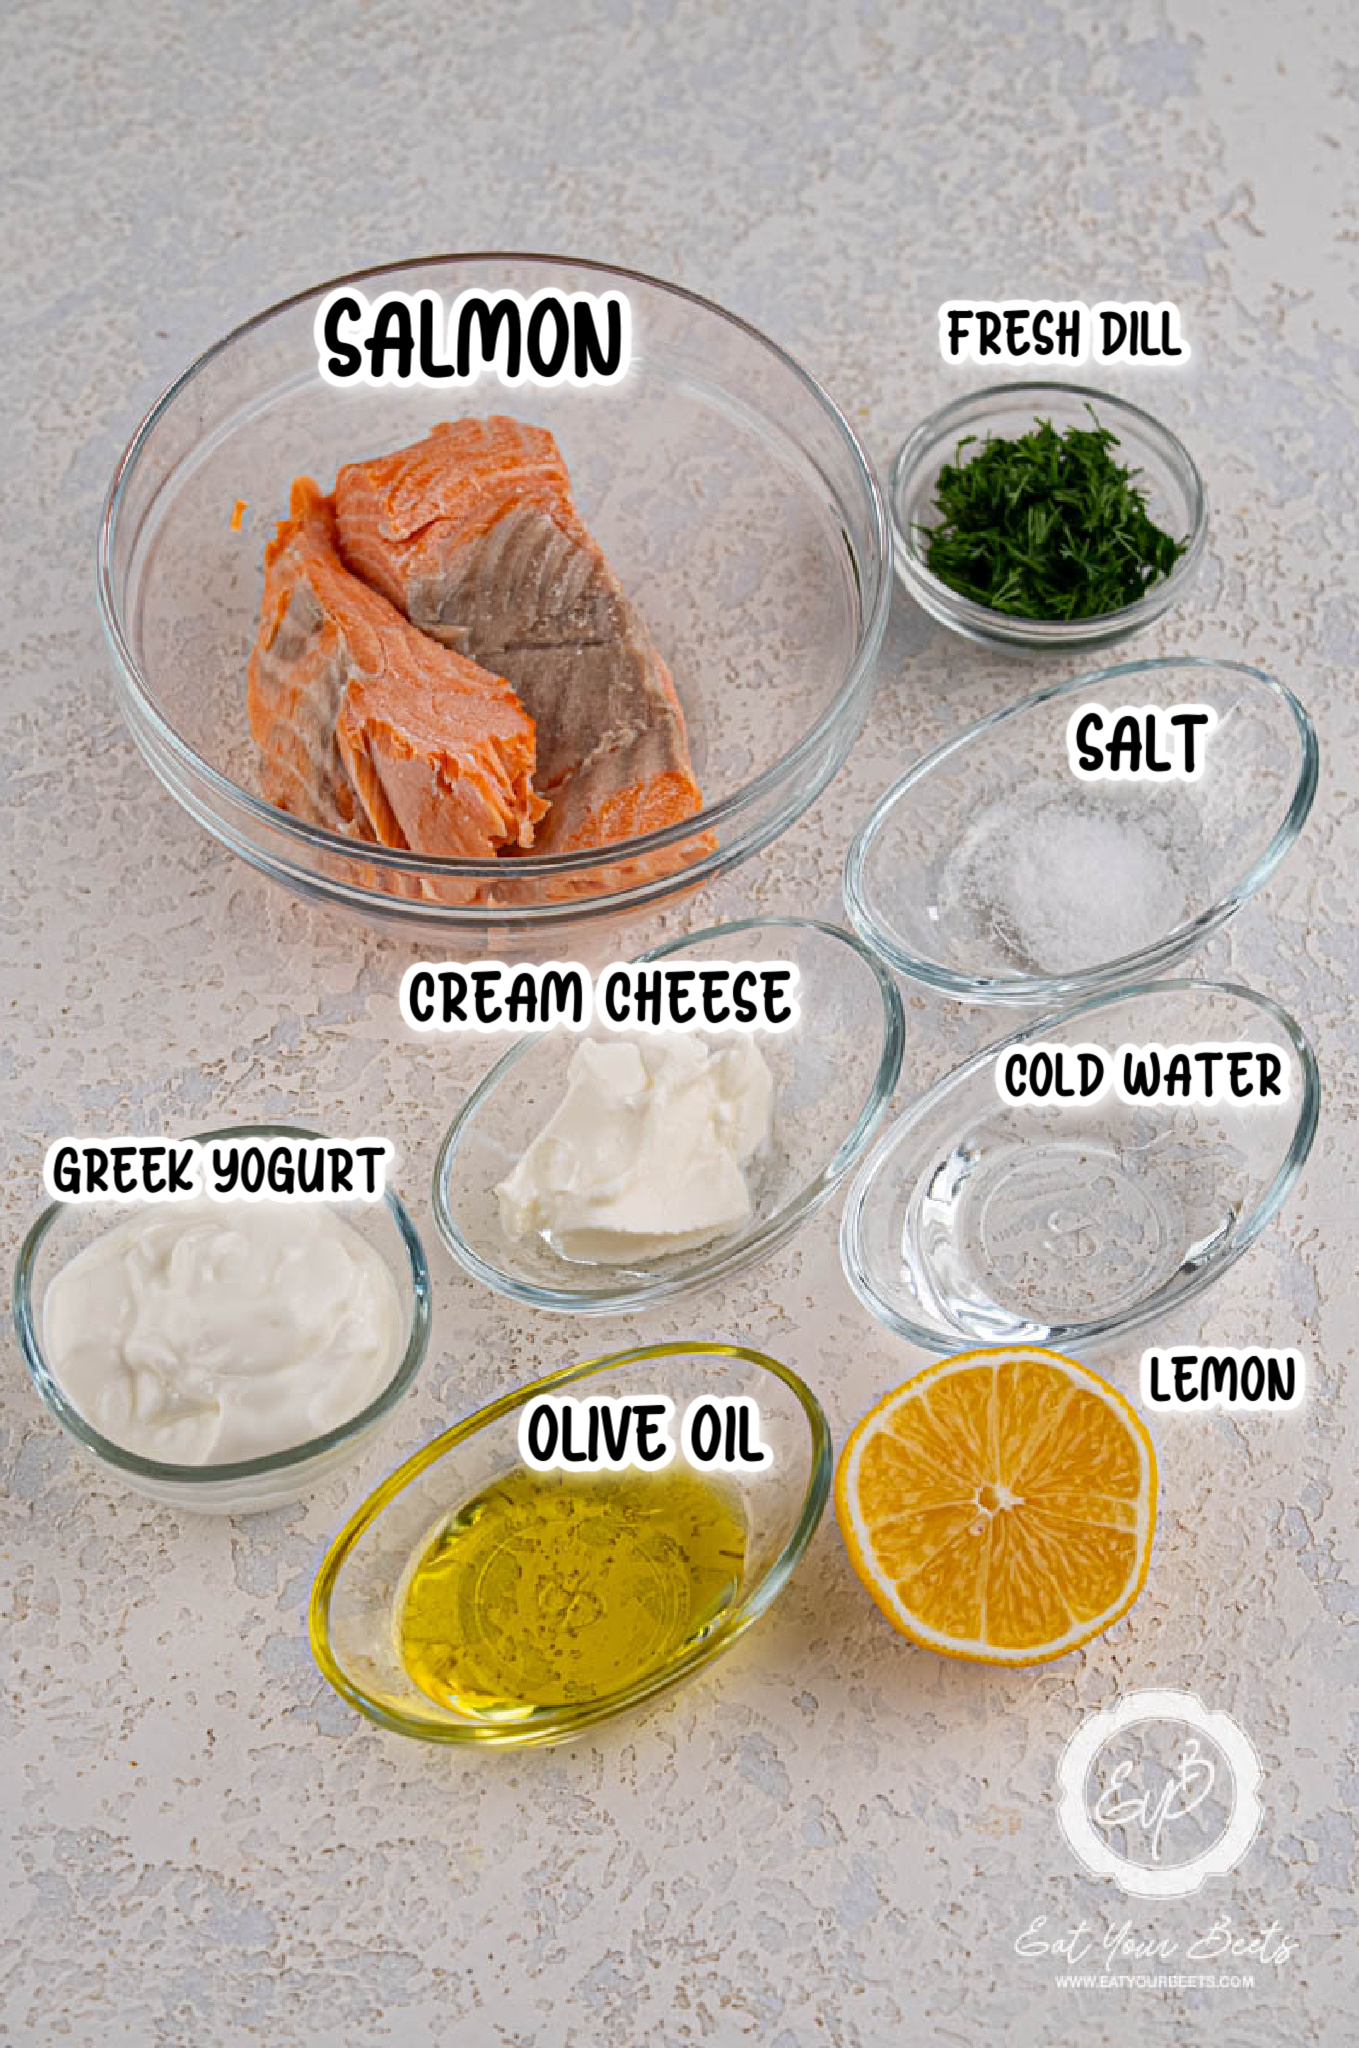
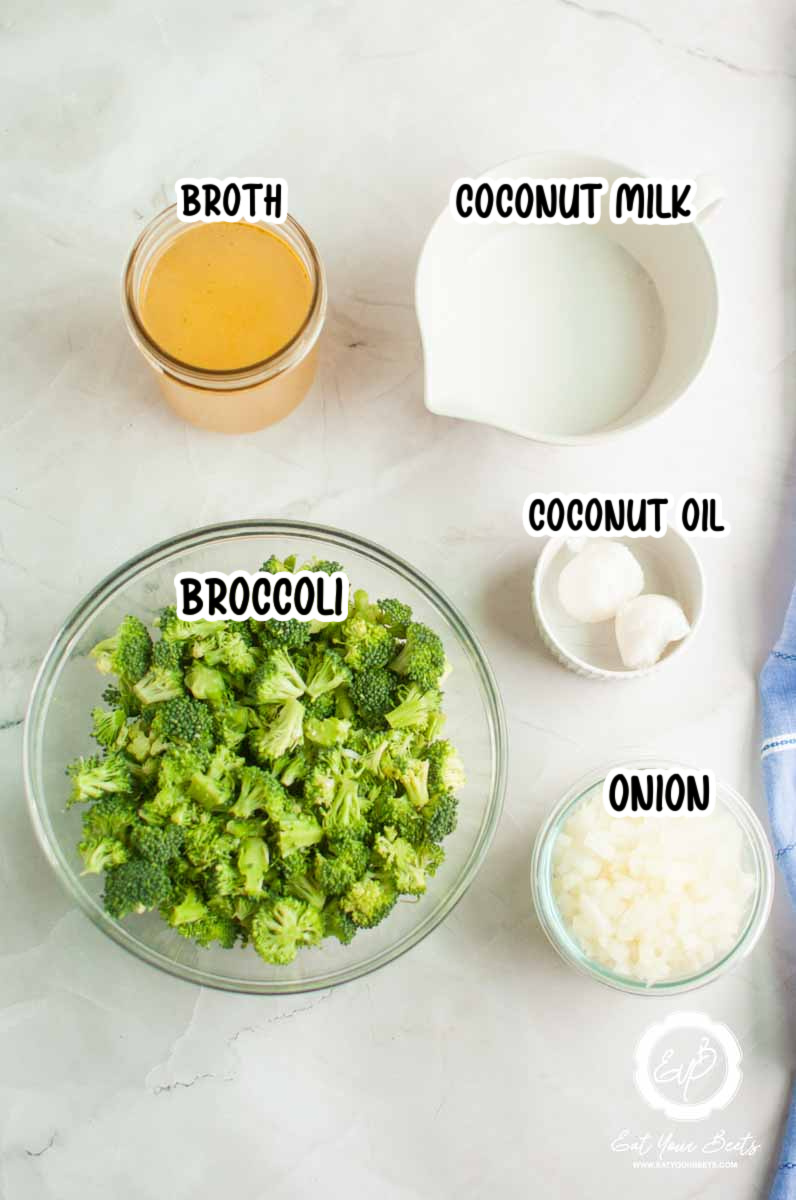
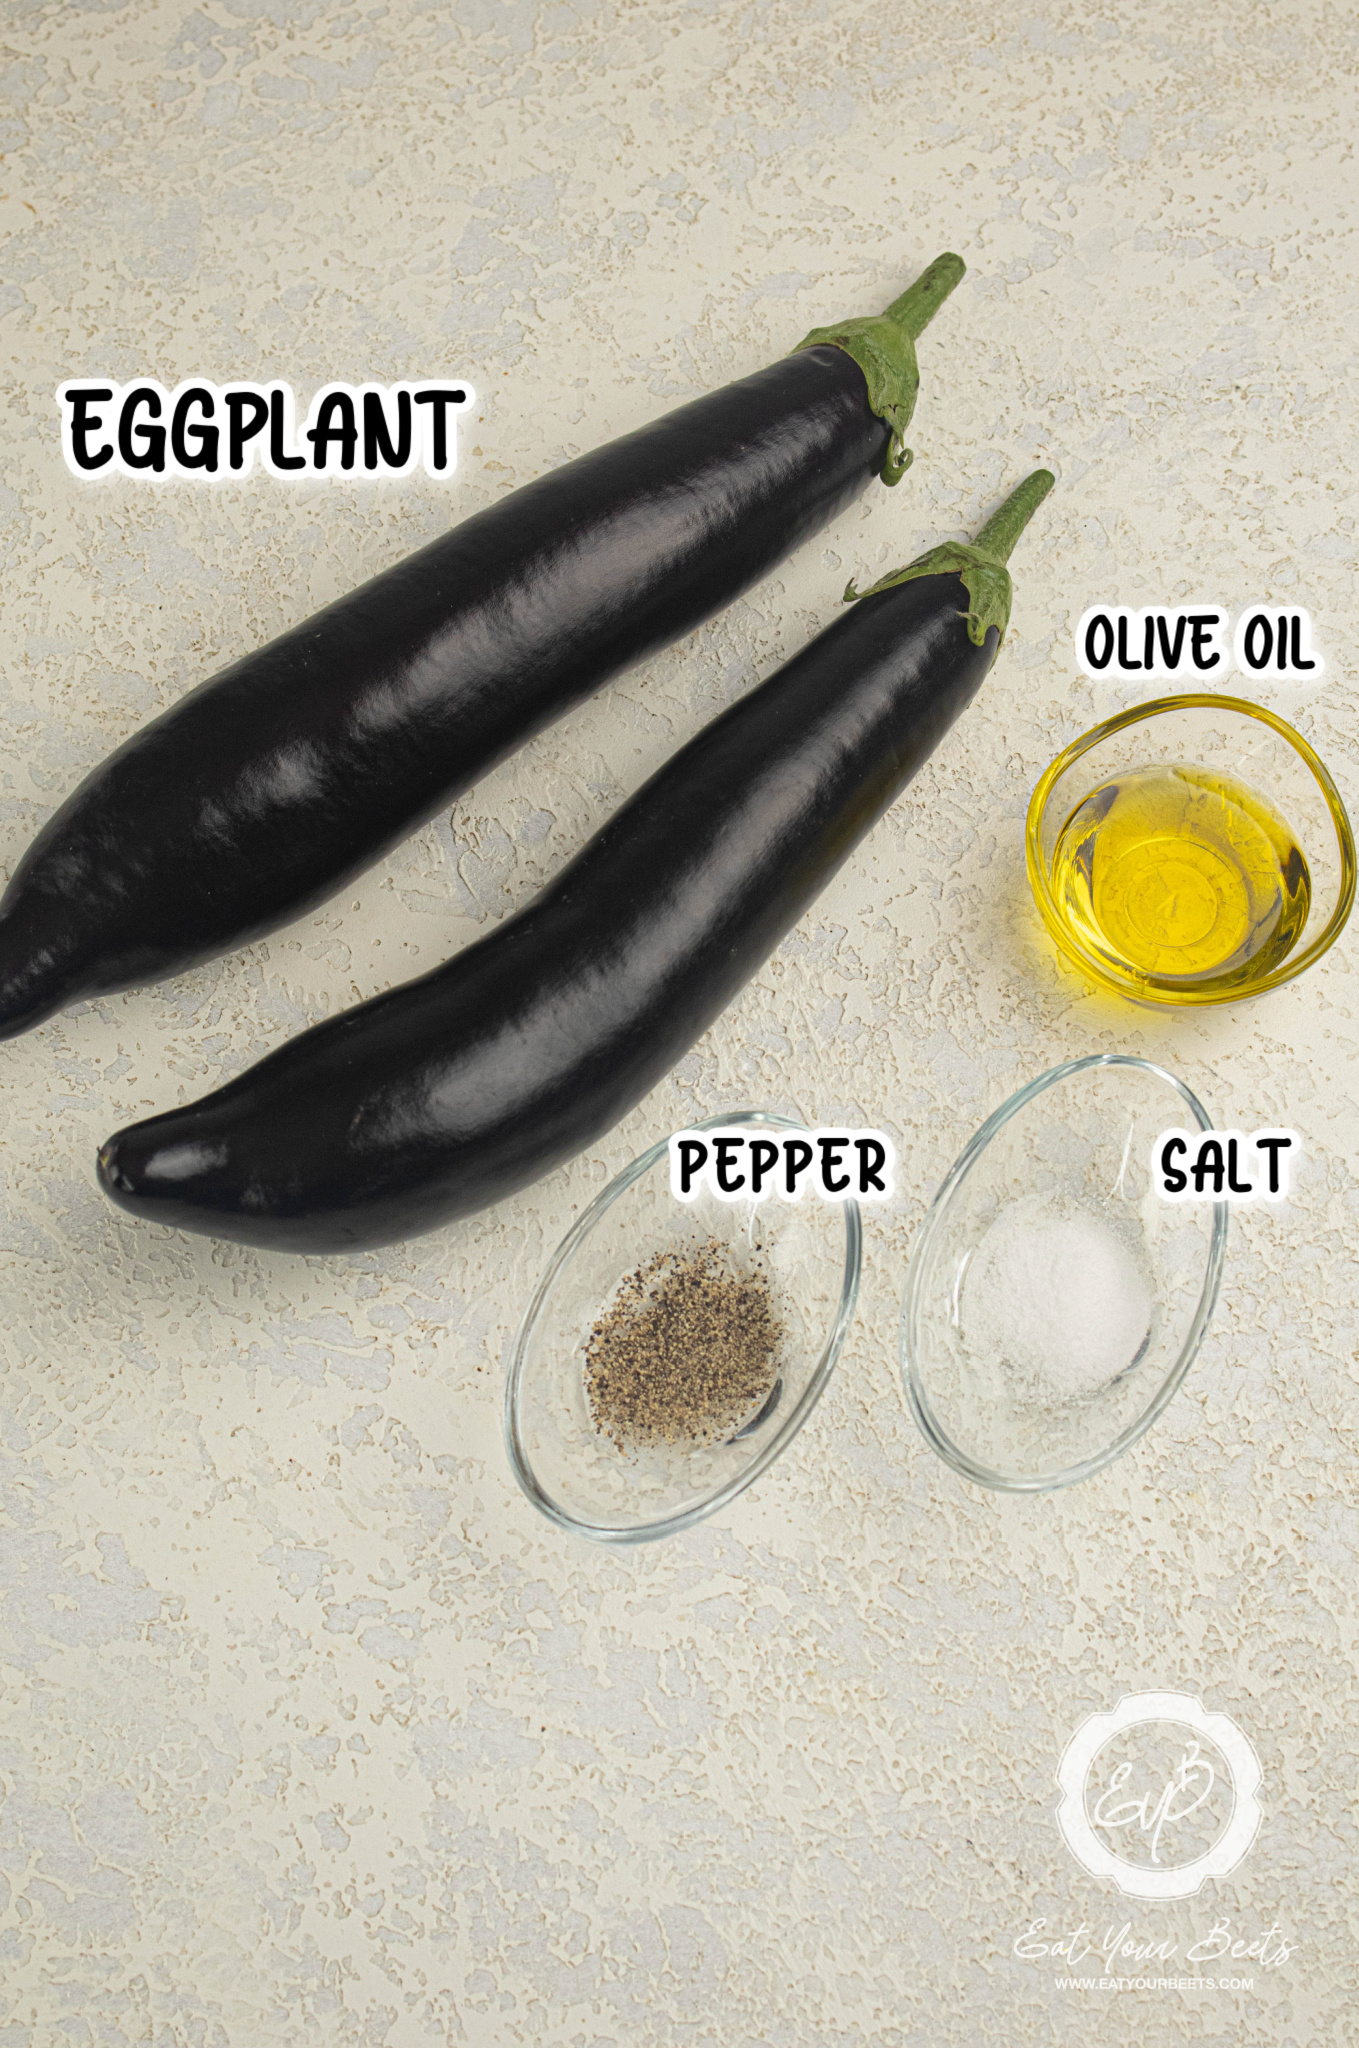
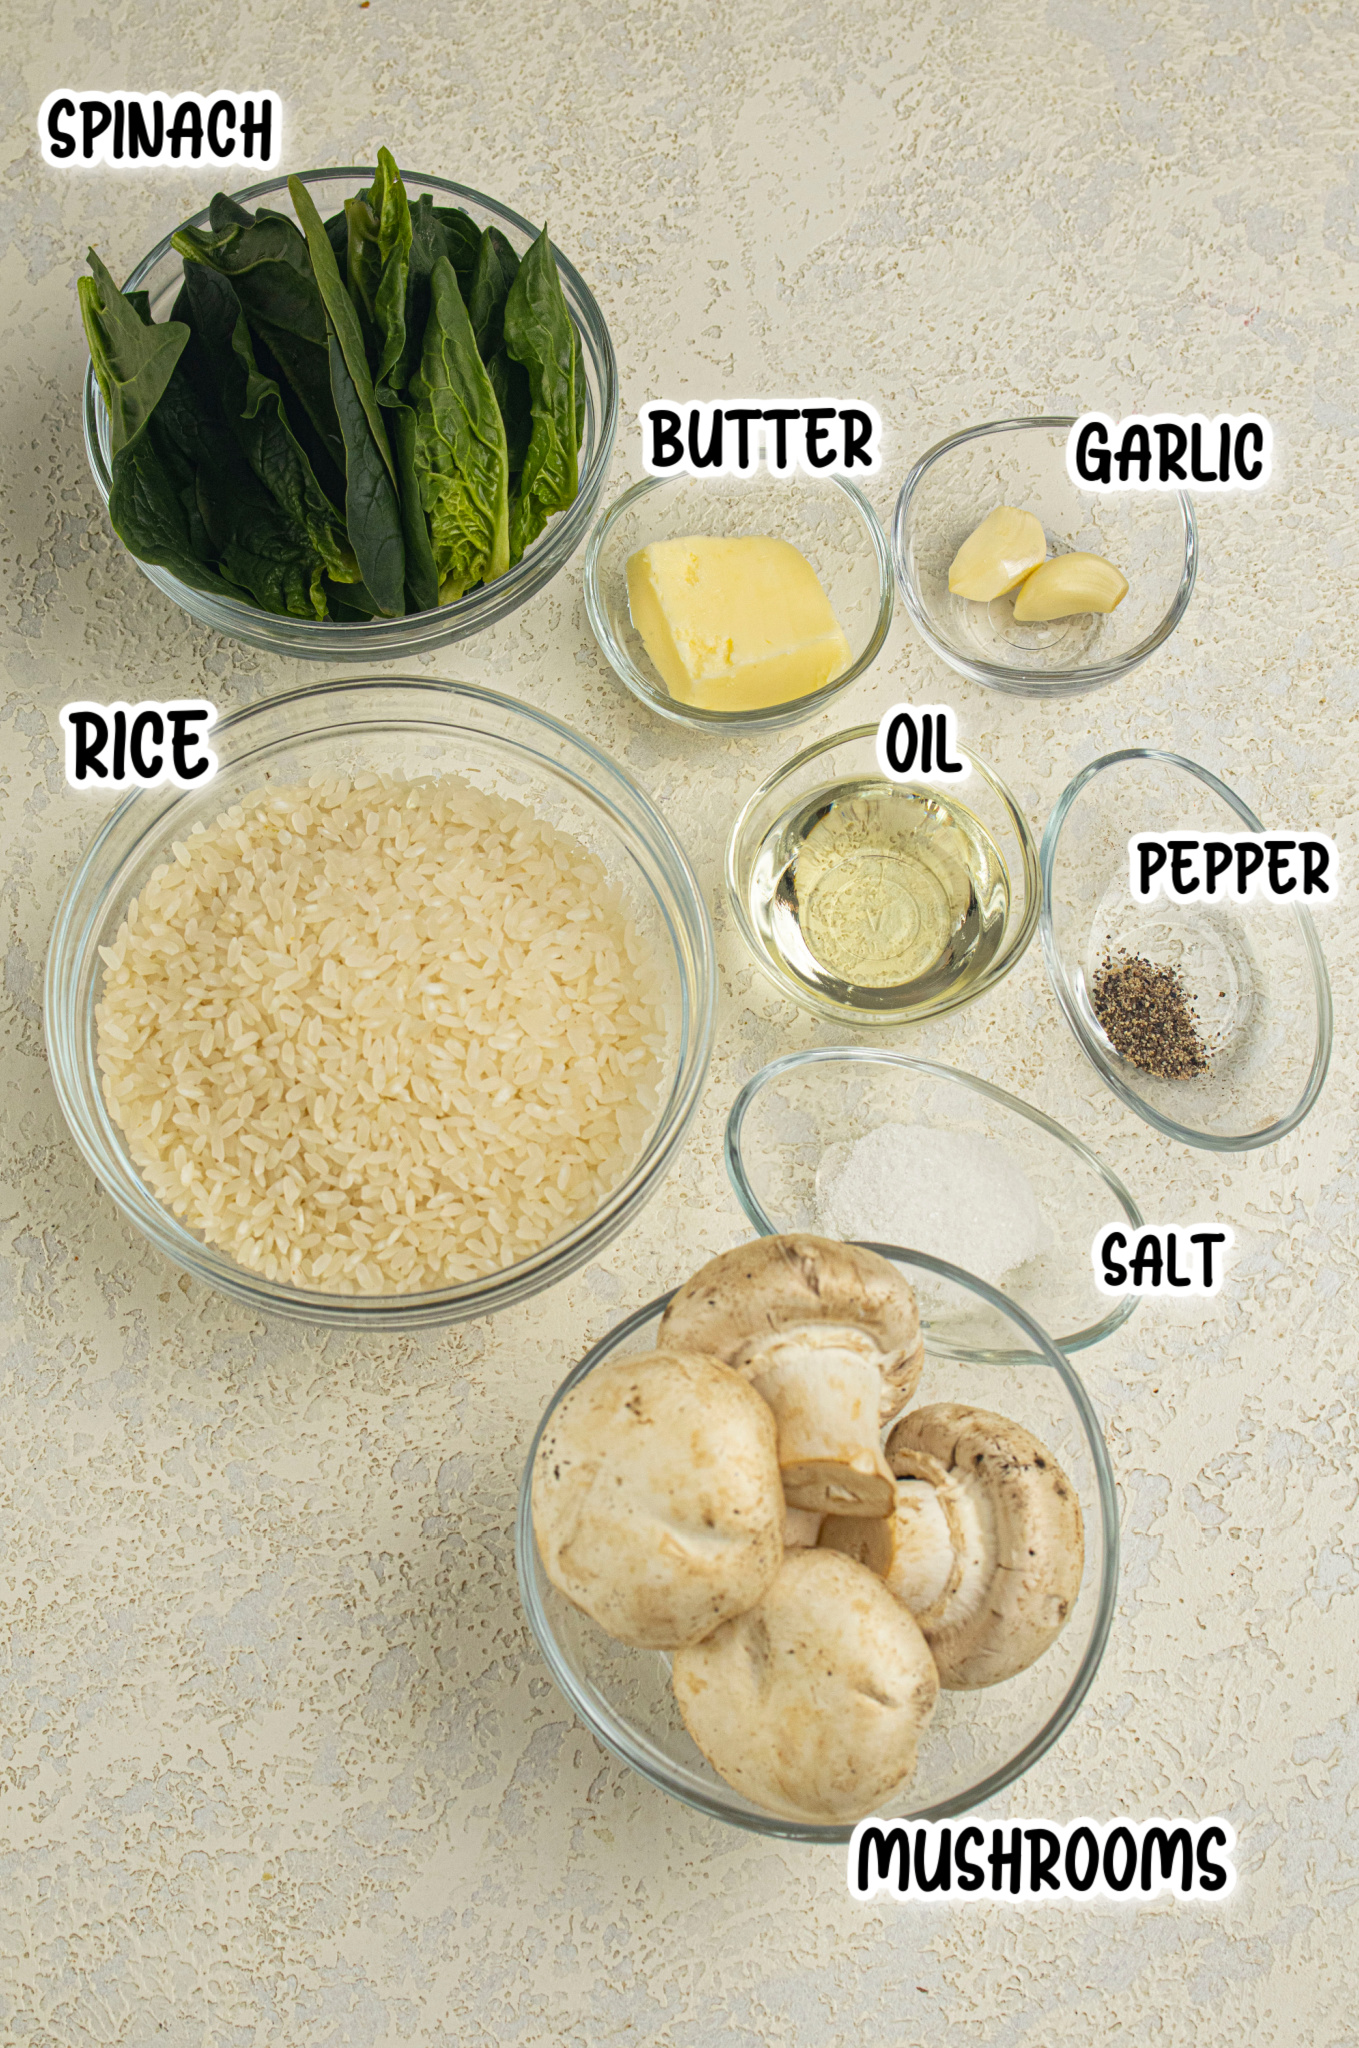
- Jalapenos (sliced and de-seeded): Provide a spicy kick, balanced by the creamy filling and smoky brisket.
- Thick-Cut Bacon: Wraps around the jalapenos, adding a crispy, salty layer that complements the heat and richness.
- Softened Cream Cheese (room temp): Adds a smooth, creamy texture that mellows the spice of the jalapenos.
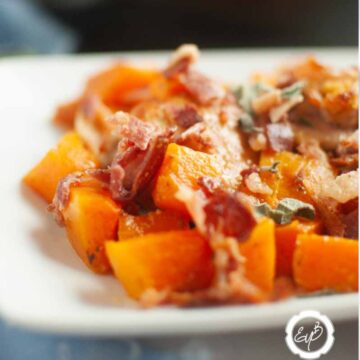
- Smoked Brisket (chopped or shredded): Infuses the filling with deep, smoky flavor, making these stuffed jalapenos hearty and satisfying.
For the complete list of ingredients with measurements and instructions, please see the recipe card at the bottom of the post.
📖 Substitutions & Variations
- Bacon-Wrapped Sweet Peppers: Try sweet mini peppers instead of jalapeños for a milder, sweeter variation.
- BBQ Brisket-Stuffed Peppers: Swap the traditional stuffing for smoky BBQ brisket for a hearty Texas twist.
- Pulled Pork-Stuffed Peppers: Add tender pulled pork and your favorite BBQ sauce for a savory and juicy filling.
- Paprika Jalapeno Poppers.: Enhance the classic recipe with smoked paprika for a bold, smoky flavor.
- Pepper Jack Cheese-Stuffed Peppers: Use pepper jack cheese for a spicy, creamy addition that melts perfectly.
🔪 How To Make Texas Twinkies

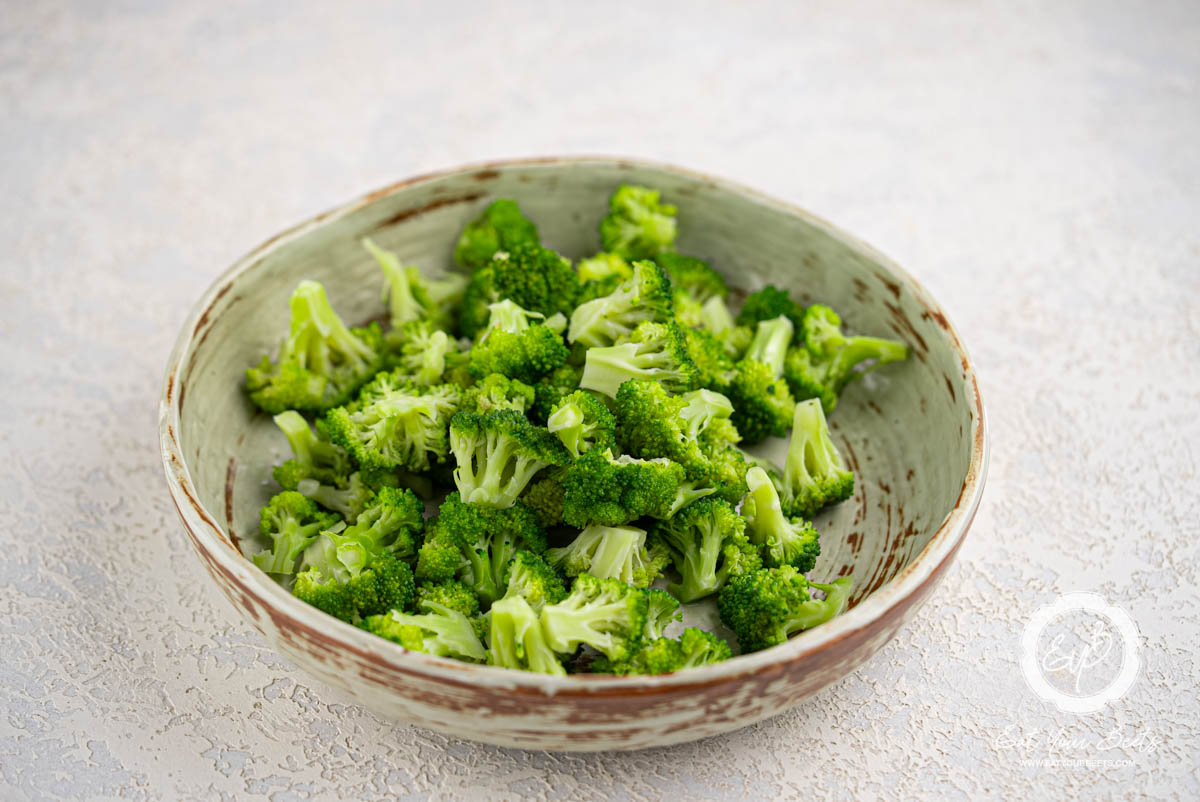
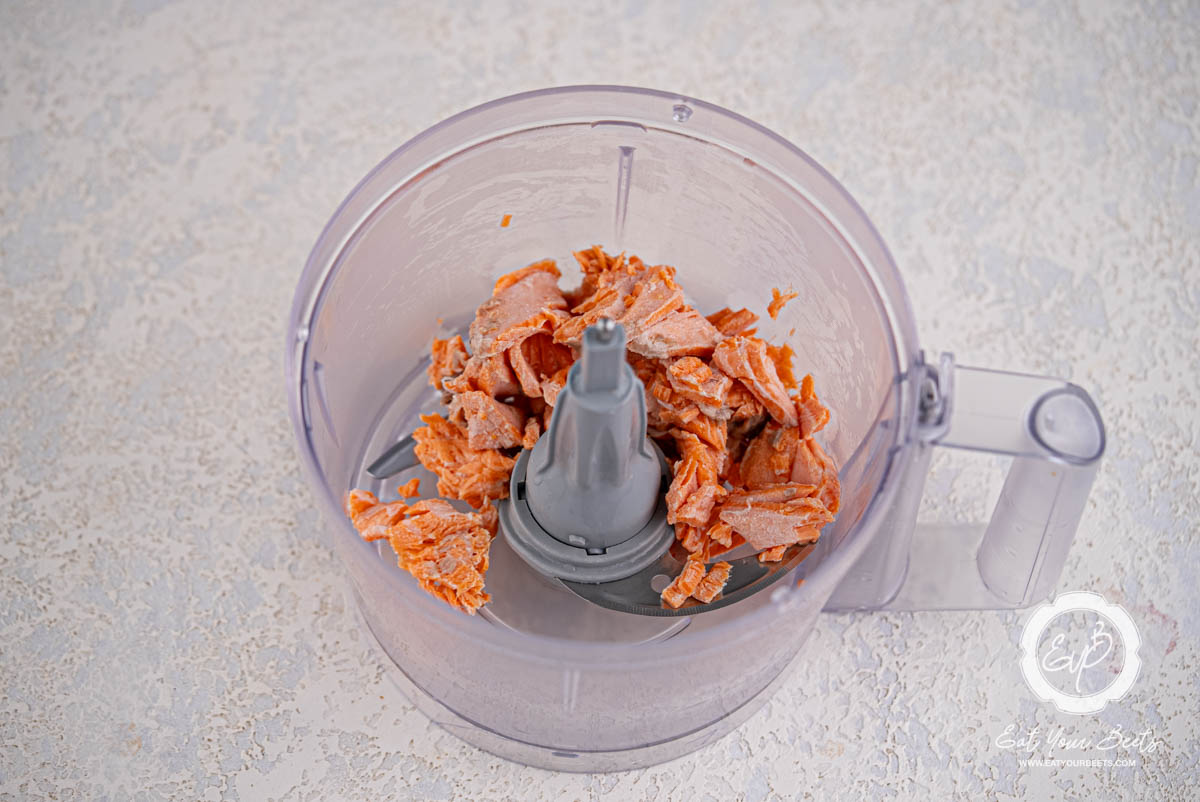
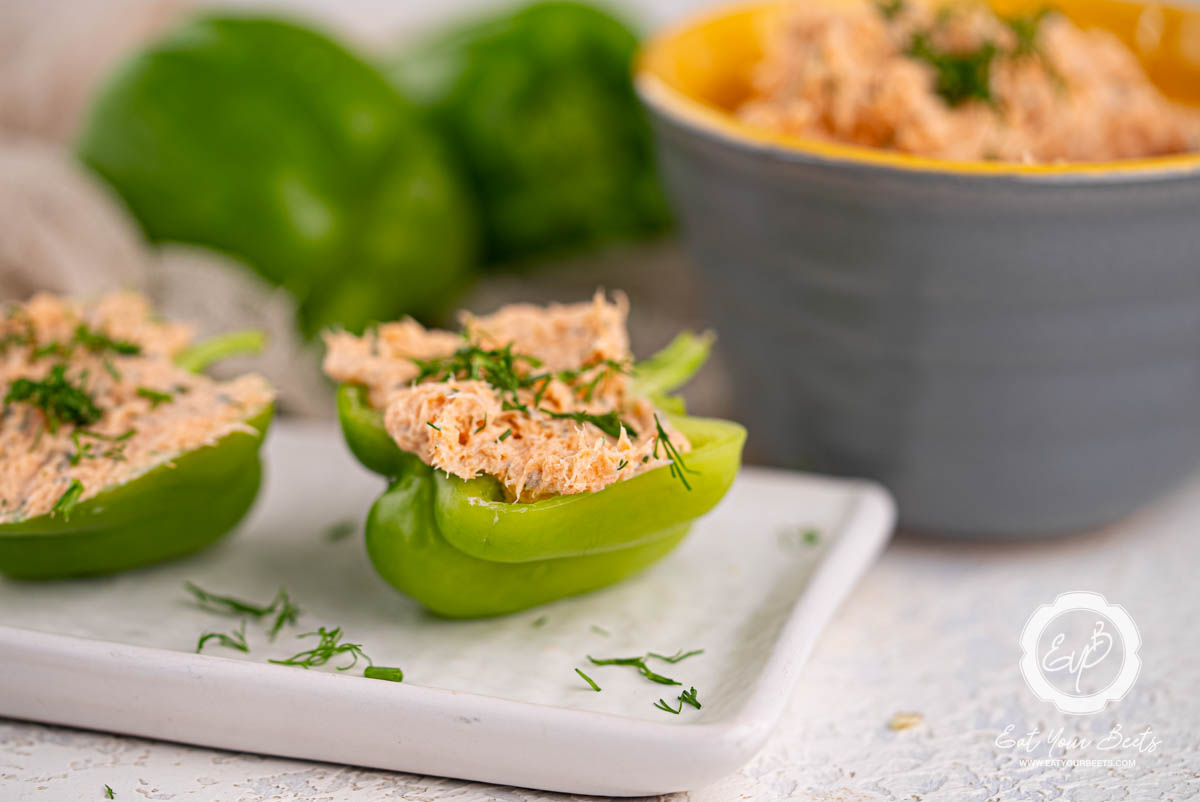
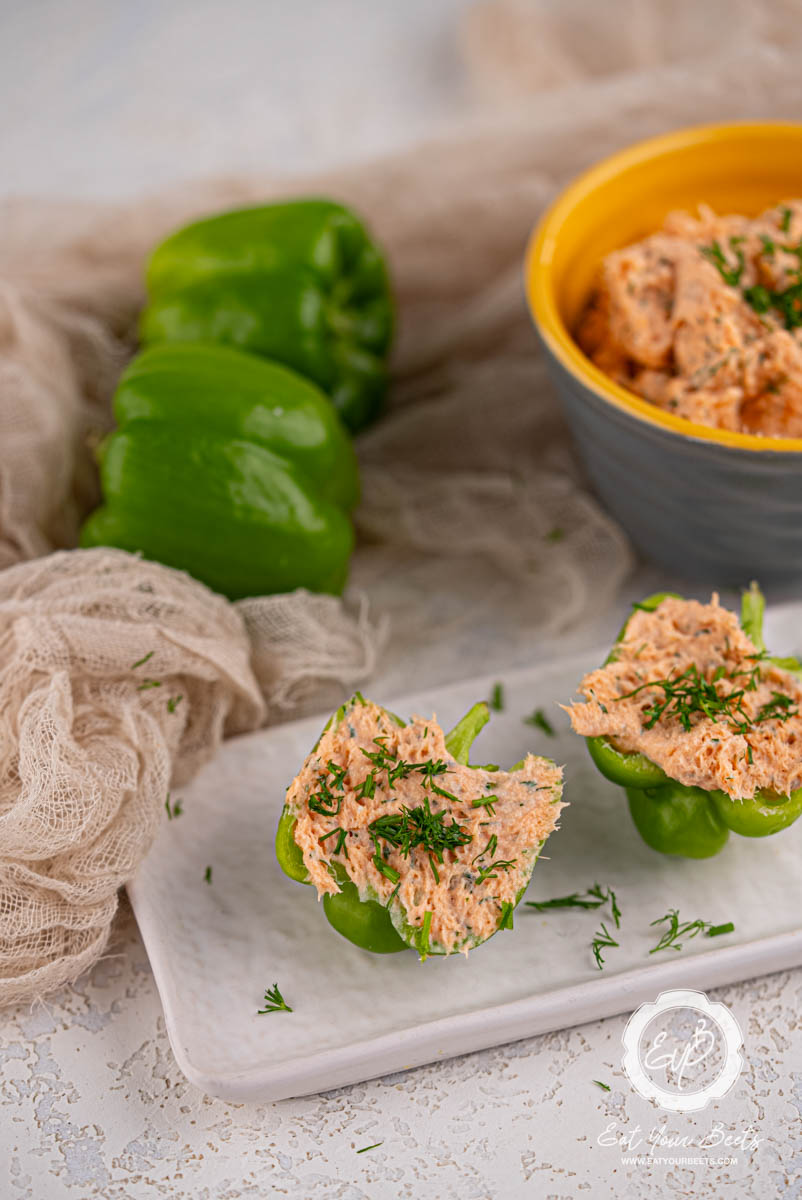
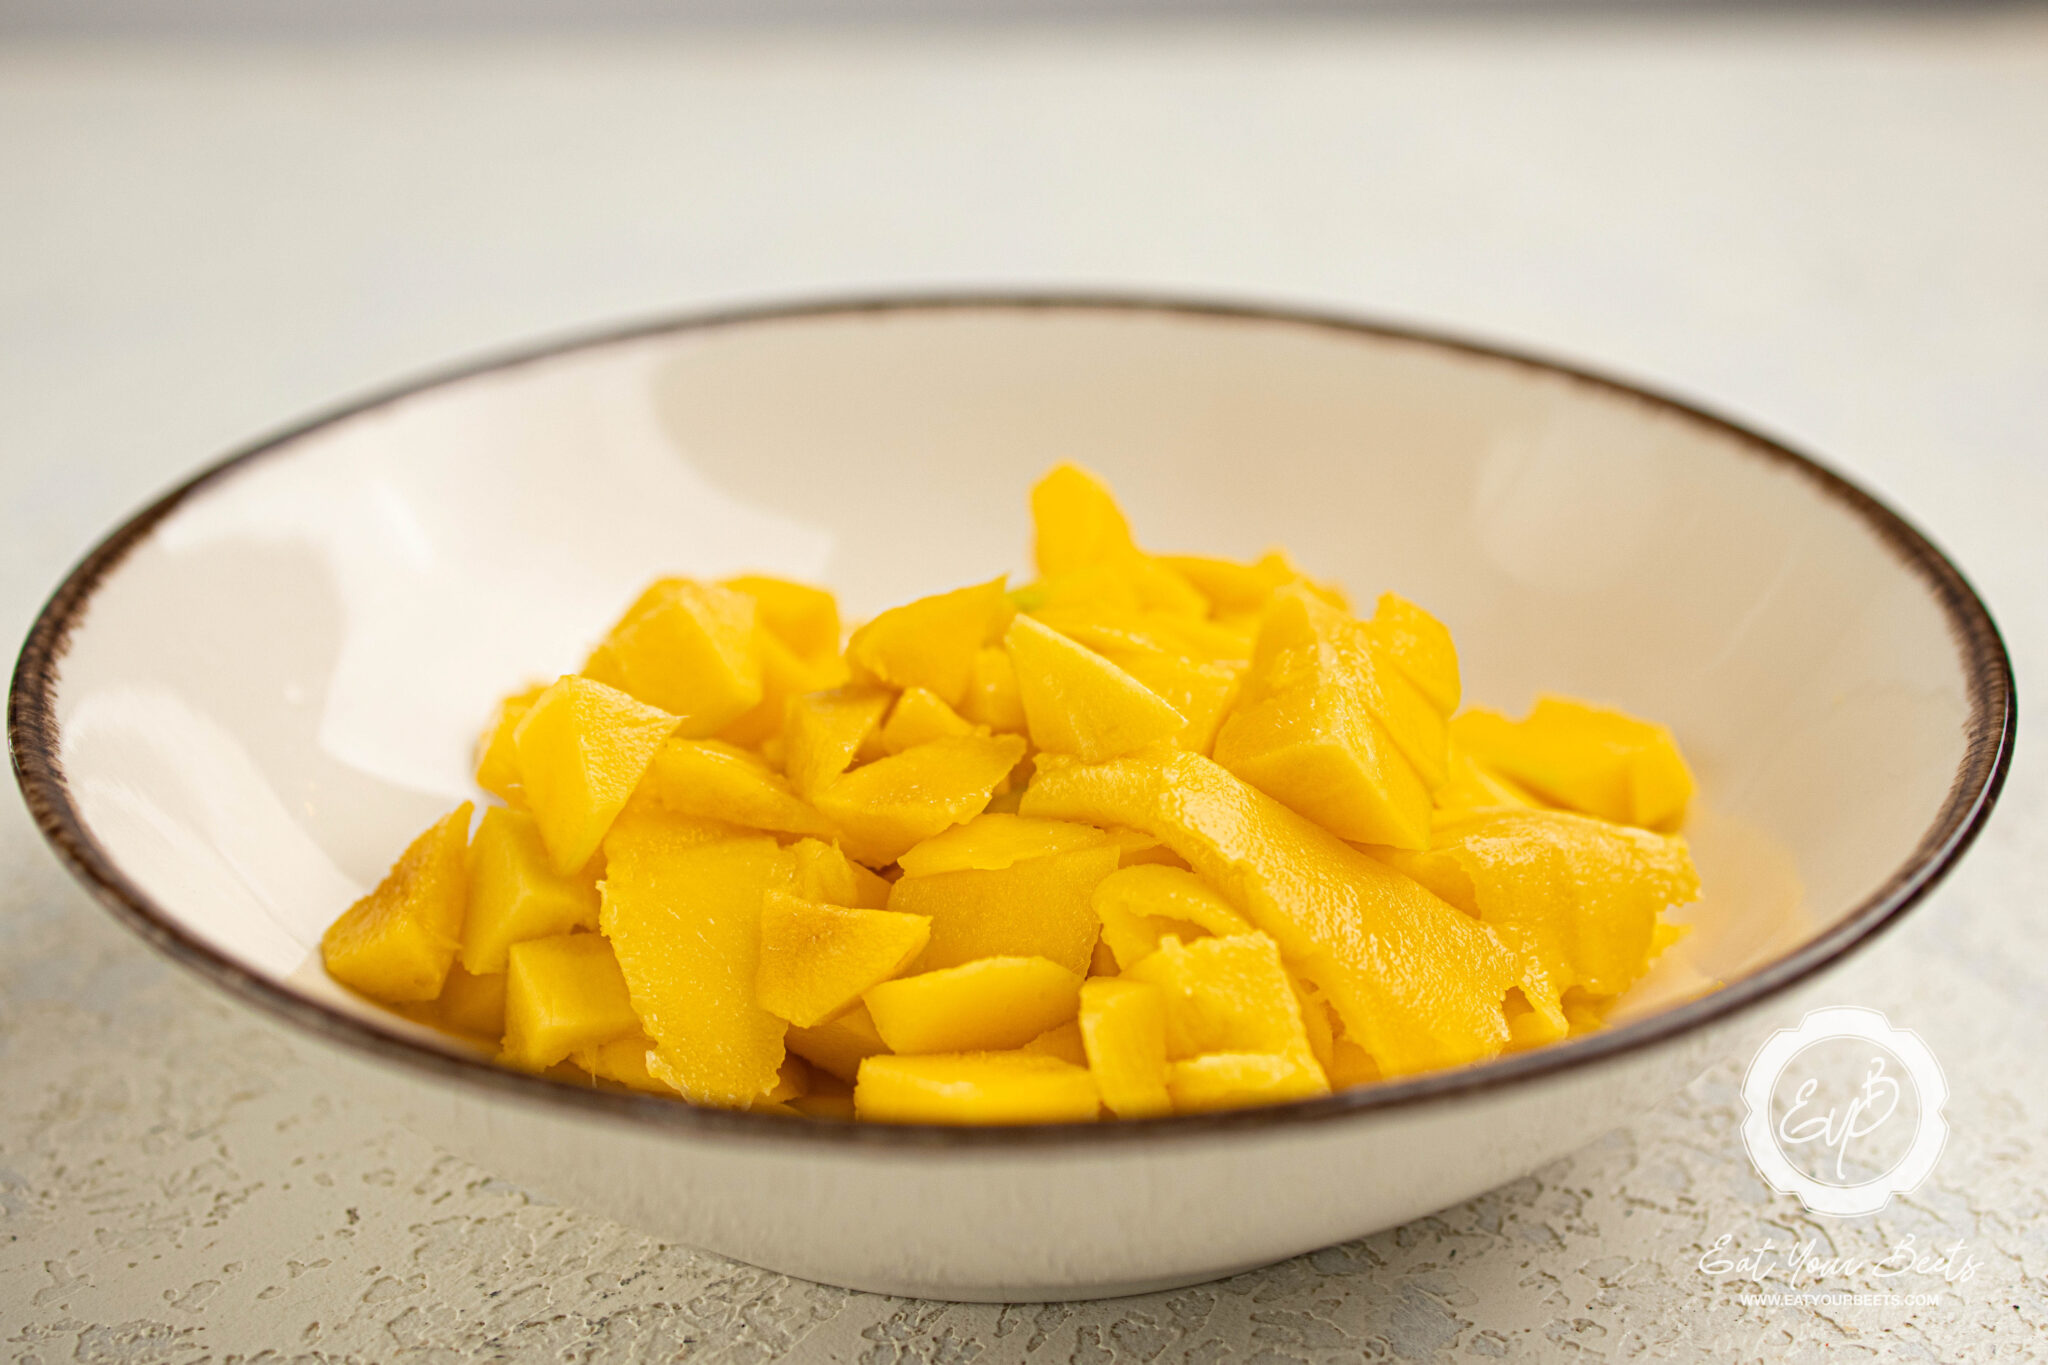
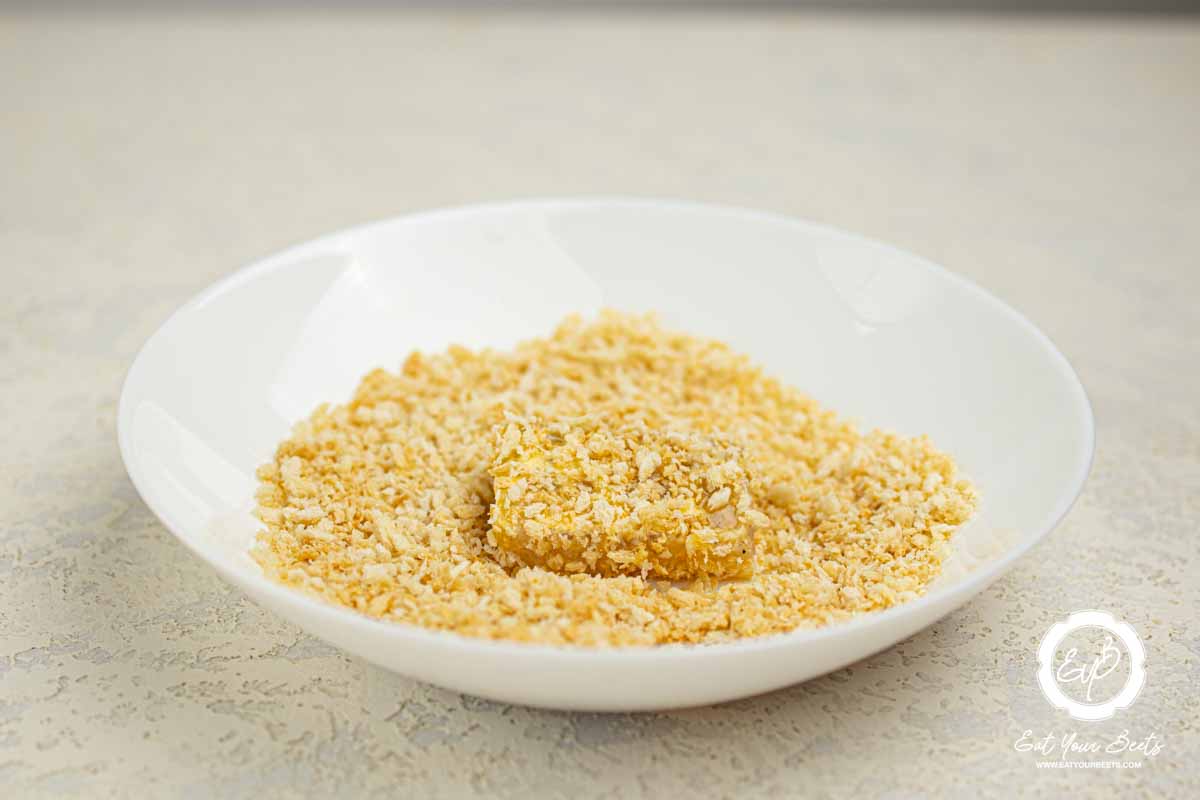
- Step 1: Begin by using a sharp paring knife to slice a line down the back of each jalapeno. Carefully remove the seeds, then rinse the jalapenos under water to ensure they're clean.

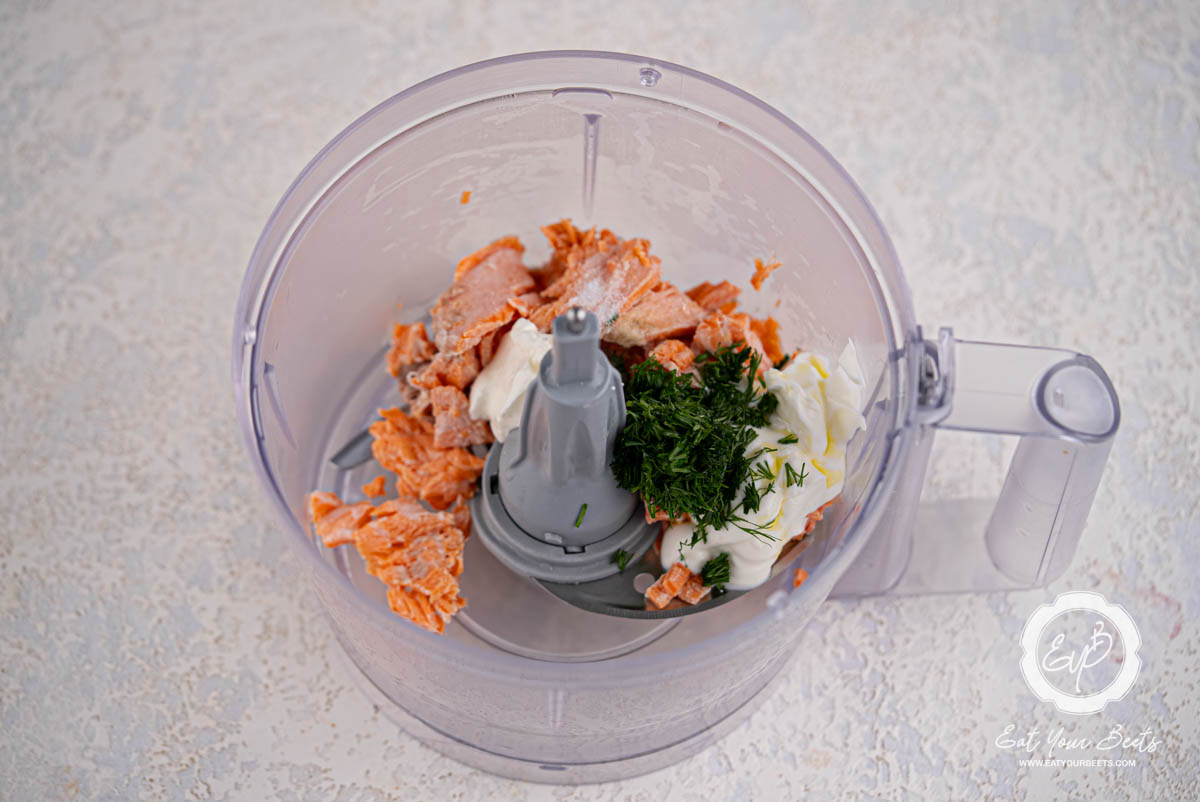
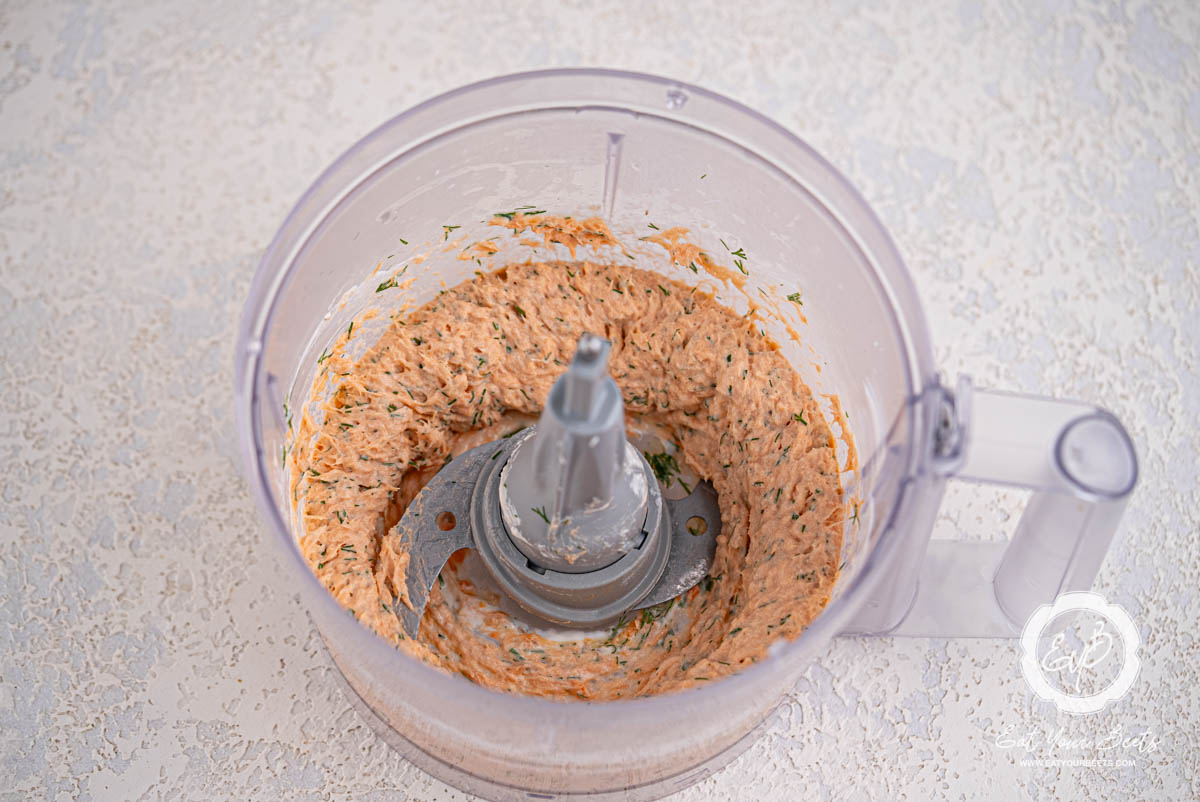
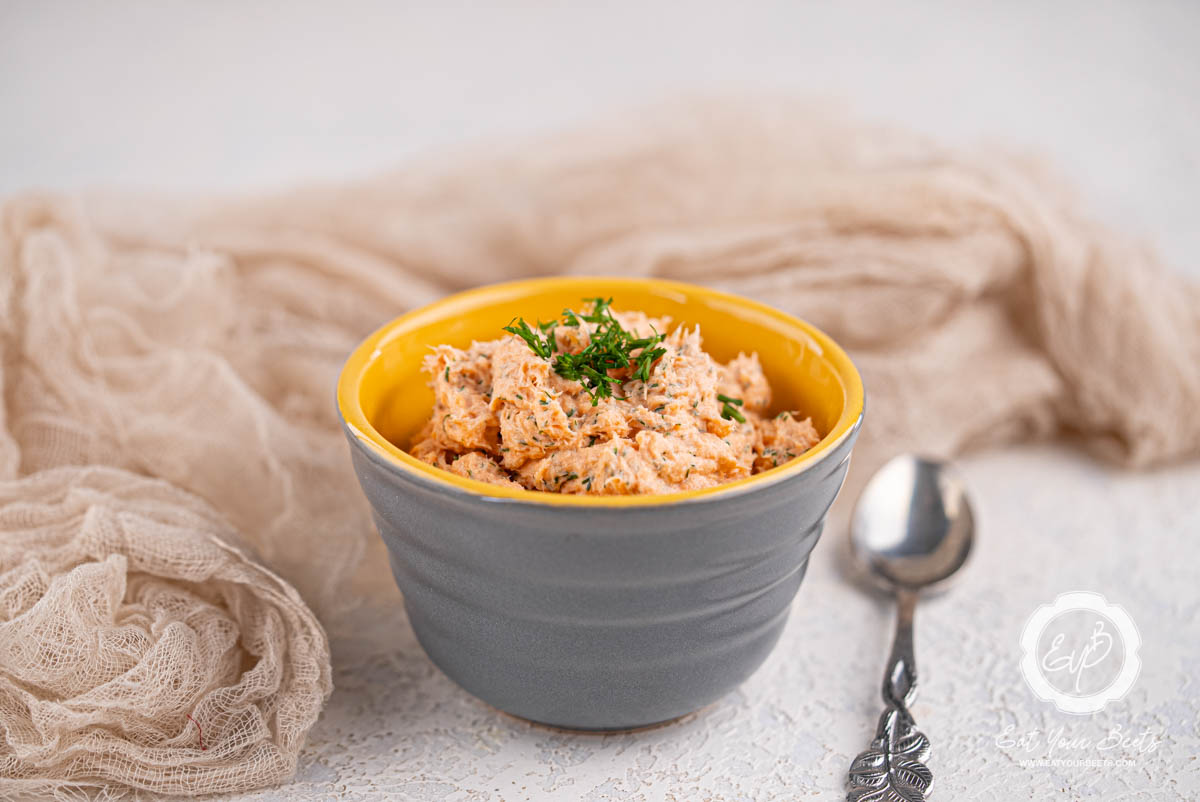
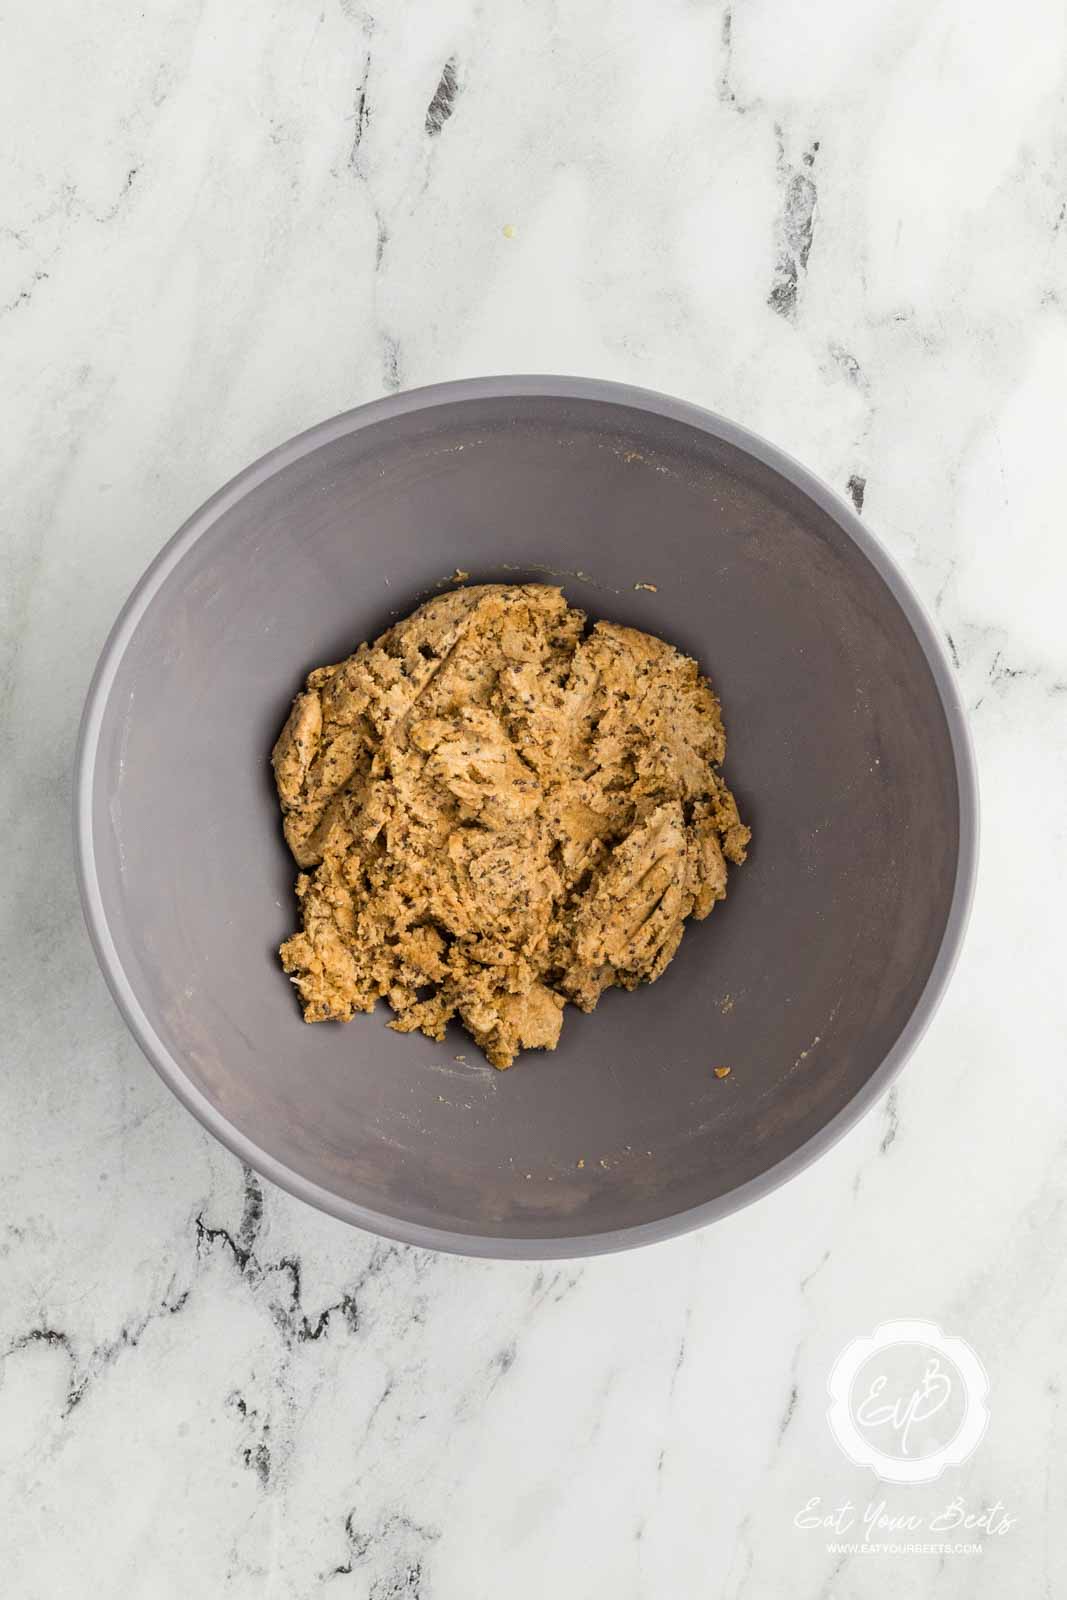
- Step 2: With the help of a knife, stuff each jalapeno generously with cream cheese mixture, ensuring it's filled halfway.

- Step 3: Once the jalapenos are fully packed with cream cheese, they are ready for the next step.

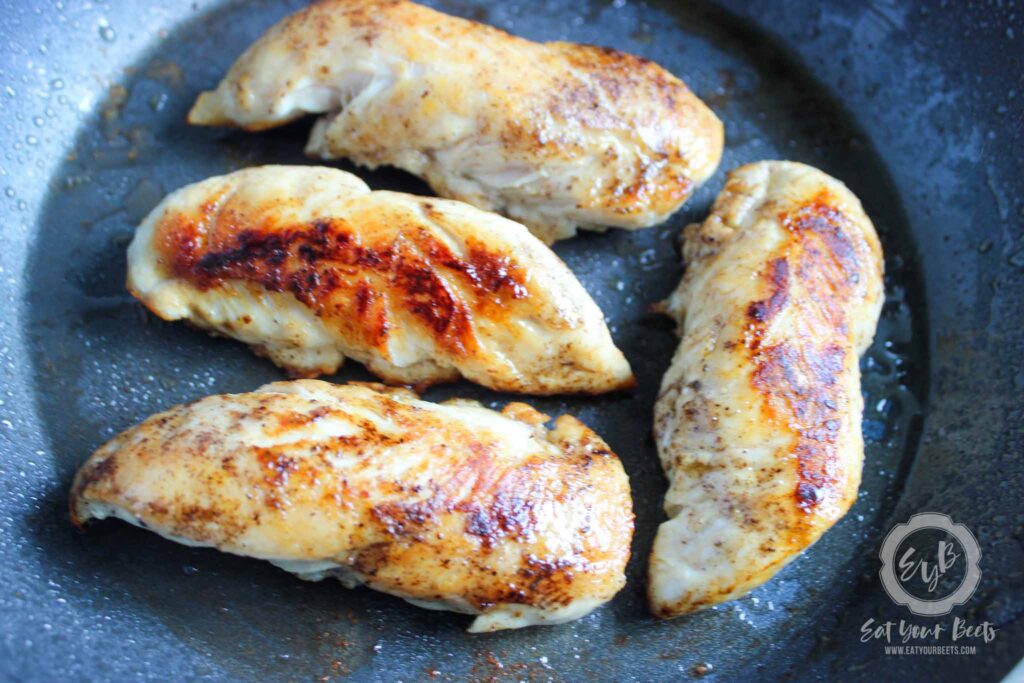
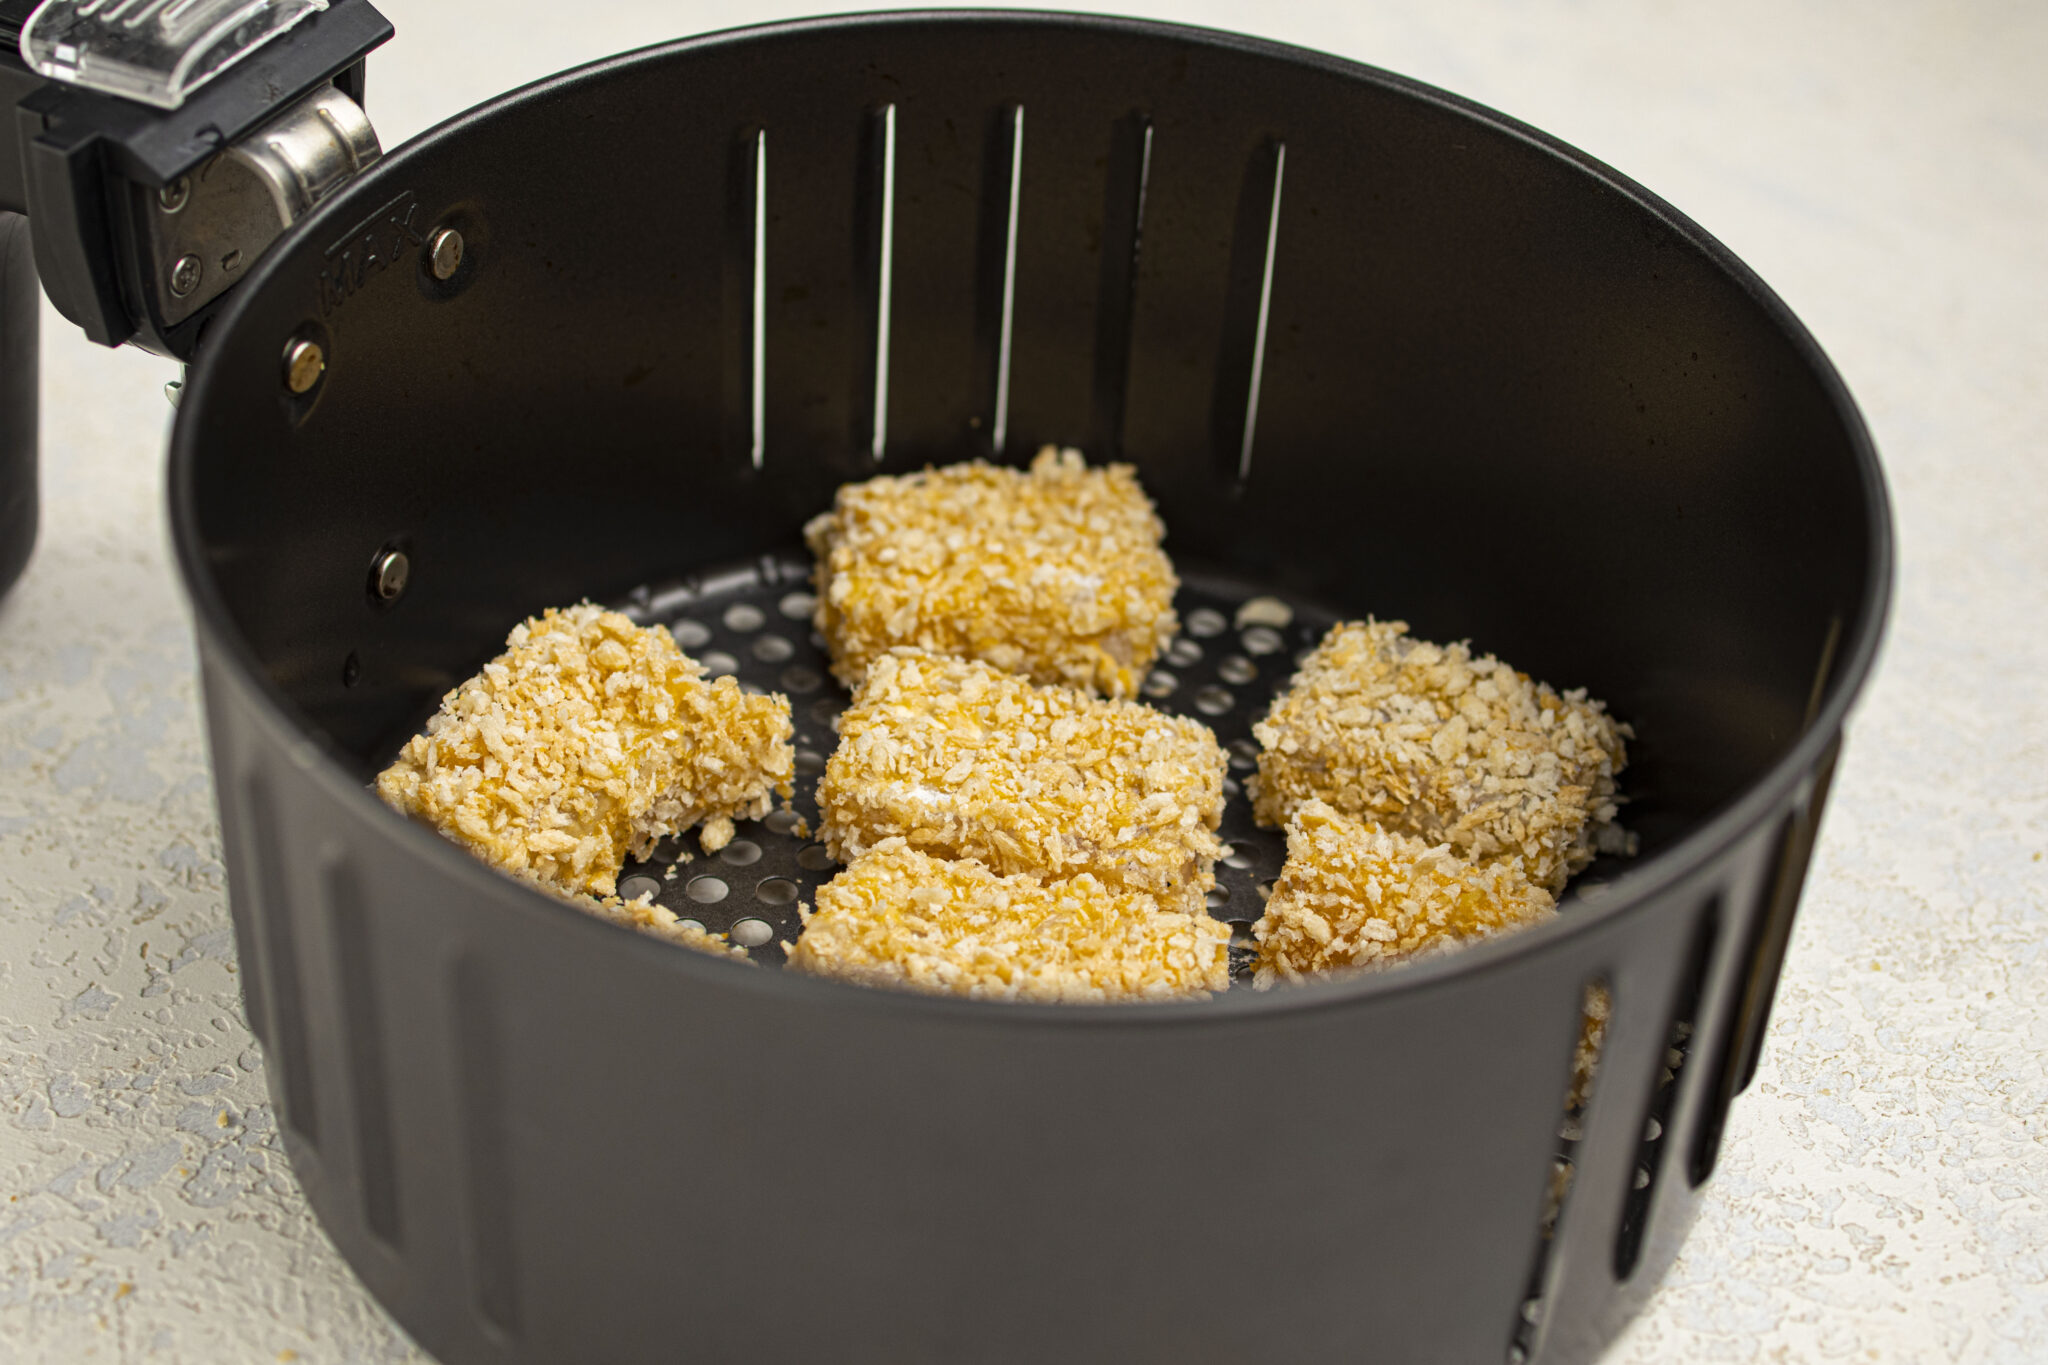
- Step 4: Add shredded or chopped brisket into the cream cheese-filled jalapenos, pressing it gently to keep everything in place.

- Step 5: Lay a slice of thick-cut bacon flat, wrap it securely around each stuffed jalapeno, and fasten the bacon with toothpicks at both ends.

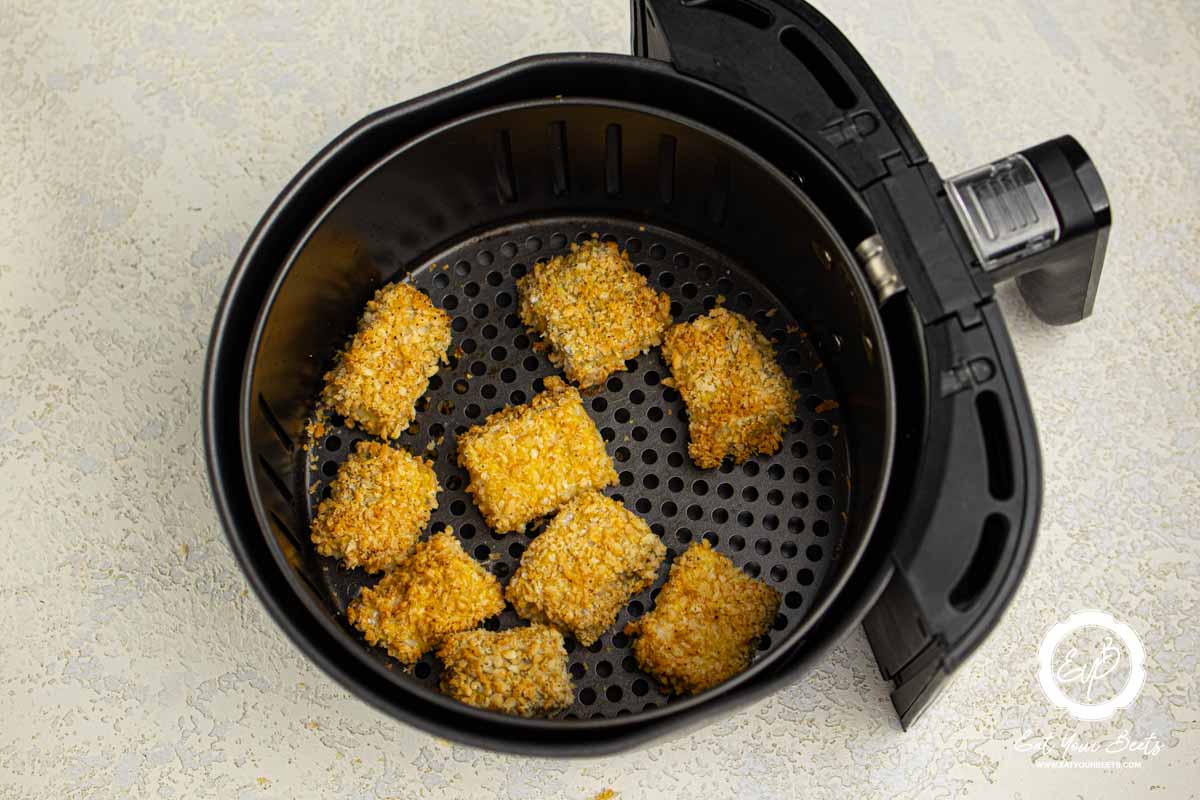
- Step 6: Arrange the bacon-wrapped jalapenos on a baking sheet, preferably on a wire rack, and bake them in a preheated oven at 400°F until the bacon is crispy, which should take about 20-30 minutes.

- Step 7: Once baked, the crispy Texas Twinkies will have a golden appearance.

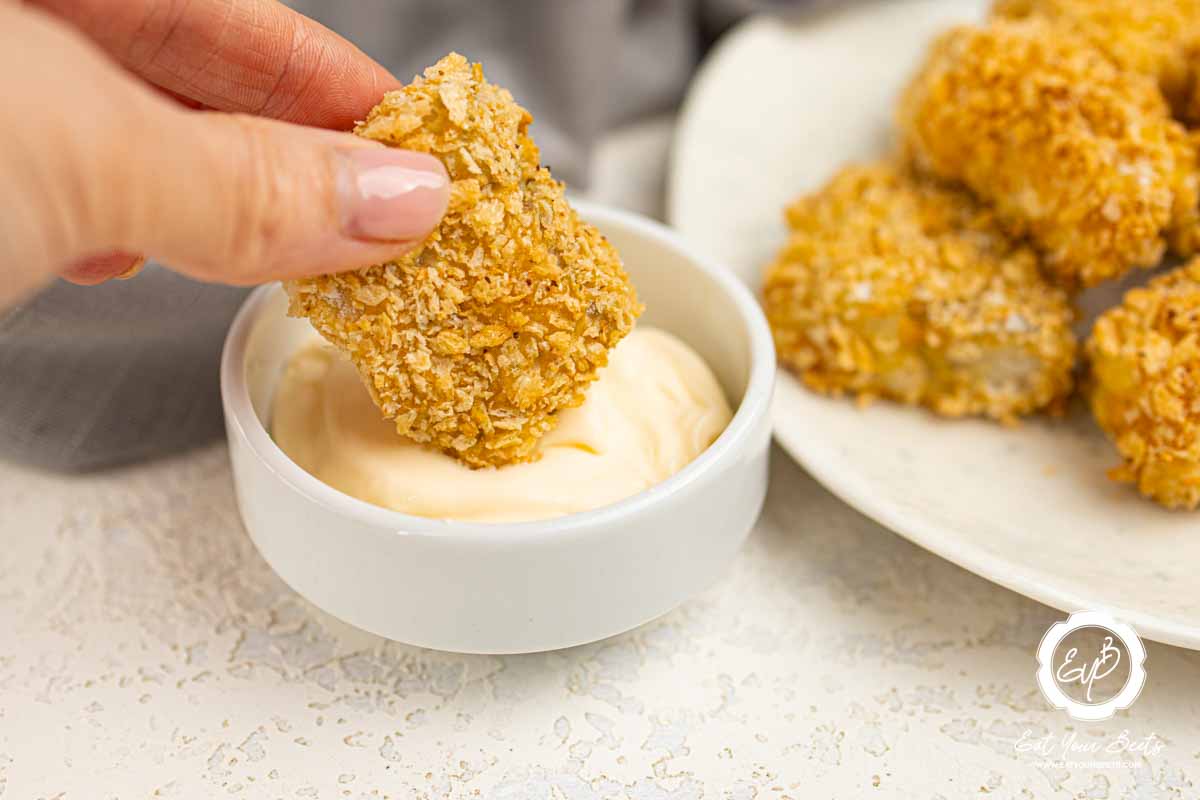
- Step 8: Finally, your smoked Texas Twinkies are ready to be served! I like to dip mine in homemade barbecue sauce.
👩🍳 Expert Tips
- Room Temperature Cream Cheese: Make sure the cream cheese is at room temperature for easy mixing and smooth filling.
- Secure with Toothpicks: Use toothpicks to keep the bacon wrapped tightly around the jalapenos during cooking.
- Indirect Heat for Grilling: Cook over indirect heat to prevent the bacon from burning while the jalapenos and filling cook through.
💭 FAQs
The best way to eat a Texas Twinkie is by slicing it in half and then topping it with your favorite sauce. Ooh, yummy!
Yes, a Texas Twinkie can absolutely be served as an appetizer. They are also great as a main course or even as a side dish. However, you want to eat these Brisket Stuffed Peppers is totally up to you.
The main difference between a Texas Twinkie and a regular jalapeno pepper is that the Texas Twinkie is stuffed with brisket, whereas a regular jalapeno pepper is usually filled with cheese or other types of fillings.
Additionally, the Texas Twinkie has a crispy bacon wrap, while the jalapeno pepper is typically just stuffed and cooked.
The taste of a Texas Twinkie will depend on the quality of the brisket used as well as the smoking process.
Some people find that the pepper itself has a slightly spicy and slightly smoky flavor, while others prefer to combine their Texas Twinkie with other toppings like BBQ sauce, ranch dressing, or guacamole for an extra burst of flavor.
No matter how you choose to eat it, there’s no denying that a Texas Twinkie is a delicious and satisfying snack.
Place the chopped smoked brisket mixture in an airtight container and store it in the refrigerator for up to 3-4 days.
For longer storage, transfer the mixture to a freezer-safe container or bag. It can be frozen for up to 3 months.
When ready to use, thaw the brisket mixture in the refrigerator overnight.
💖 Serving Suggestions
Here are some sides to serve with Smoked Texas Twinkies Recipe:
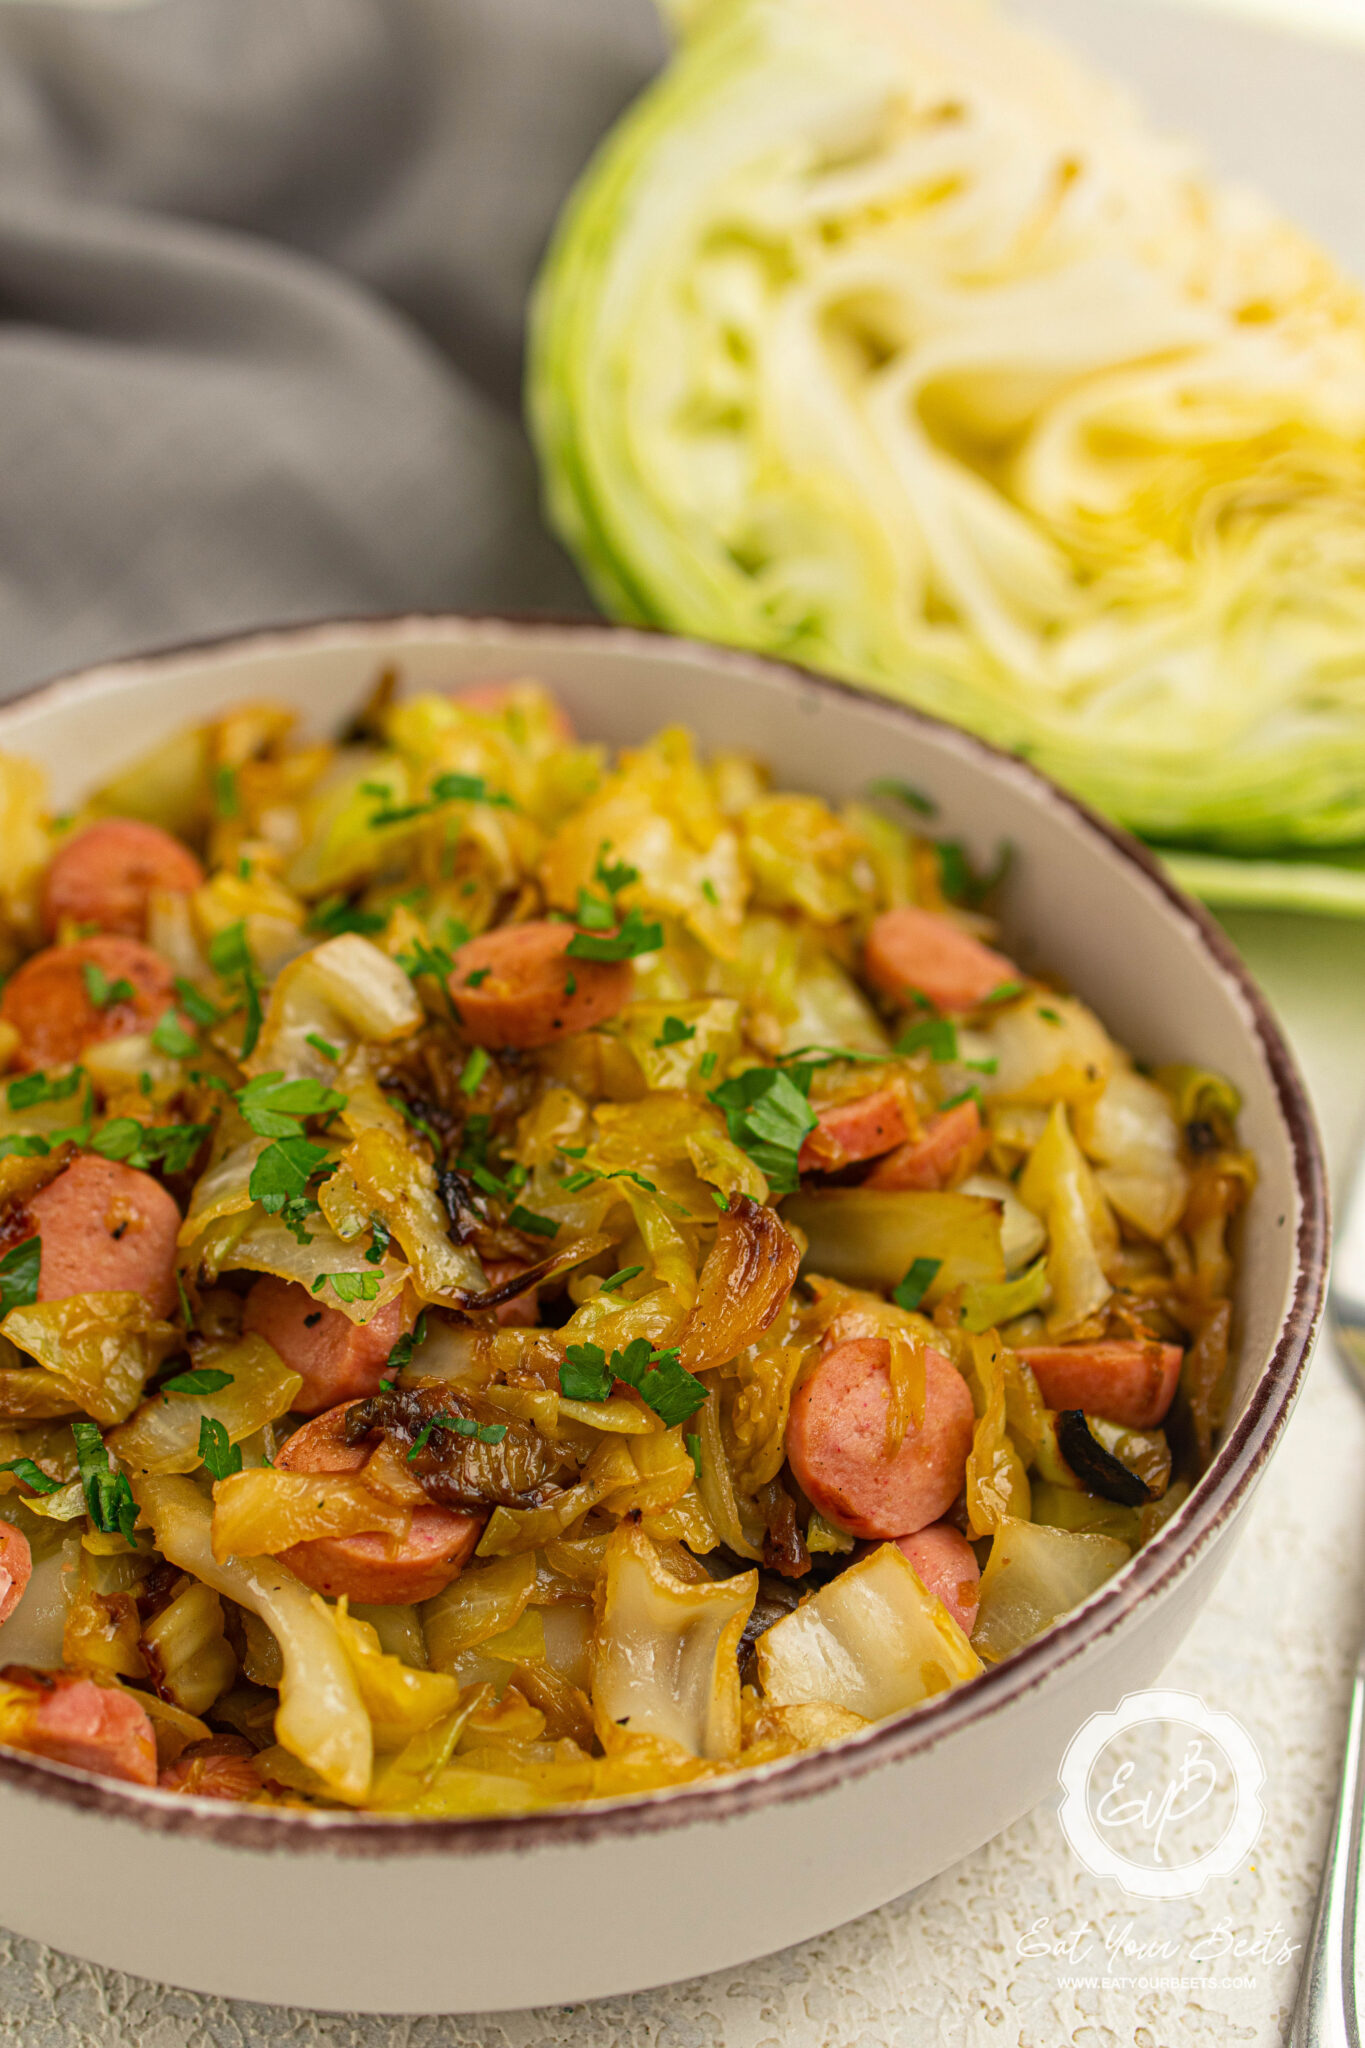
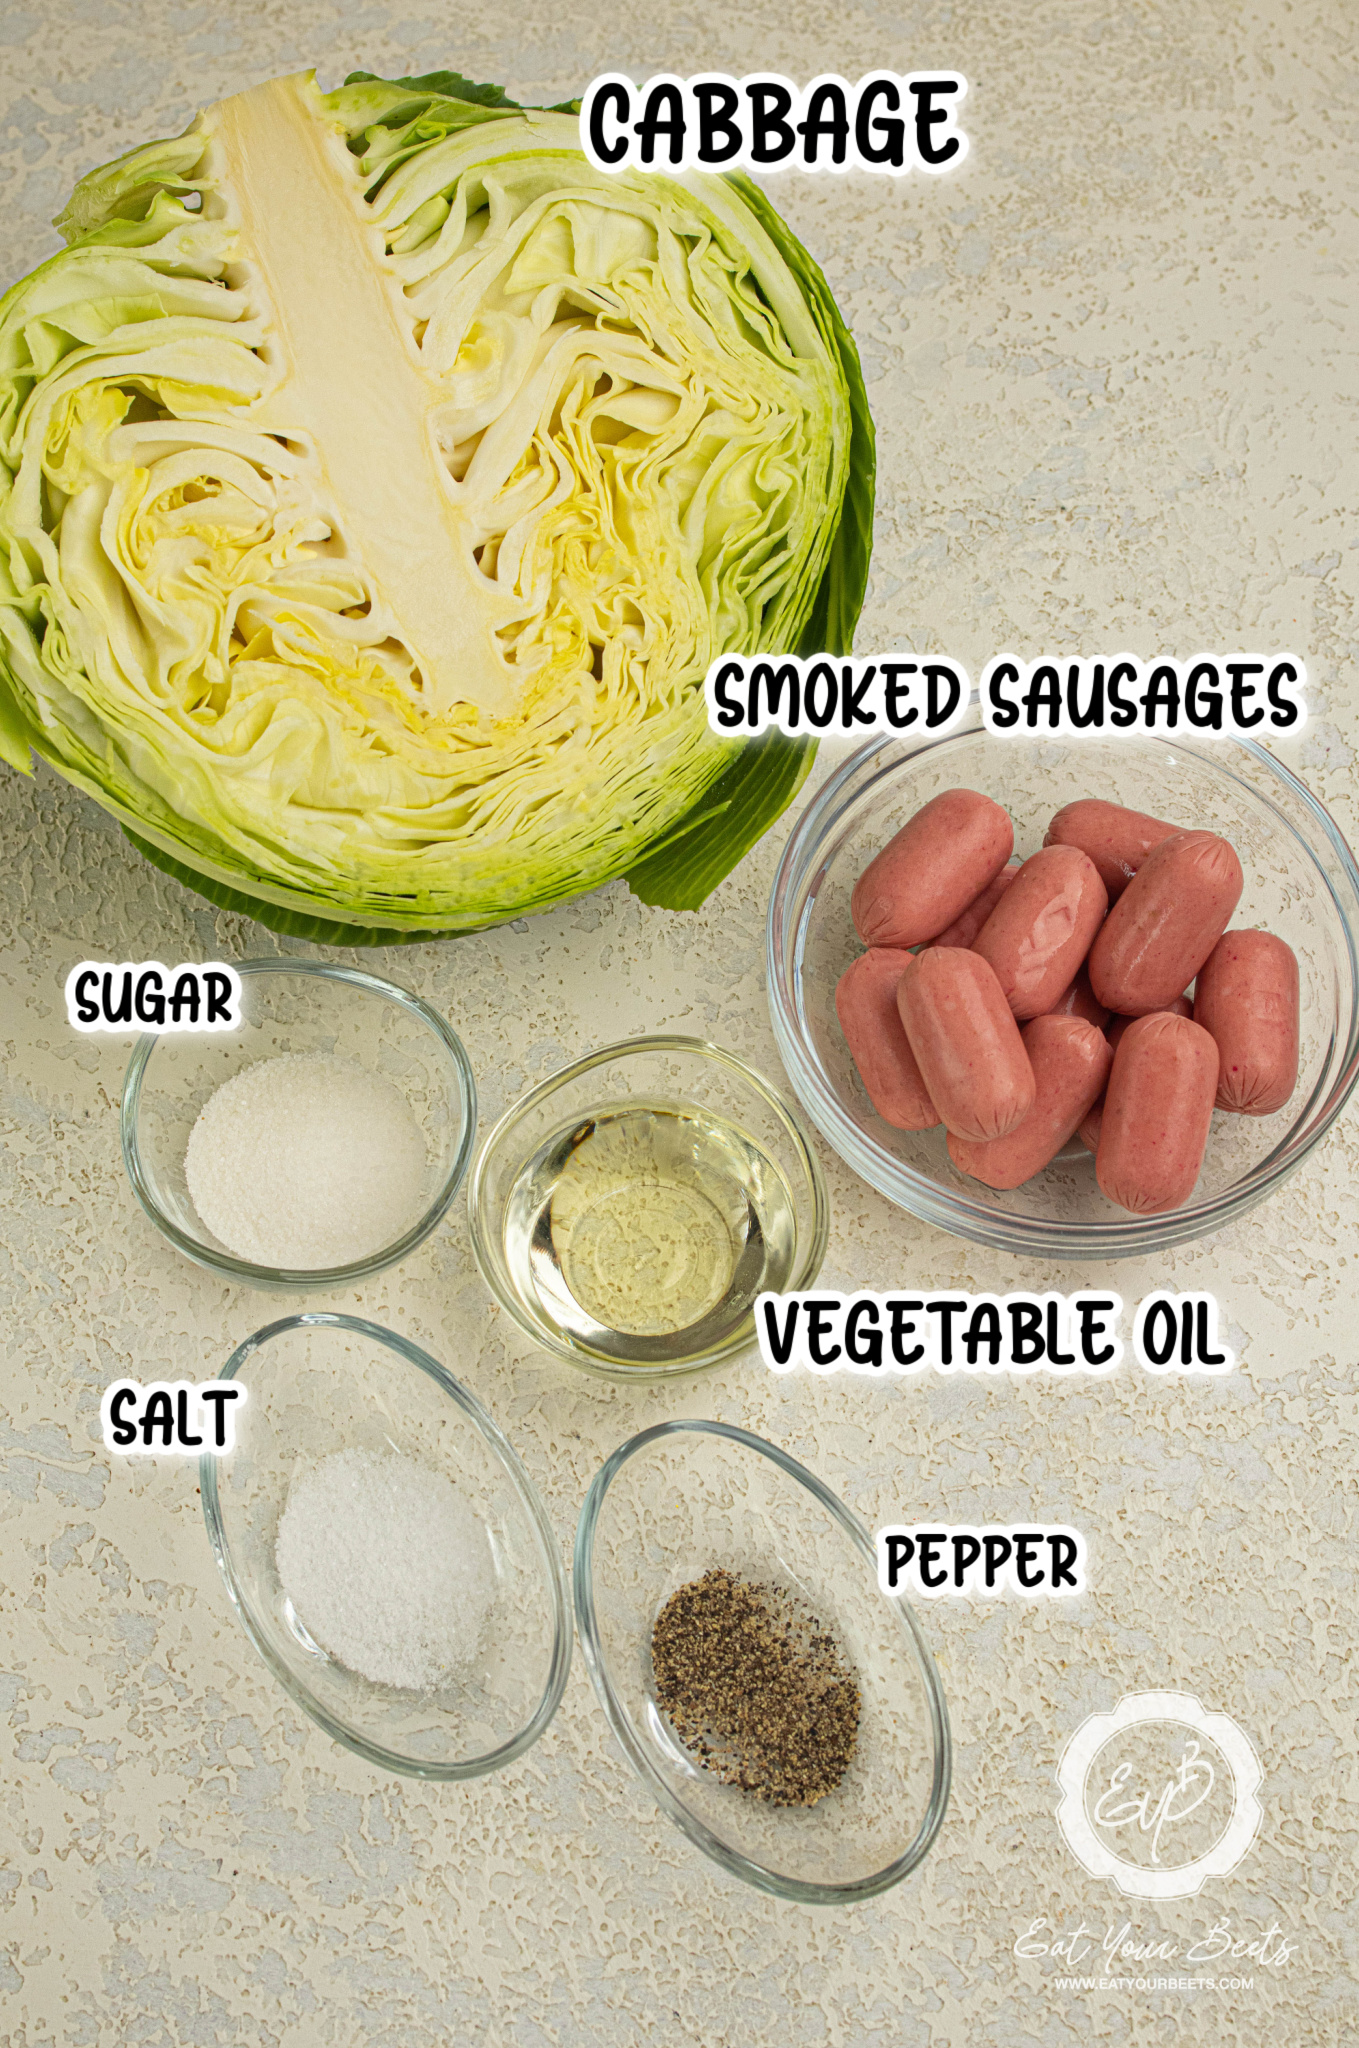
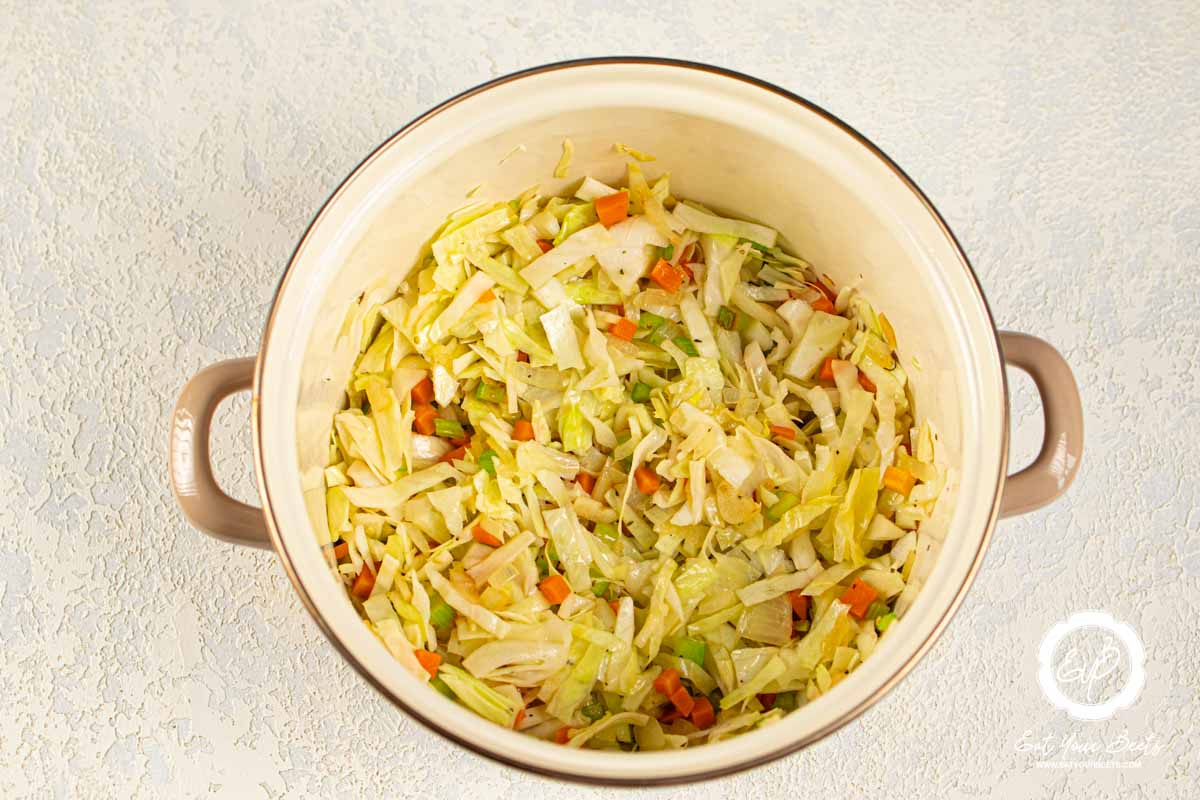
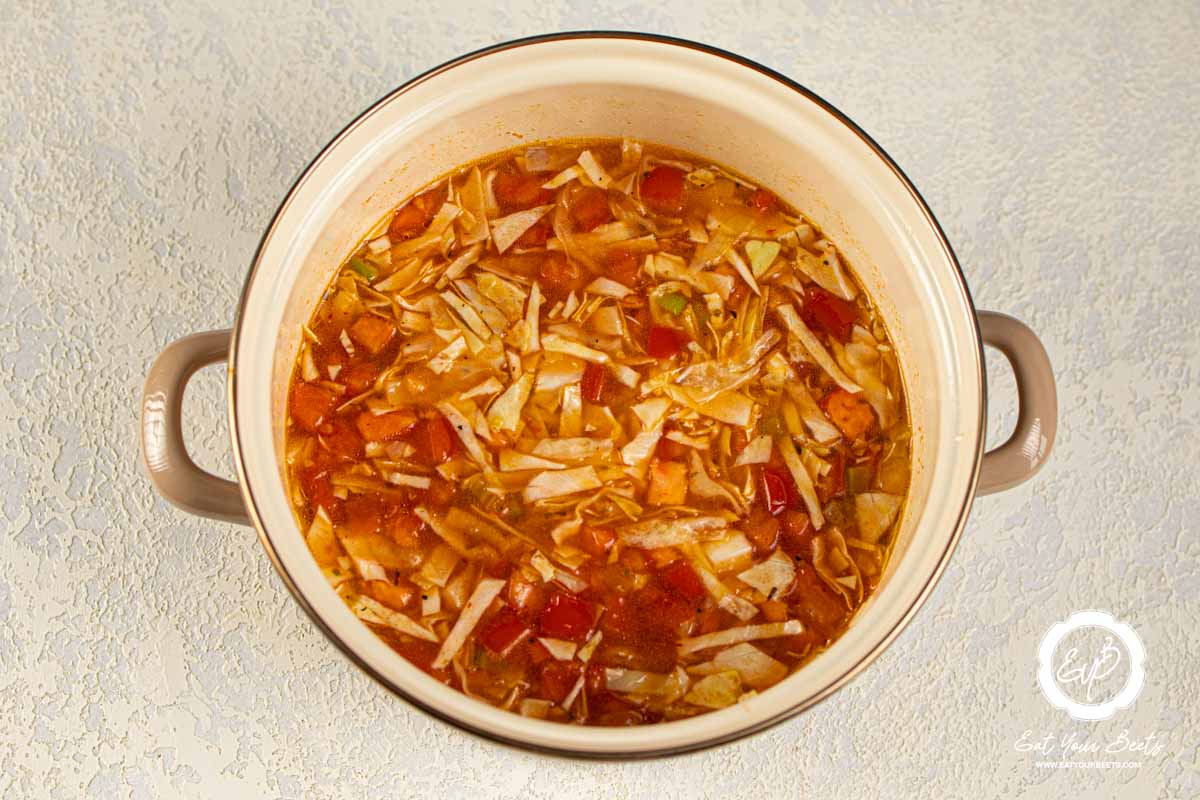
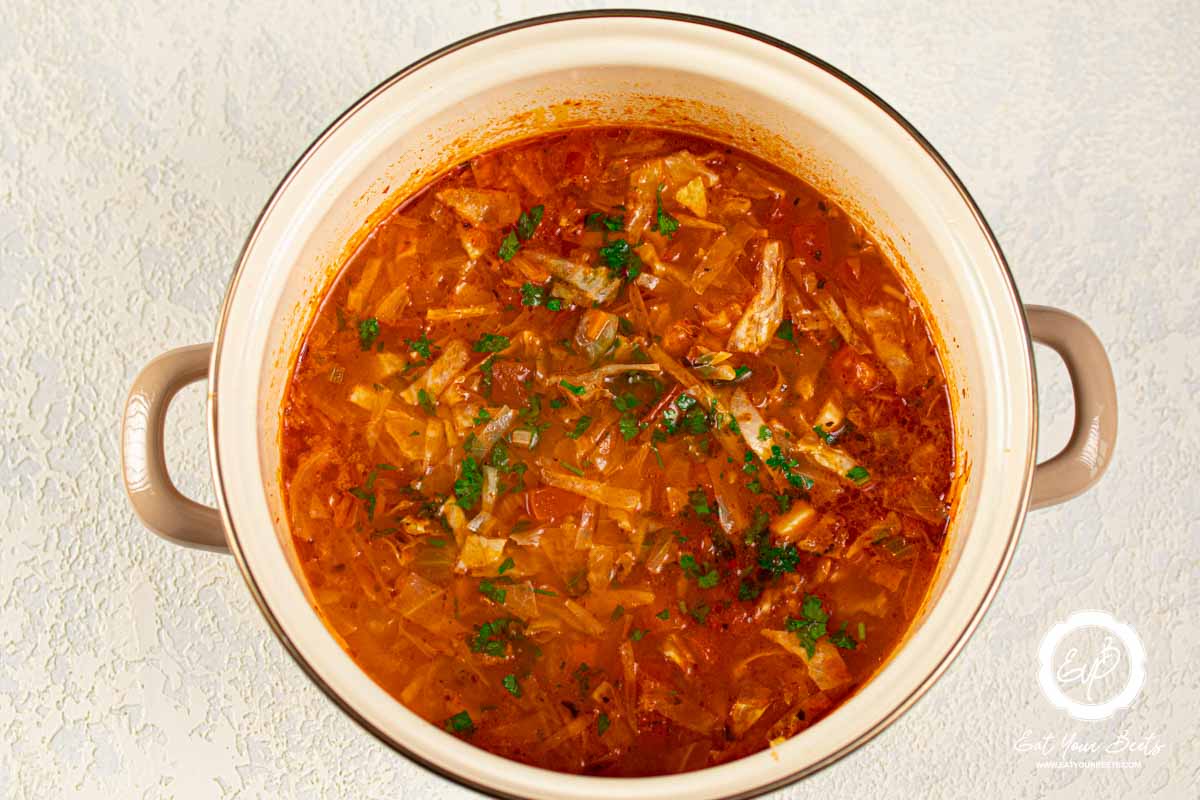
- Red Cabbage Coleslaw – A crunchy coleslaw adds a refreshing contrast to the rich, smoky flavors.
- Jalapeno Cornbread – Sweet and fluffy cornbread is a perfect match for the spicy kick of Texas Twinkies.
- Vegan Baked Beans – Smoky and saucy beans make a hearty, flavorful pairing that enhances the BBQ vibe.
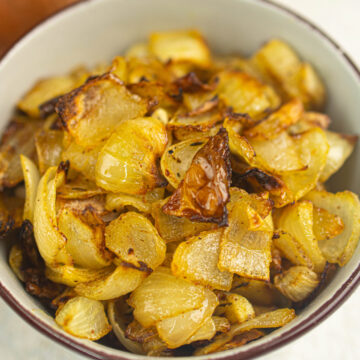
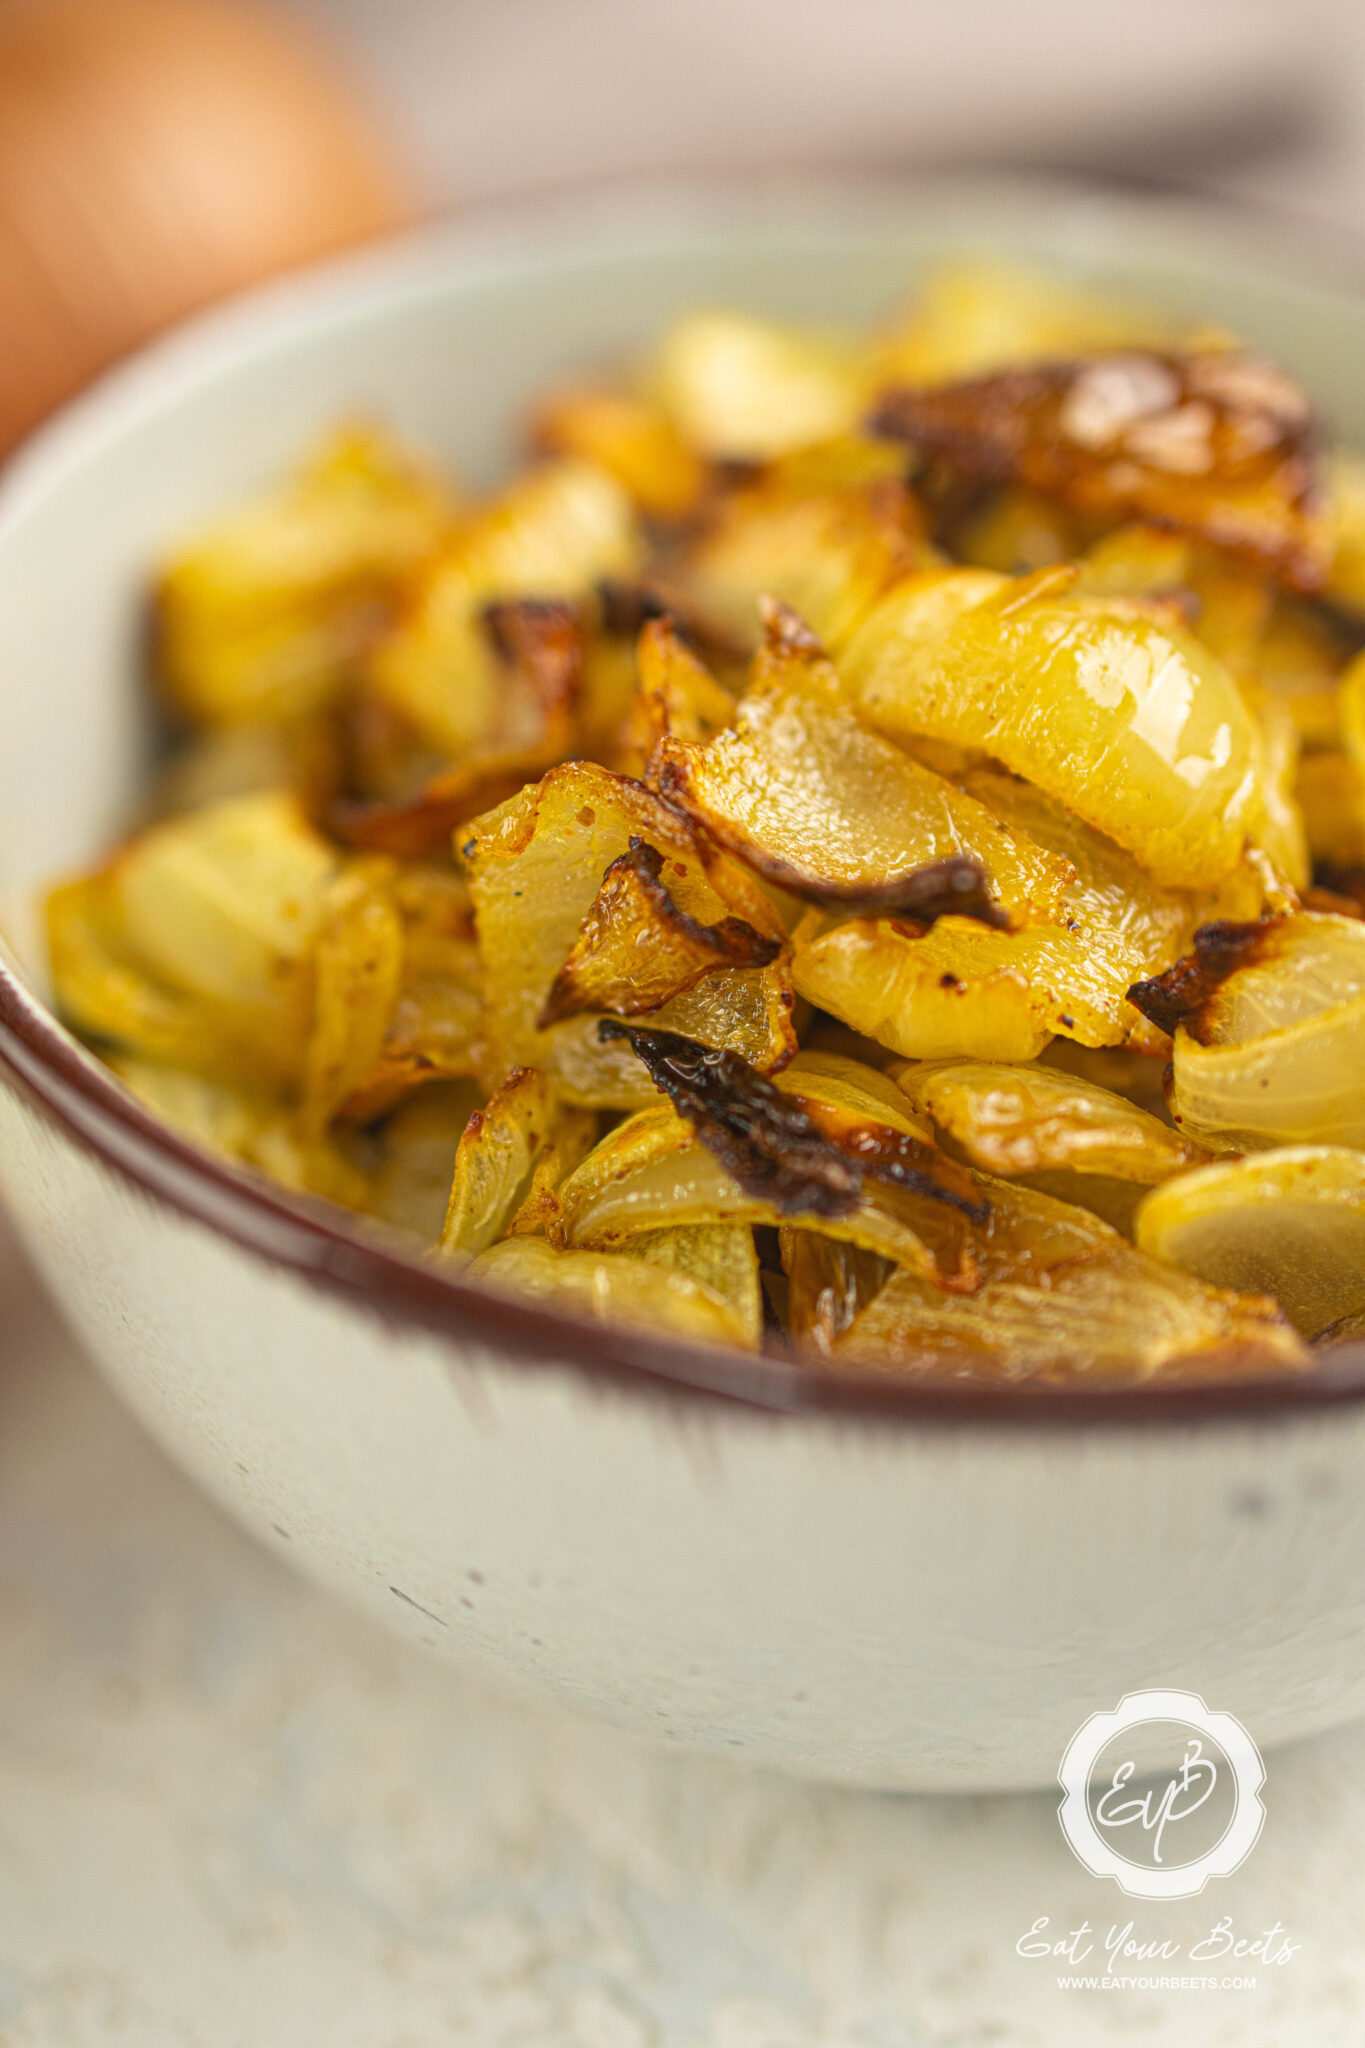
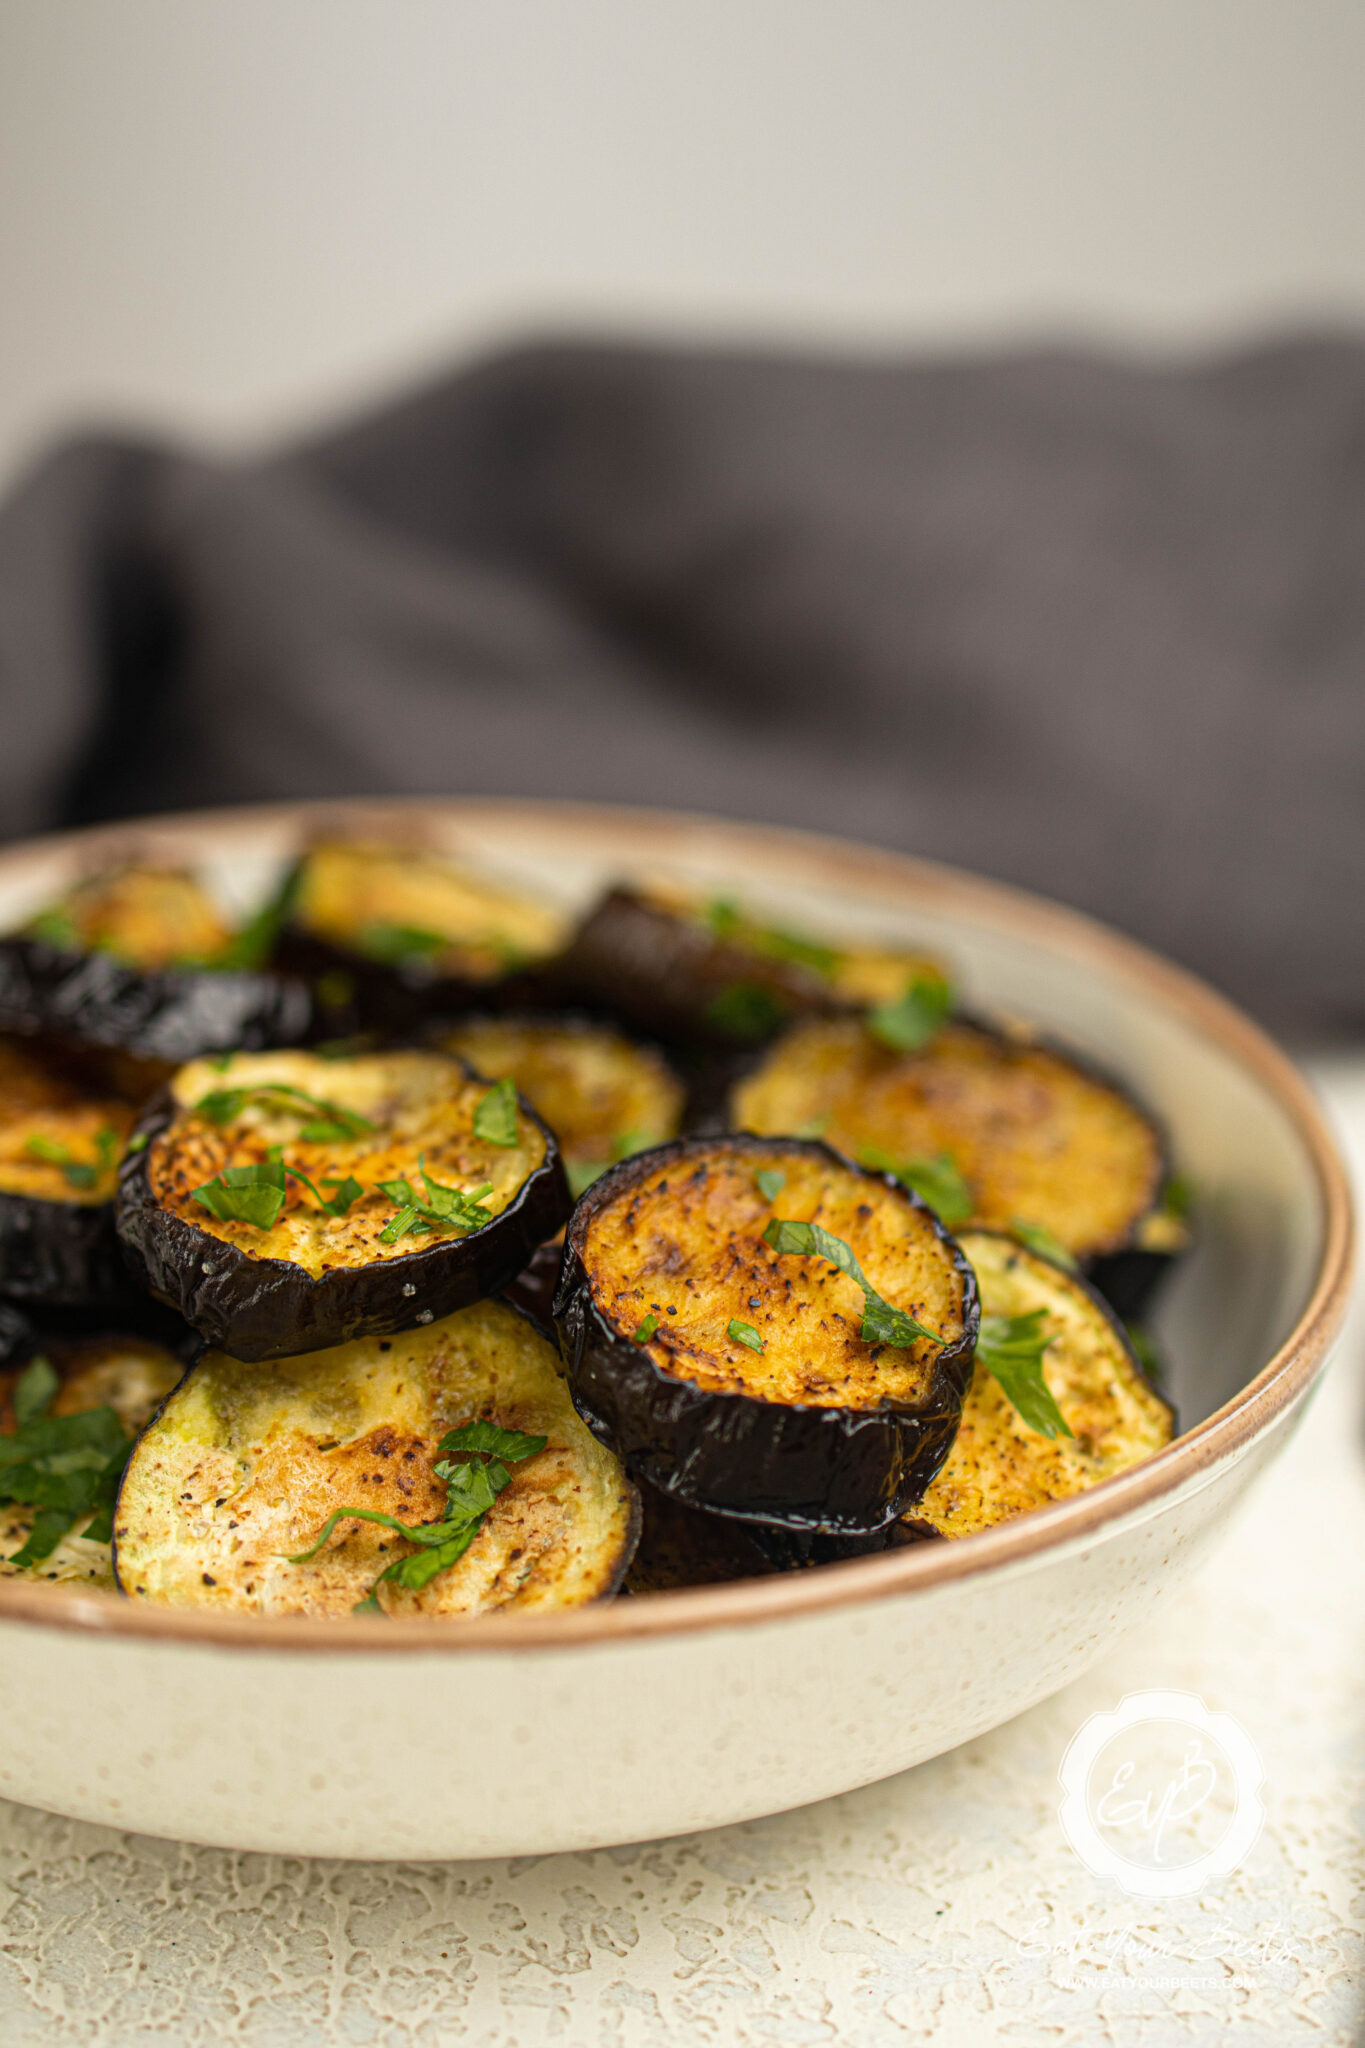
- Roasted Veggies – Lightly charred vegetables like zucchini, bell peppers, and onions add a nice balance to the meal.
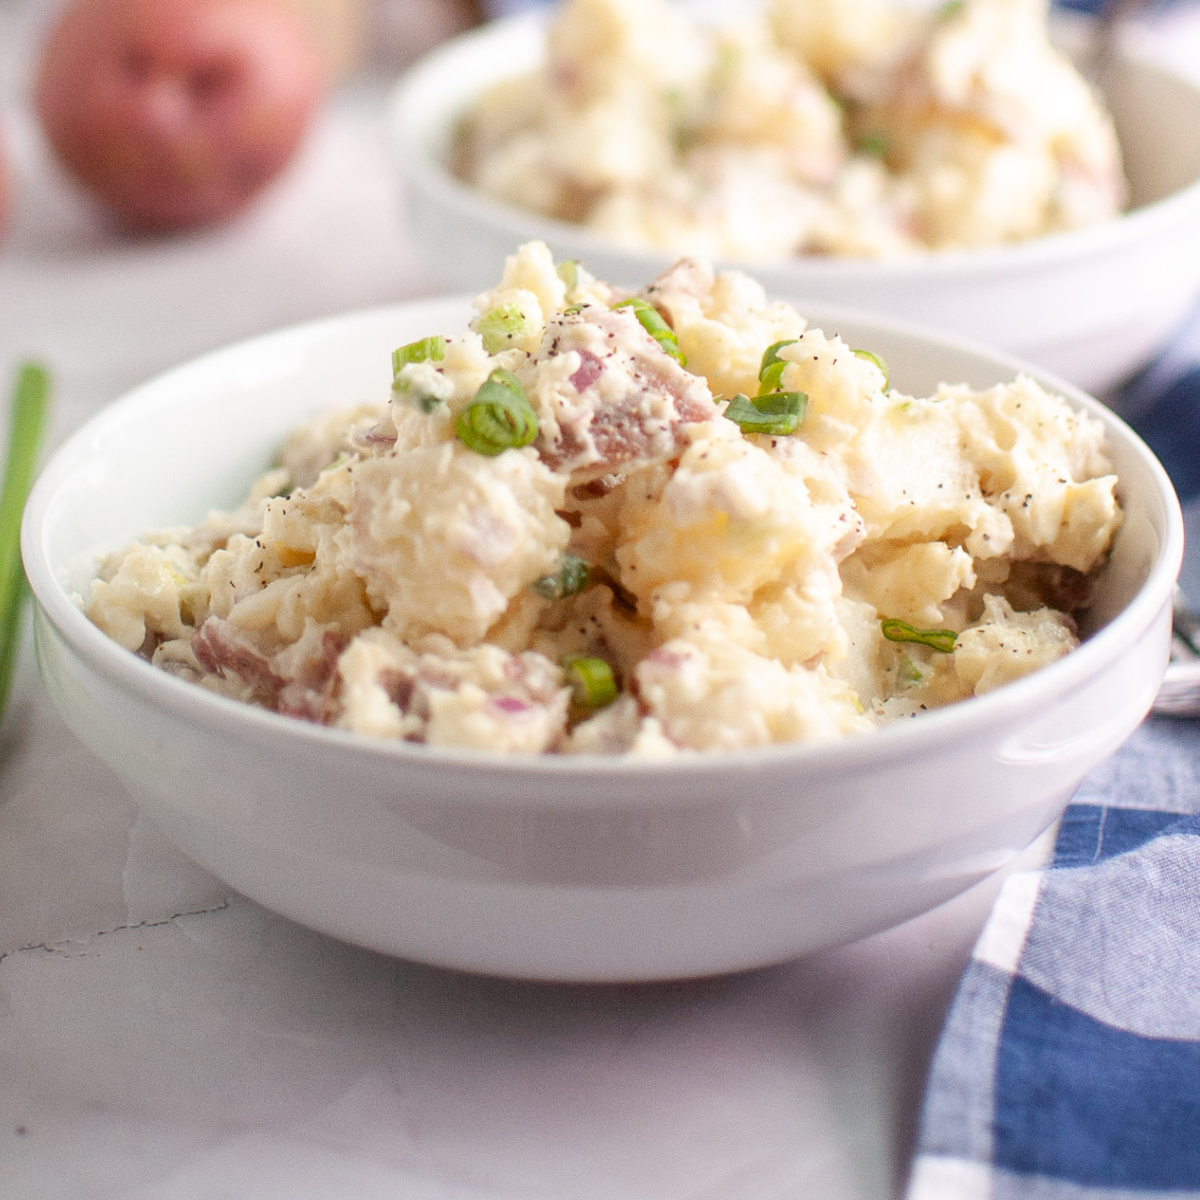
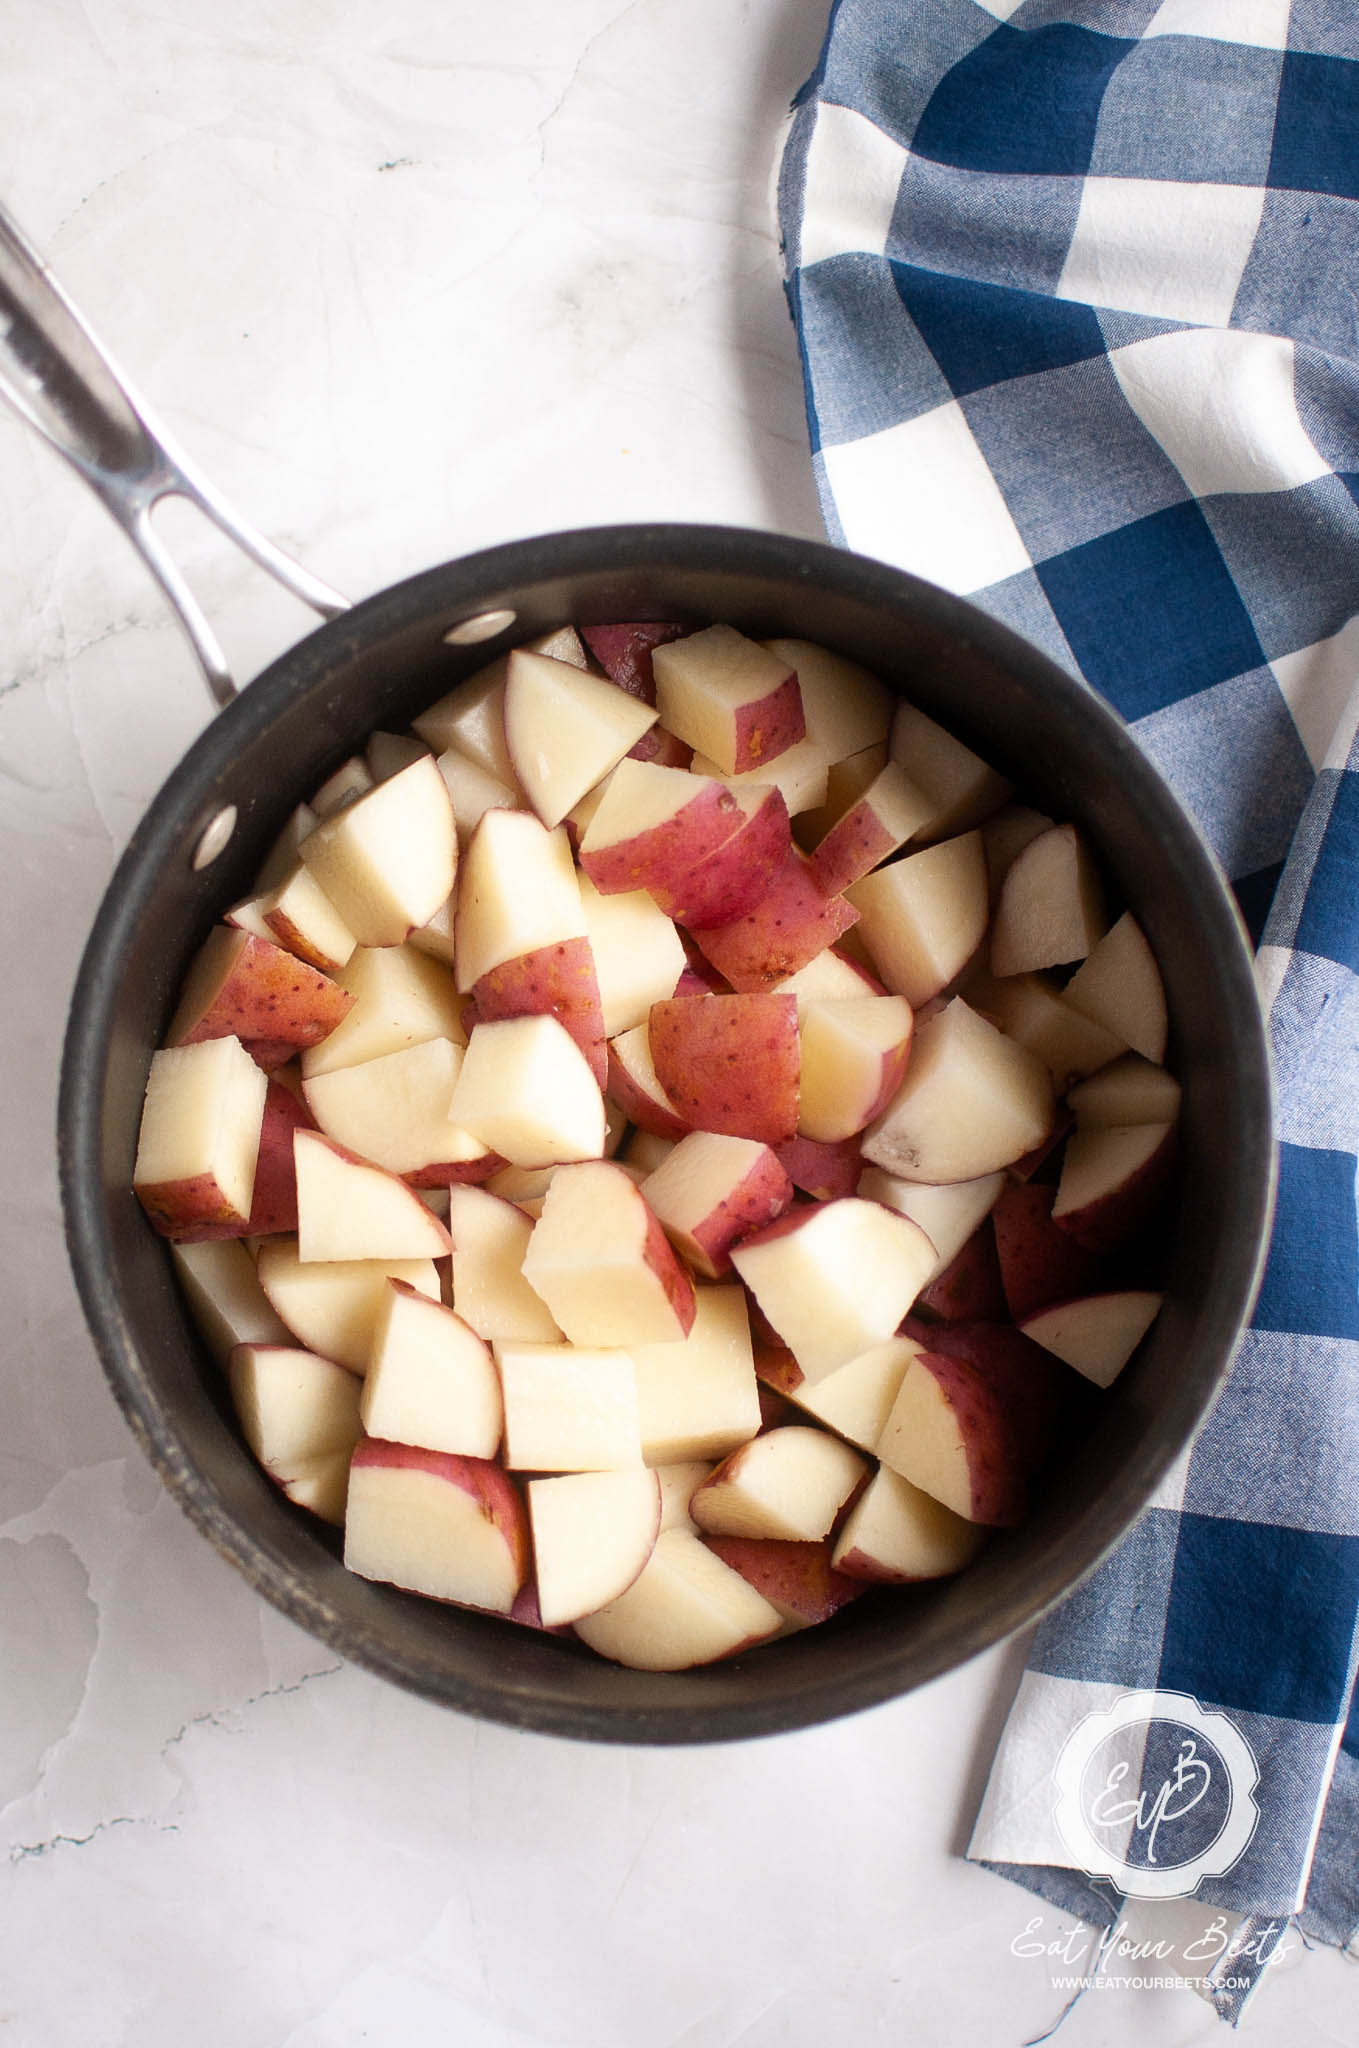
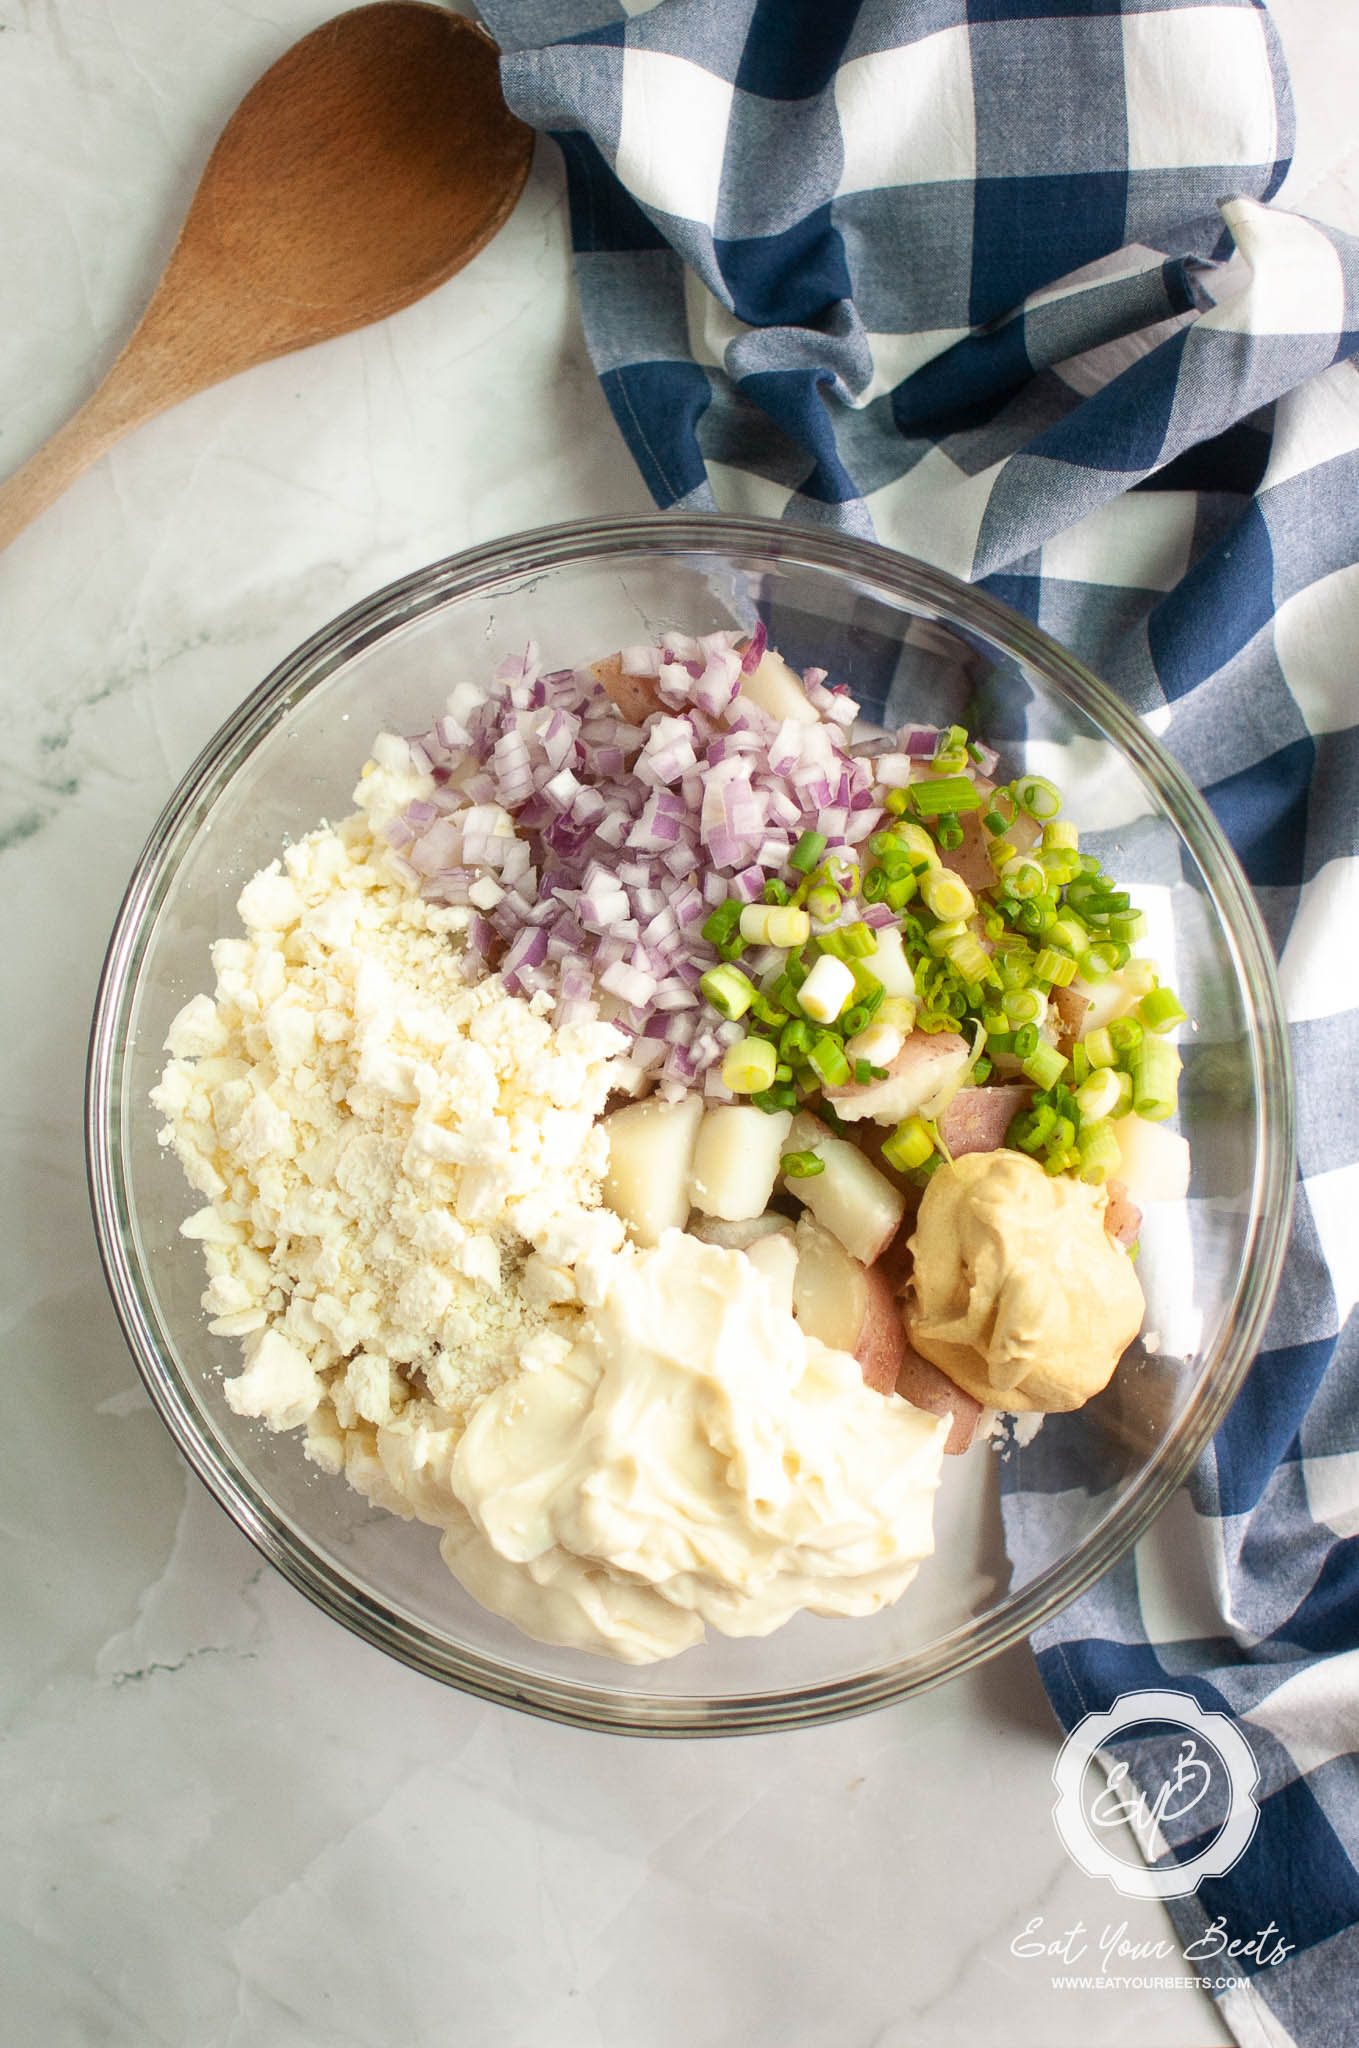
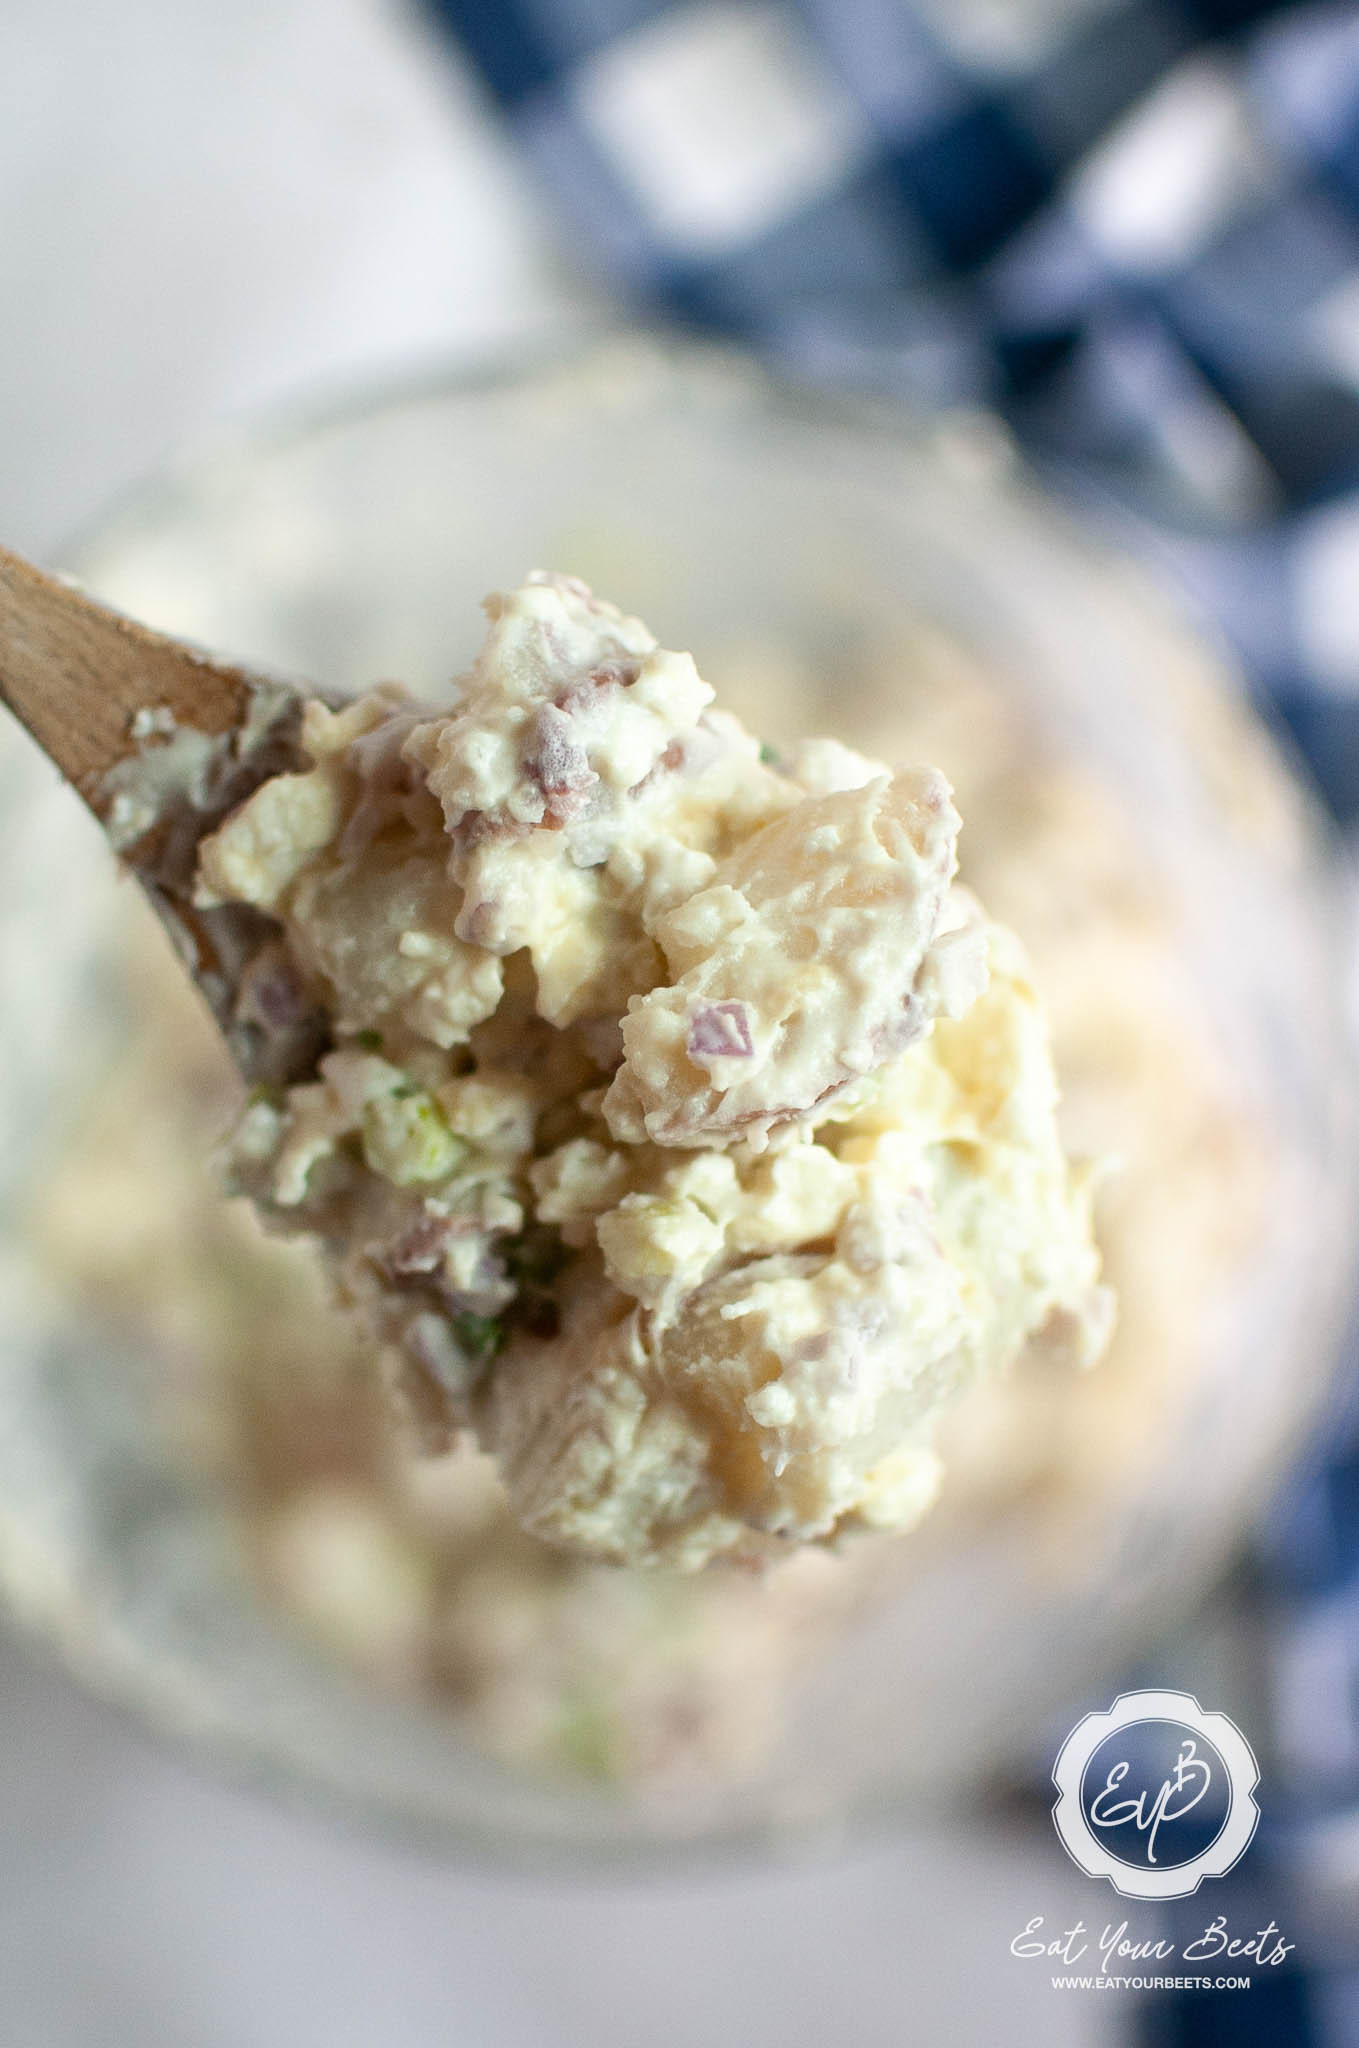
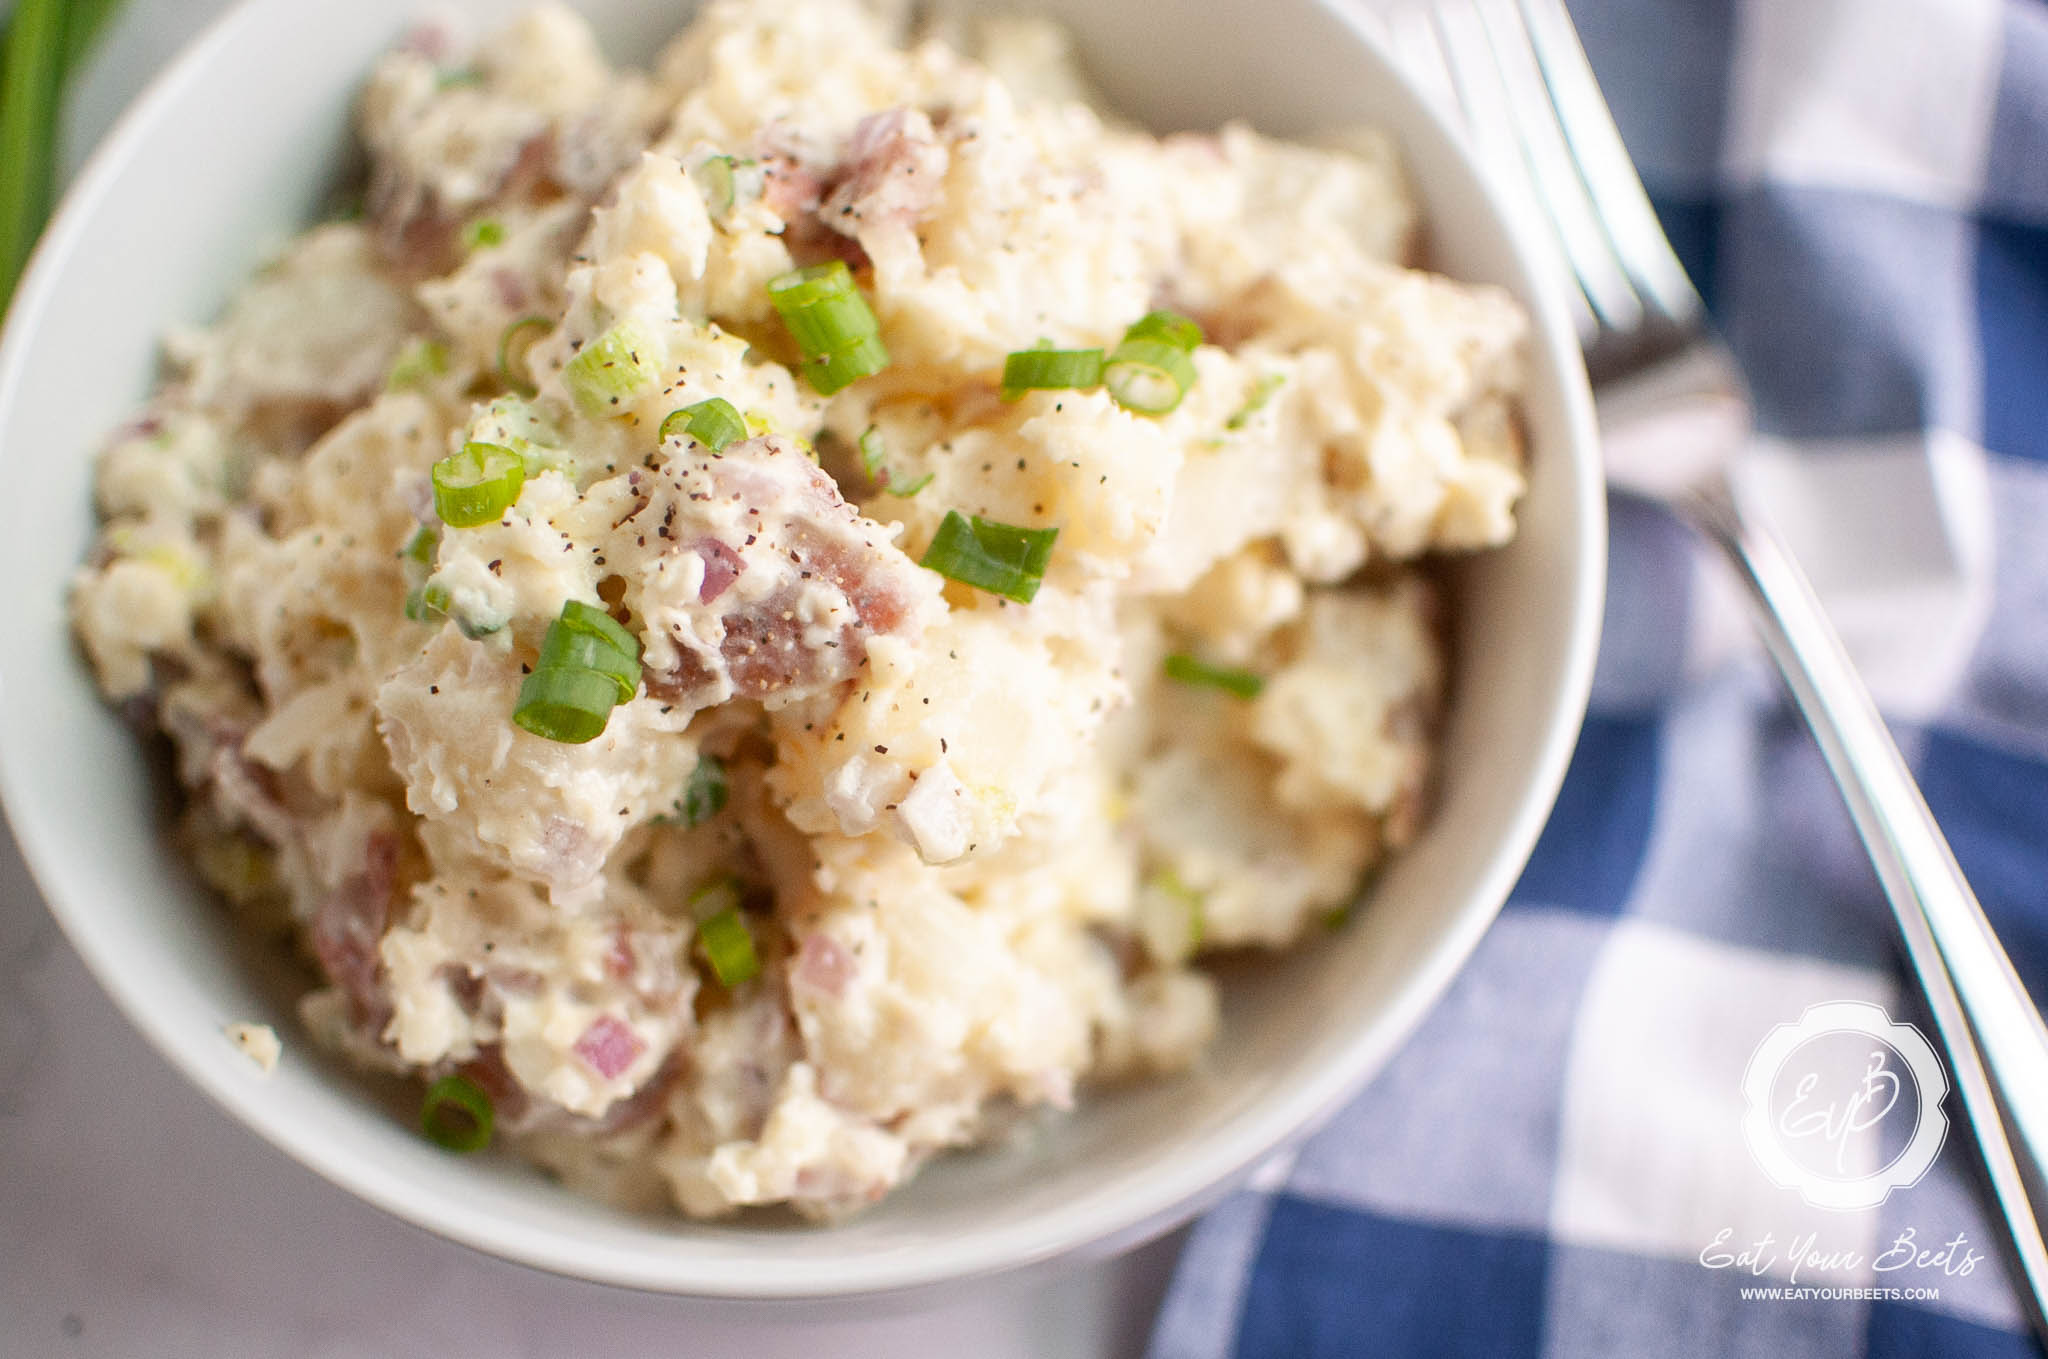
- Smashed Potato Salad – Creamy or mustard-based, potato salad is a classic BBQ side that goes great with Texas Twinkies.

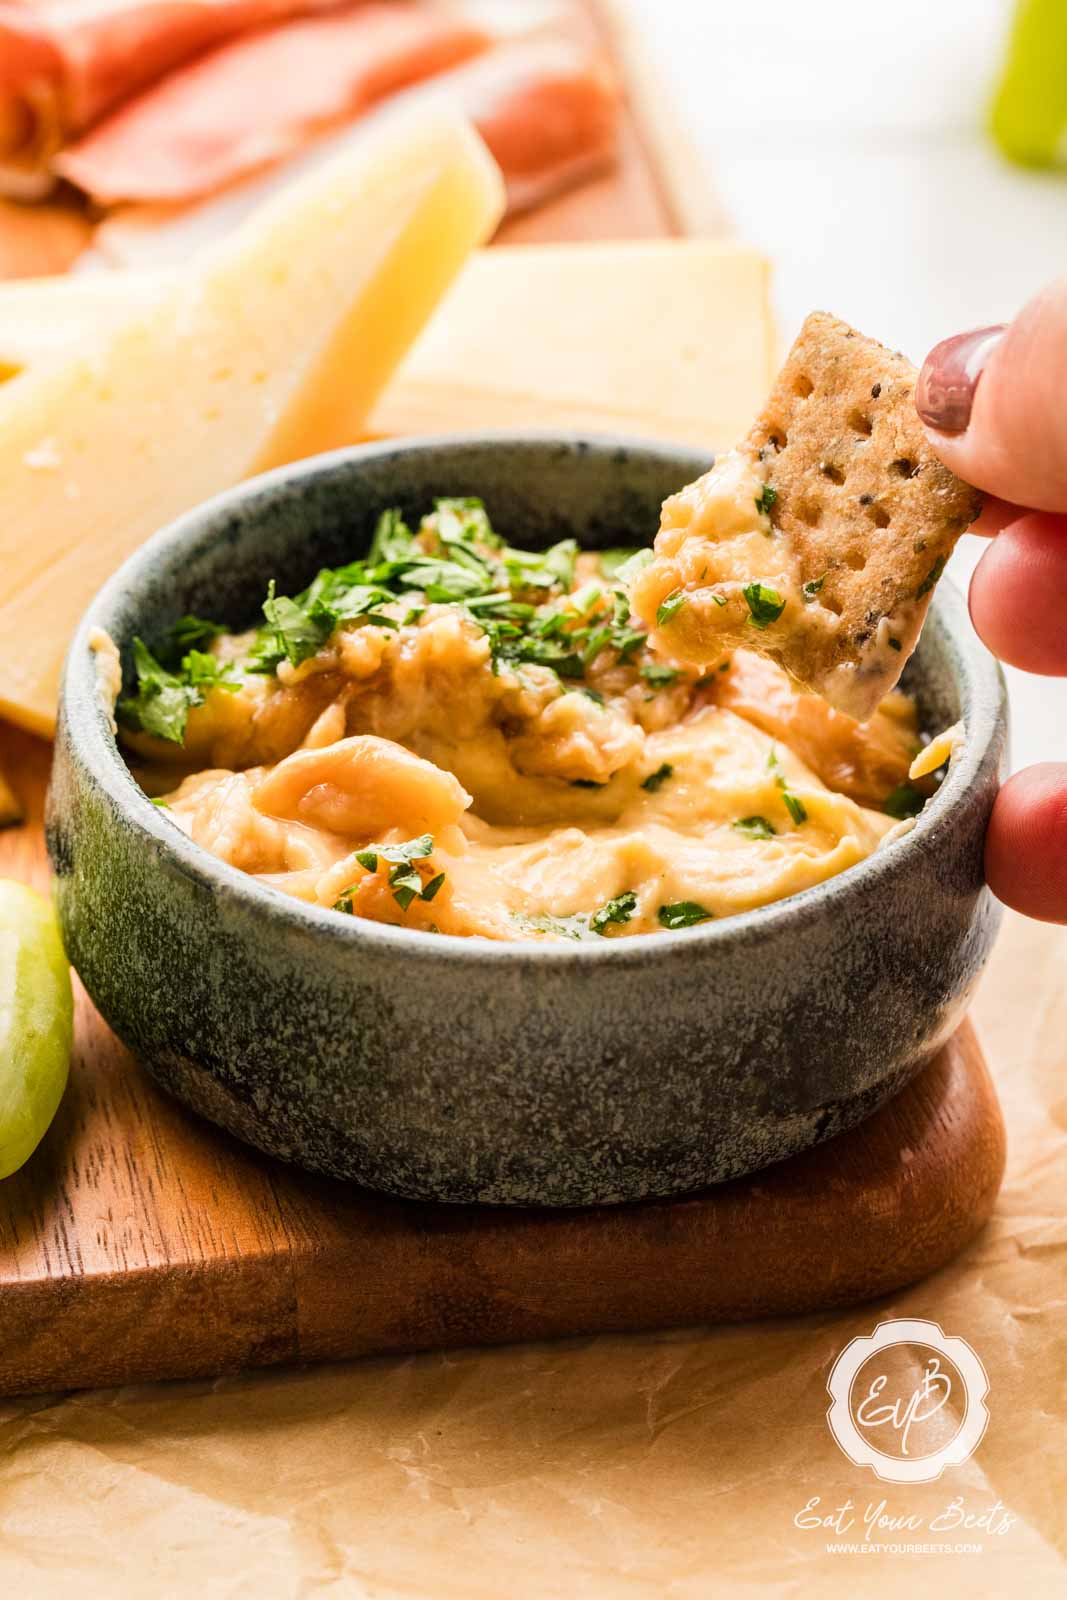
🍽 Try The Tasty Appetizers


Did you make this recipe? Leave a review and a ⭐⭐⭐⭐⭐ rating below, or tag us in our Facebook Group! Alternatively, bookmark it in your browser or save to Pinterest.

Smoked Texas Twinkies with Bacon And Brisket
Ingredients
- 8 Jalapenos Sliced and De-seeded
- 8 Slices Thick-cut Bacon
- 12 Tablespoons Cream Cheese Room Temperature
- 2 Cups Smoked Brisket Chopped or Shredded
Instructions
- Begin by using a sharp paring knife to slice a line down the back of each jalapeno. Carefully remove the seeds, then rinse the jalapenos under water to ensure they're clean.
- With the help of a knife, stuff each jalapeno generously with cream cheese, ensuring it's filled halfway.
- Once the jalapenos are fully packed with cream cheese, they are ready for the next step.
- Add shredded or chopped brisket into the cream cheese-filled jalapenos, pressing it gently to keep everything in place.
- Lay a slice of thick-cut bacon flat, wrap it securely around each stuffed jalapeno, and fasten the bacon with toothpicks at both ends.
- Arrange the bacon-wrapped jalapenos on a baking sheet, preferably on a wire rack, and bake them in a preheated oven at 400°F until the bacon is crispy, which should take about 20-30 minutes.
- Once baked, the crispy Texas Twinkies, will have a golden appearance.
- Finally, your smoked Texas Twinkies are ready to be served!
Notes
Nutrition
You May Also Enjoy The Following Recipes:


