

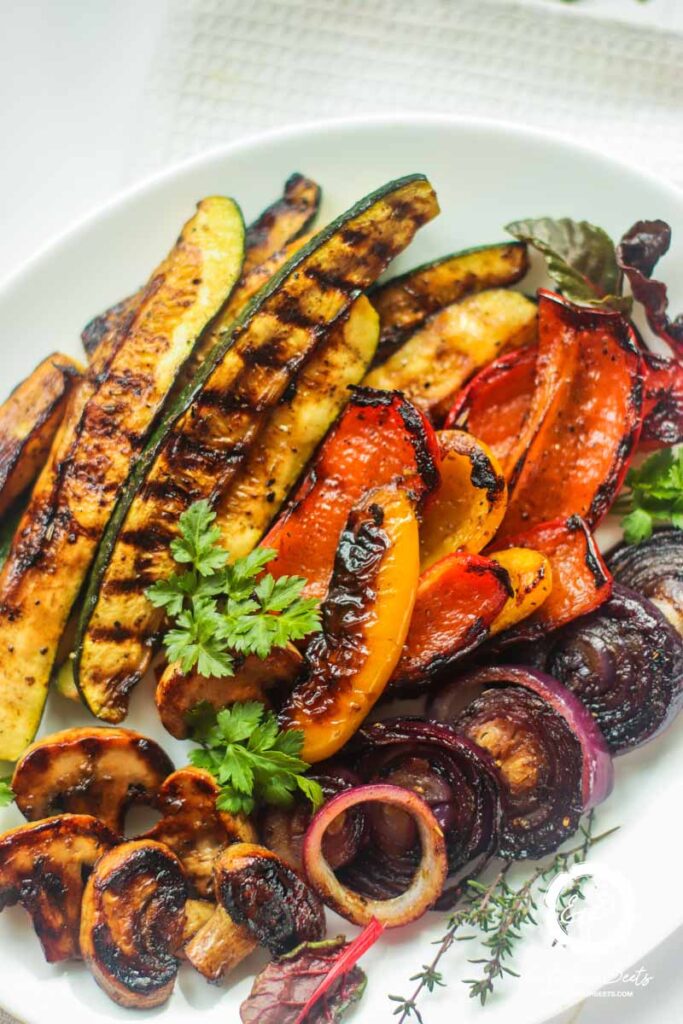
Craving smoky, caramelized veggies with serious flavor? These Balsamic Grilled Vegetables are the ultimate summer side—zesty, tender, and charred to perfection in just minutes.
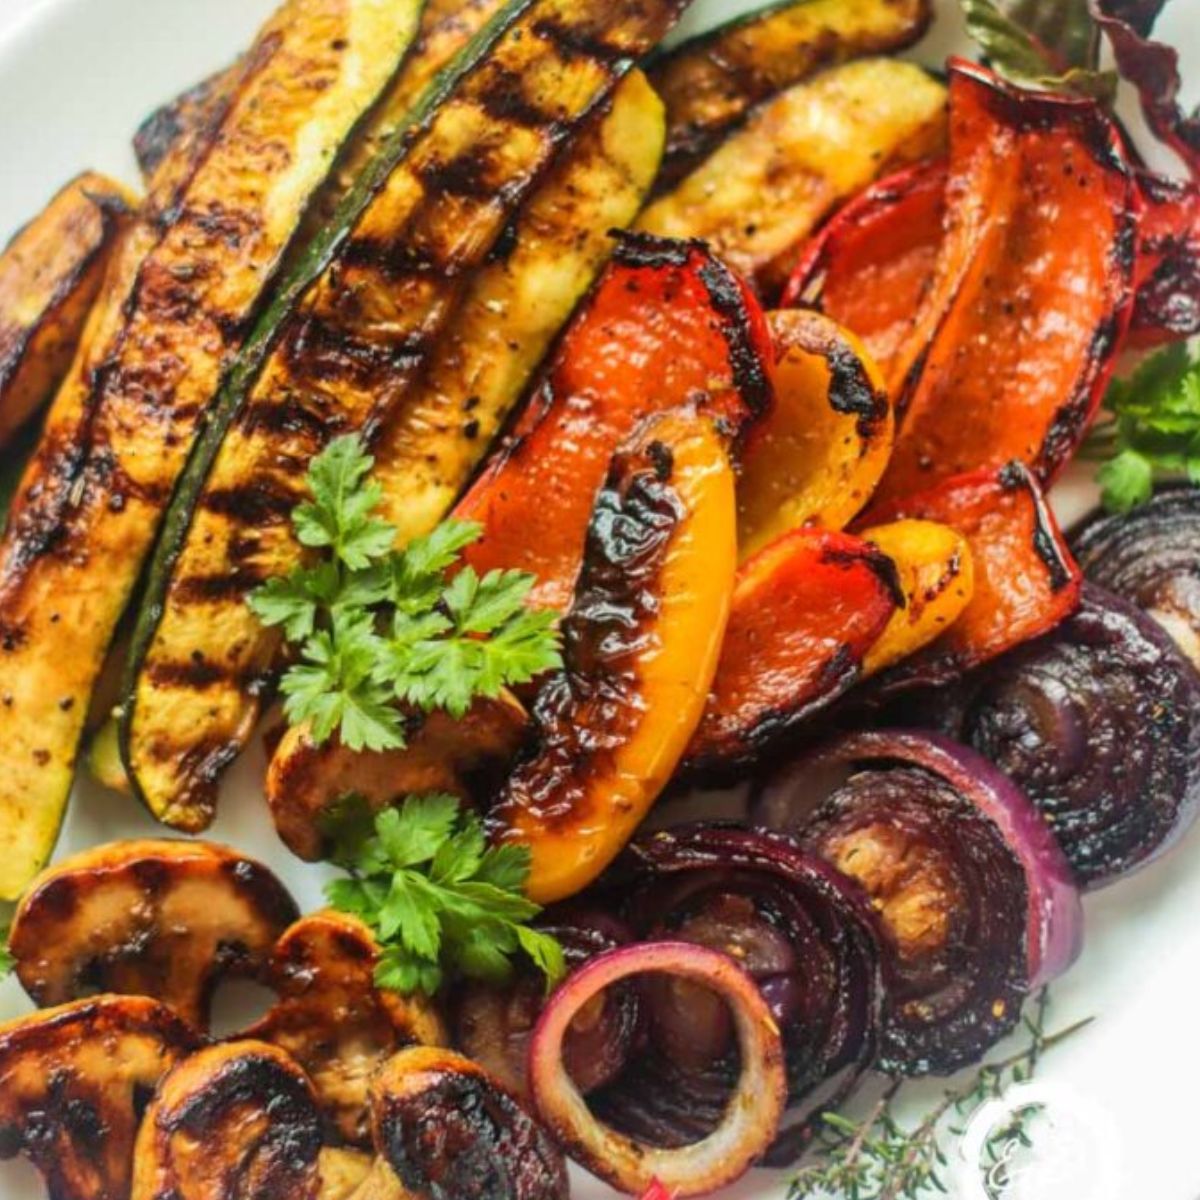
If you're all about bright, fresh dishes that feel fancy but are super easy—this one’s for you. Whether you're grilling out with friends, serving a veggie-packed dinner, or meal prepping for the week, balsamic roasted vegetables are always a win.
Love veggie sides like Grilled Eggplant with Lemon Dip, Air Fryer Baby Bella Mushrooms or Roast Peppers in Air Fryer? You’ll be hooked on this easy grilled vegetable side dish.
[feast_advanced_jump_to]💖 Why This Recipe Works
- Flavor Bomb: The balsamic vinegar caramelizes on the grill, giving veggies a glossy glaze and bold, tangy-sweet depth.
- Smoky Char: High heat unlocks rich, roasted flavor that brings out the best in every bite.
- Endlessly Adaptable: Use whatever’s in your fridge—this marinade works with nearly everything.
⭐ Star Ingredients

- Balsamic Vinegar: Adds tang, depth, and natural sweetness that intensifies with heat. Go for aged balsamic if you want maximum richness. It’s the best marinade for grilled vegetables.
- Zucchini: A grill favorite! Mild and juicy, it soaks up the marinade and caramelizes beautifully.
- Red Onion: Sweetens and softens as it grills, adding a mellow kick and gorgeous color contrast.
For the complete list of ingredients with measurements and instructions, please see the recipe card at the bottom of the post.
📖 Substitutions & Variations
- Add Rosemary or Thyme: Toss fresh herbs in with the marinade.
- Veggie Swap: Add eggplant, asparagus, or cherry tomatoes for a twist.
- Spicy Kick: Sprinkle with red pepper flakes before grilling.
- Balsamic Glaze Finish: Drizzle extra balsamic reduction on top for a glossy finish—ideal for grilled vegetables with balsamic glaze.
- No Grill? Try roasting them in the oven or use a grill pan for stovetop charring.
Want more colorful sides? Try our Citrus Butterfly Chicken or Crispy Mashed Potato Cakes next.
🔪How to Grill Vegetables with Balsamic Marinade

- Step 1: Chop zucchinis, red and yellow bell peppers, red onion, and mushrooms into bite-sized pieces and place them in a large bowl.

- Step 2: In a small bowl, whisk together balsamic vinegar, olive oil, minced garlic, Italian herbs, salt, and pepper.

- Step 3: Pour the marinade over the chopped vegetables, tossing well to ensure they are evenly coated. Allow them to marinate for about 30 minutes to absorb the flavors fully.

- Step 4: Heat a grill pan over medium-high heat. Arrange the marinated vegetables in a single layer, working in batches to avoid overcrowding. Grill for 3-4 minutes on each side or until tender and nicely charred, turning occasionally for even grilling. Serve warm as a flavorful side dish.
💡 Hint: Use skewers or a grill basket to prevent small pieces from falling through the grates.
👩🍳 Expert Tips
- Marinate Long Enough: 30 minutes minimum to soak in all that balsamic goodness.
- Cut Evenly: Similar-sized pieces = even grilling.
- High Heat = Best Char: Don’t grill too low or they’ll steam instead of sear.
- Finish With Flake Salt: A sprinkle of finishing salt right before serving makes flavors pop.
💭 FAQs
Absolutely! Feel free to substitute with other vegetables such as eggplant, cherry tomatoes, or asparagus. The key is to choose veggies that will hold up well on the grill.
Marinating the vegetables for about 30 minutes is ideal as it allows them to absorb the flavors of the balsamic and herbs. If you’re short on time, even a brief 10-minute marinate can add flavor.
Use a grill pan indoors or roast them in a 425°F oven.
Store cooled grilled vegetables in an airtight container in the refrigerator for up to 3 days. These are great to make ahead, taste great warm or cold and are perfect for meal prep or picnics.
💖 Serving Suggestions
Serve these balsamic grilled vegetables with:
- Air Fryer Steak Bites: For a satisfying surf-and-turf-style plate.
- Instant Pot Asian Pulled Pork: A smoky-sweet pairing.
- Air Fryer Cod Fillet: Light and flaky protein meets bold grilled flavor.
- Berry Salad with Goat Cheese: Fresh, creamy contrast.
- Quinoa or Couscous: For a simple plant-based meal.
Great as a vegetarian BBQ side, tossed into grain bowls, or packed in wraps. It’s one of our favorite healthy grilled vegetable recipes and a go-to summer grilled vegetables recipe.
Add-Ons: Turn leftovers into pasta salads, veggie wraps, or omelets. They’re also amazing in grain bowls or tossed over hummus with pita for an easy lunch. Great for fridge clean-out days!

🍽 Try More Tasty Italian Recipes


Did you make this recipe? Leave a review and a ⭐⭐⭐⭐⭐ rating below, or tag us in our Facebook Group! Alternatively, bookmark it in your browser or save to Pinterest.

Balsamic Grilled Vegetables
Ingredients
- 2 Medium Zucchinis Cut Into Bite-Sized Pieces
- 1 Red Bell Pepper Cut Into Bite-Sized Pieces
- 1 Yellow Bell Pepper Cut Into Bite-Sized Pieces
- 1 Large Red Onion Cut Into Wedges
- 8 oz (225g) Mushrooms (Button Or Cremini), Halved
- ¼ Cup Balsamic Vinegar
- 2 tablespoon Olive Oil Plus More For Brushing If Needed
- 2 Cloves Garlic Minced
- 1 teaspoon Dried Italian Herbs Or A Mix Of Dried Oregano, Basil, And Thyme
- Salt and Pepper To Taste
- Fresh Herbs For Garnish Optional, Such As Parsley Or Basil
Instructions
- Cut the zucchinis, bell peppers, onion, and mushrooms into bite-sized pieces and put them in a big bowl.
- In a small bowl, mix balsamic vinegar, olive oil, garlic, Italian herbs, salt, and pepper.
- Pour the marinade over the veggies and toss them to coat. Let them sit for about 30 minutes to soak up the flavors.
- Heat a grill pan on medium-high. Place the veggies in a single layer (do this in batches if needed).
- Grill for 3-4 minutes on each side until they’re tender and a little charred. Serve warm!


