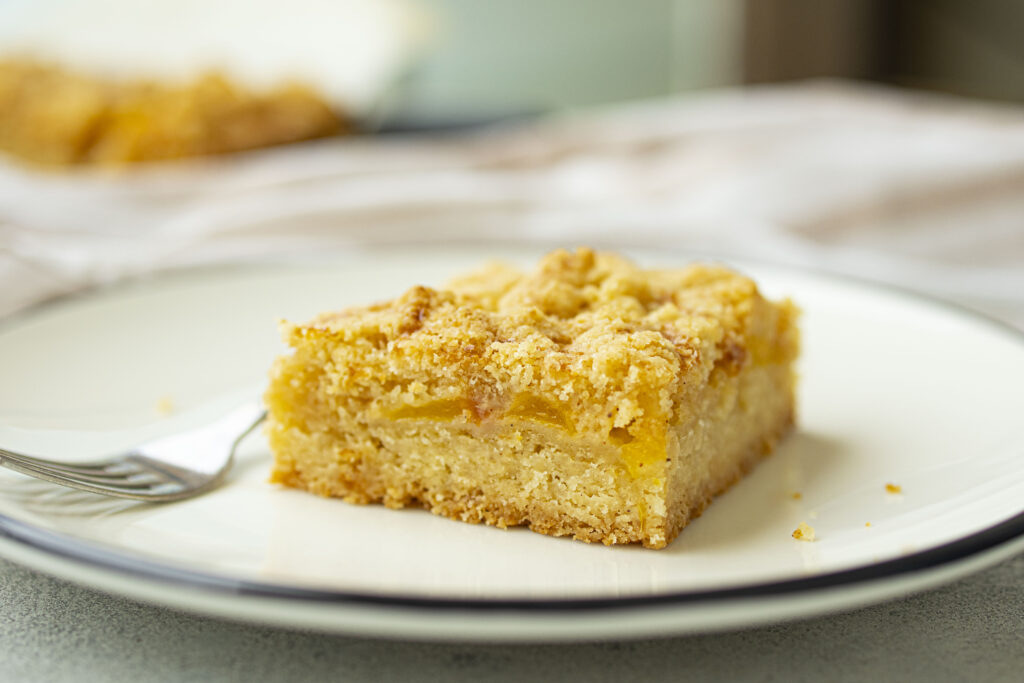
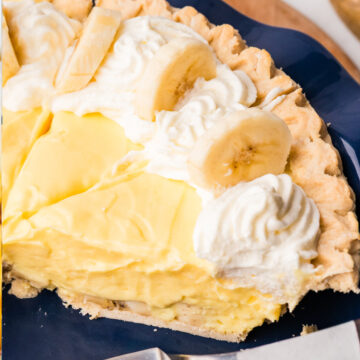
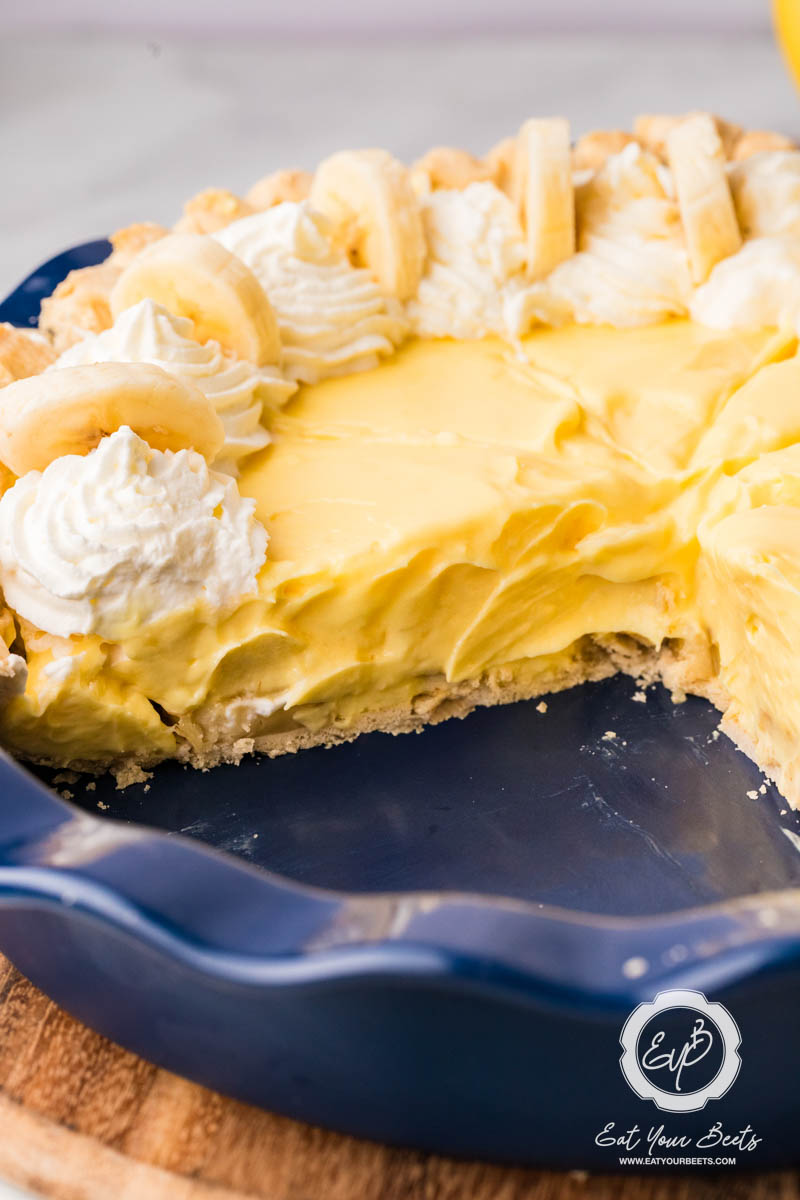
This Old Fashioned Banana Cream Pie features a buttery crust, creamy banana custard, and fluffy whipped topping—perfect for holidays or nostalgic treats.
This pie takes me right back to family gatherings and those retro holiday spreads where the banana cream pie always disappeared first. There’s just something magical about the creamy filling and layers of banana tucked into a flaky crust. It’s sweet, simple, and always a crowd-pleaser. If you’re into nostalgic no-bake treats like my Creamy Vanilla Eclair Cake or The Best No Bake Banana Pudding, this one’s for you.
Did you know there’s a whole day dedicated to this dreamy dessert? National Banana Cream Pie Day falls on March 2nd—just one more reason to whip up a slice of creamy nostalgia.
[feast_advanced_jump_to]💖 Why This Recipe Works
- No pudding mix—this is the real, old-school deal.
- Perfect layers of banana, custard, and whipped cream.
- Lightly sweet, not cloying, with the perfect texture balance.
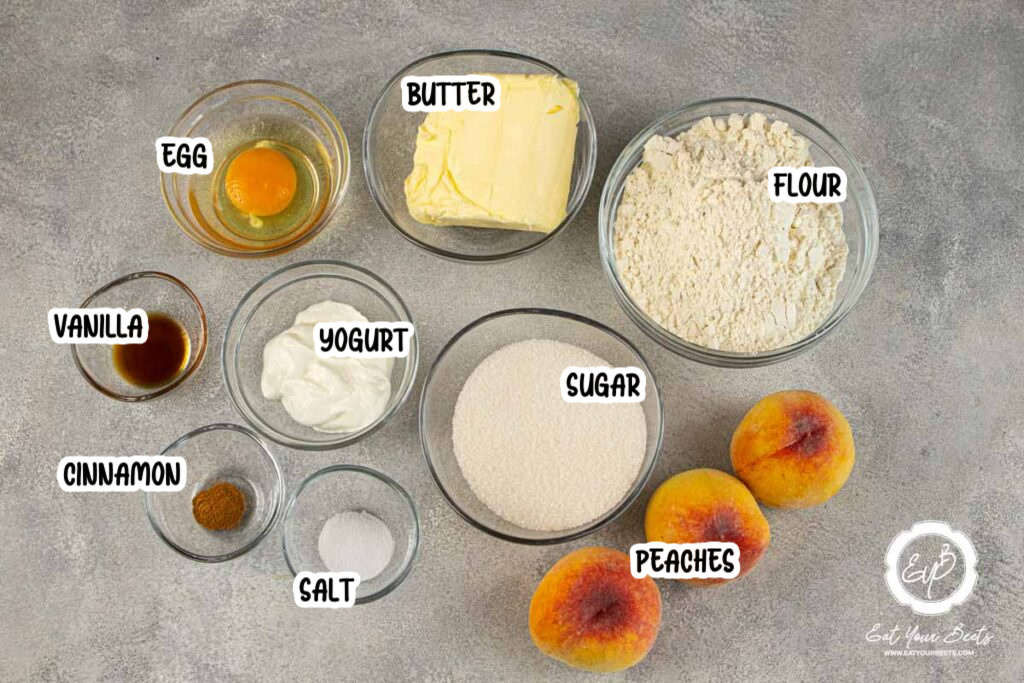
⭐ Star Ingredients

- Pie Crust – Pre-baked until golden. Use homemade or store-bought, just make sure it’s fully cooled before layering.
Bananas – Ripe but not overly mushy—firm enough to hold their shape but still sweet.
Milk – I like using skim to keep it lighter, but whole milk makes it ultra creamy.
Eggs – Provide structure to the custard and that signature richness.
Butter & Vanilla – Stirred in last for a silky finish and warm aroma.
For the complete list of ingredients with measurements and instructions, please see the recipe card at the bottom of the post.
📖 Substitutions & Variations
- Dairy-Free? Use almond milk and dairy-free whipped topping for a lighter option.
- Gluten-Free Crust: Swap in your favorite GF crust and follow the same blind-bake method.
- Coconut Twist: Add toasted coconut flakes over the whipped cream for a tropical touch.
- Chocolate Lined Crust: Brush the crust with melted dark chocolate before adding bananas to seal in the crunch and add a luxe finish.
- Peanut Butter Banana Cream Pie: Swirl ¼ cup of creamy peanut butter into the custard before layering for a nutty, salty-sweet twist. You can also dollop peanut butter between the bananas and custard for a layered flavor surprise.
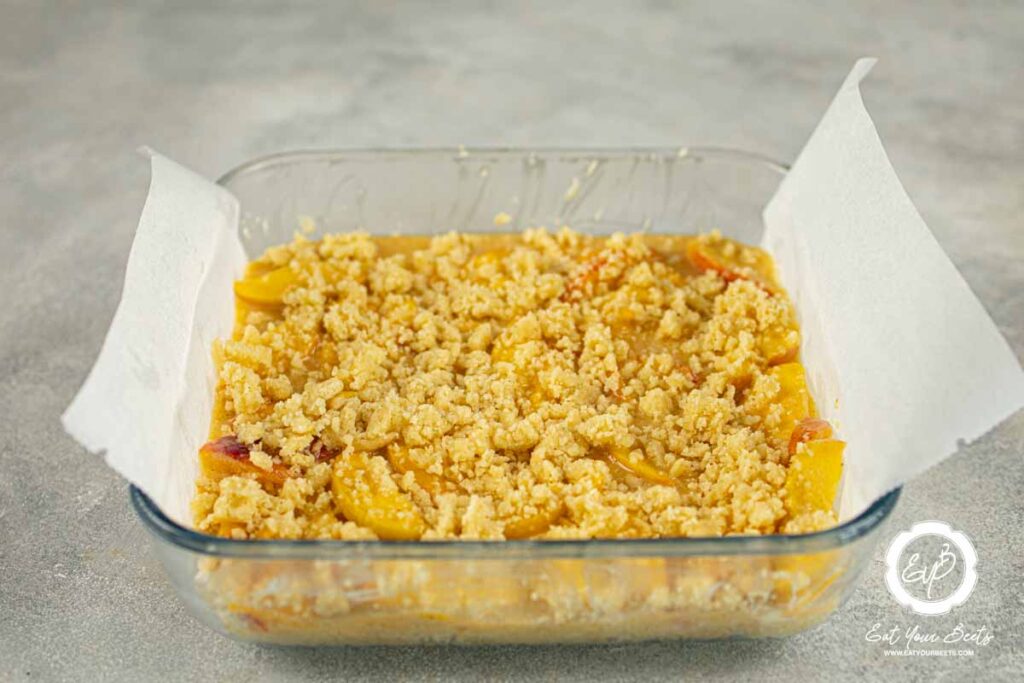
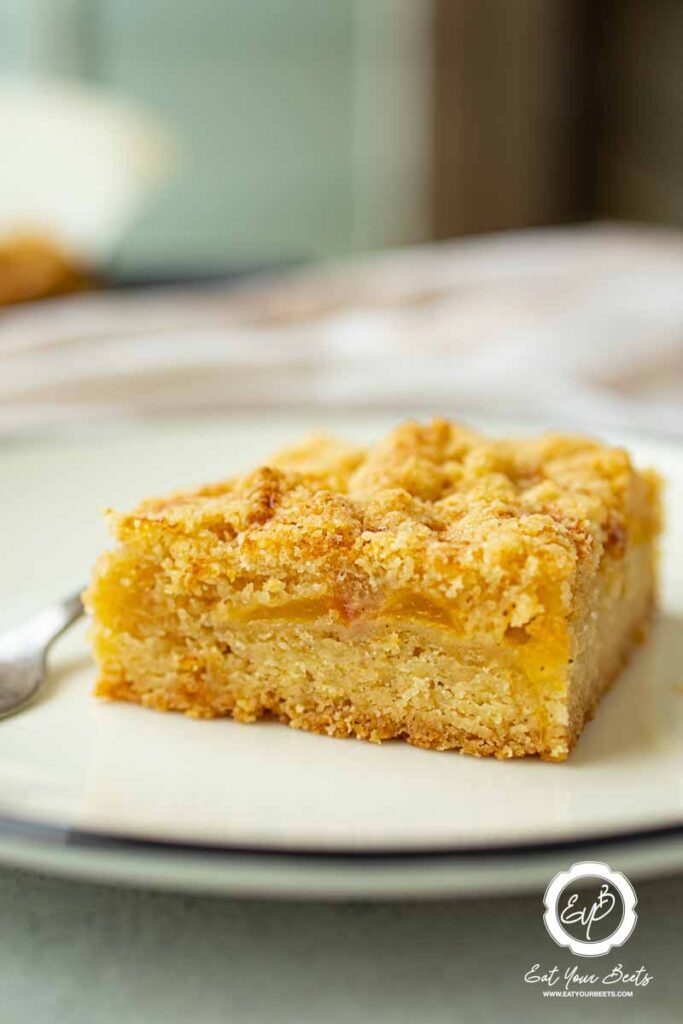
- Banana Cream Pie Bars: I made these once for Sylvia's school bake sale and they were a total hit. Just press crust into a square pan, layer the filling, chill, and cut into bars. Top with whipped cream for cute, crowd-ready treats!
For more nostalgic favorites, check out my Honey Bun Cake With Vanilla Glaze or Chocolate Covered Bananas.
🔪How To Make Old Fashioned Banana Cream Pie
- Step 1: Begin by placing the pie crust into your baking dish. Bake blind for 12-15 minutes or until the crust is golden. Allow to cool completely whilst making the remaining ingredients.

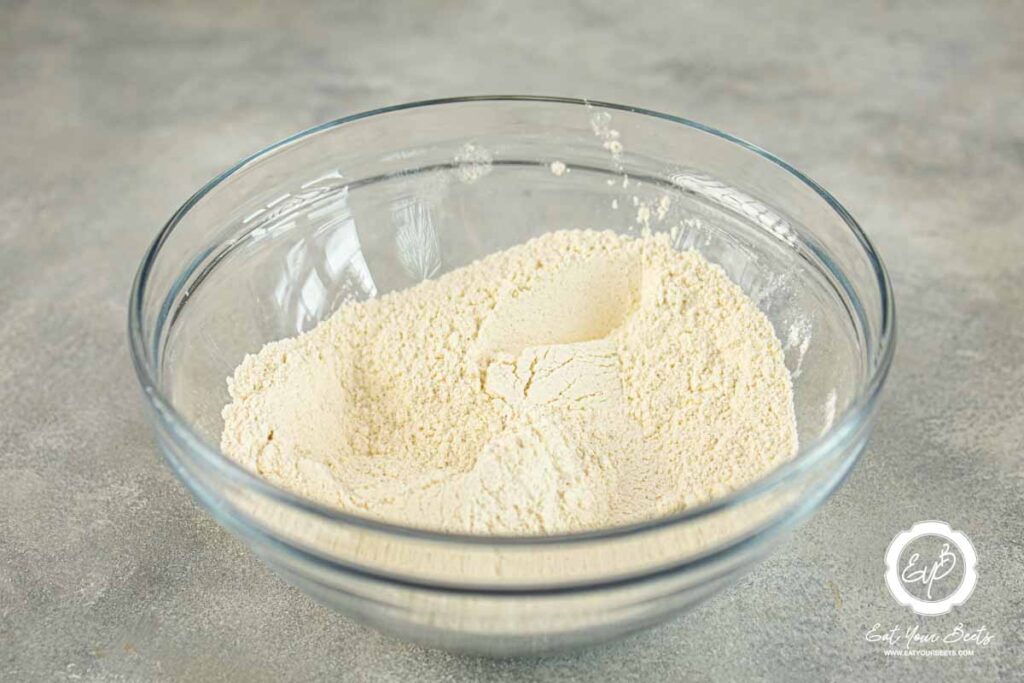
- Step 2: Measure out the milk. In a small saucepan, scald milk by heating until just before it boils. In a medium saucepan, combine dry ingredients.

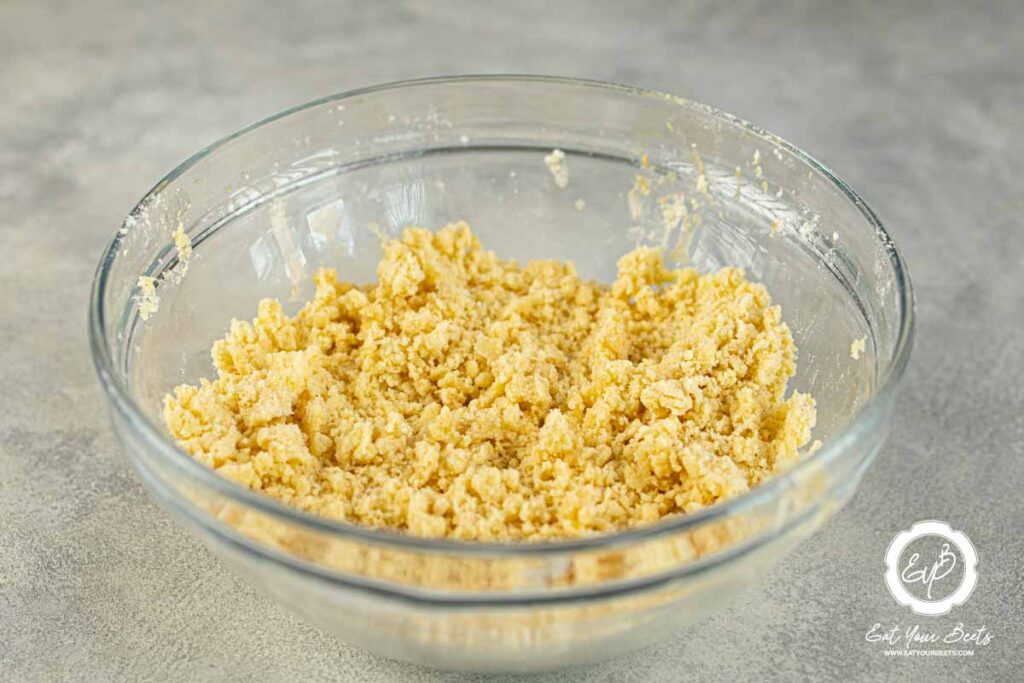
- Step 3: Gradually stir in hot milk to dry ingredients and cook over medium heat until thickened (2-3 minutes). In a small bowl, slightly beat the eggs. Temper the eggs by adding a small amount of the hot mixture to the eggs, and mix until well combined.

- Step 4: Then add eggs into the hot mixture and cook 1 minute longer (stirring constantly).

- Step 5: Remove from heat and add the vanilla and butter. Let mixture cool until lukewarm.
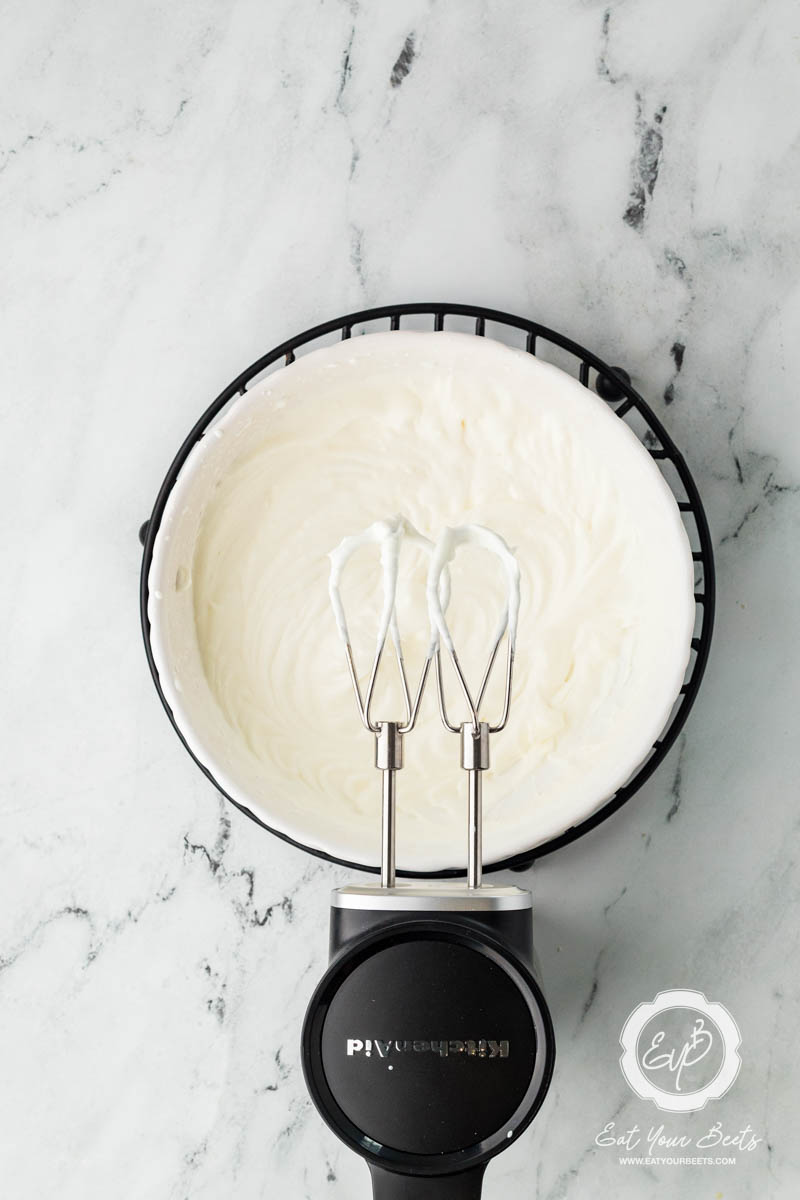
- Step 6: In a stand mixer or bowl, beat heavy cream to soft peaks. Add sugar to taste.

- Step 7: Line the crust with banana slices.

- Step 8: Pour in the custard. Top with whipped cream.

- Step 9: Refrigerate for at least 30 minutes.
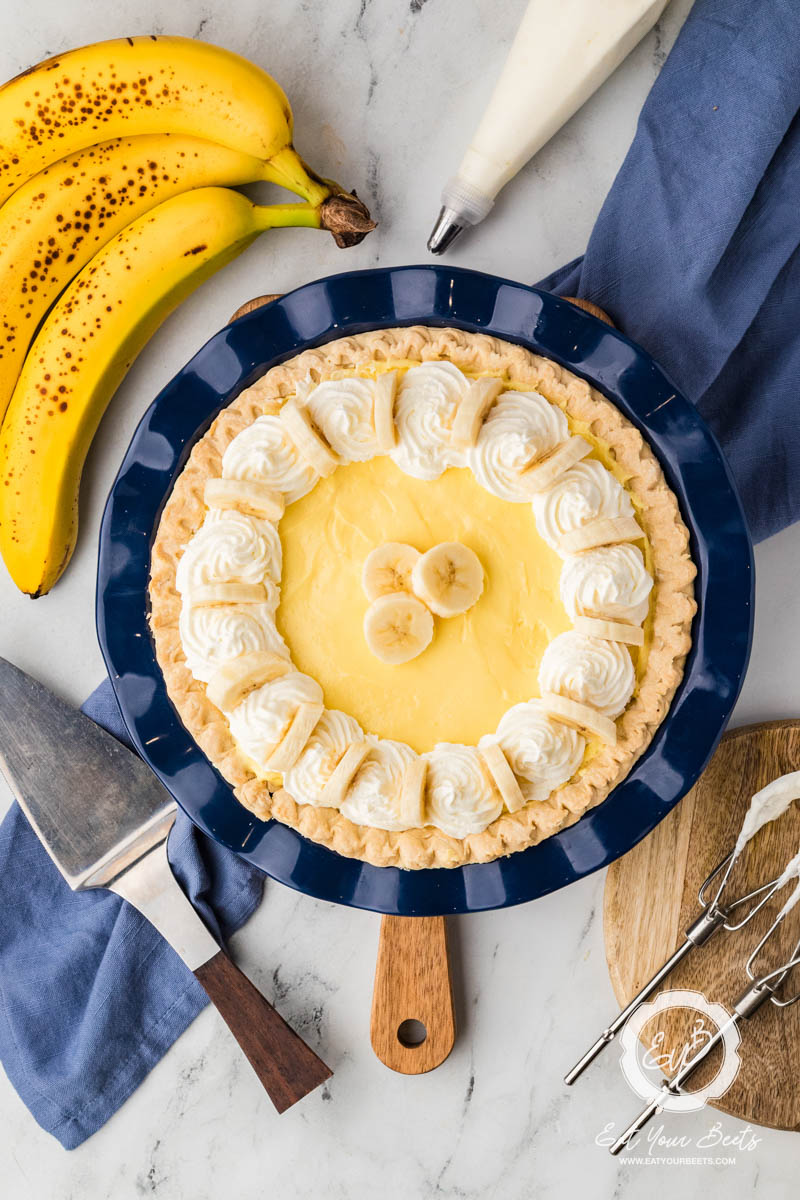
- Step 10 : Once set add cream and banana.

- Step 11: Your banana cream pie is now ready to serve.
💡Hint: Layering bananas under the custard keeps them from browning and helps the pie slice beautifully.
👩🍳 Expert Tips
- Make-Ahead Banana Trick: If prepping the bananas in advance, toss the slices gently in a mix of lemon juice and maple syrup. The lemon prevents browning, and the syrup keeps the flavor mellow, not tangy.
- Even Banana Slices: Use a mandoline or sharp knife for even slices makes a big difference in presentation.
- Whipped Cream Upgrade: Add a splash of vanilla or maple syrup for an extra flavor boost.
💭 FAQs
I would not recommend this. The bananas and custard tend to separate and turn watery after thawing. This recipe is so good it's highly likely there wont be any leftovers!
A traditional butter crust, fully blind-baked and cooled, is ideal. You can also use graham cracker crust for a no-bake option.
Yes! Prep the crust, custard, and whipped cream separately. Assemble the day of for best texture.
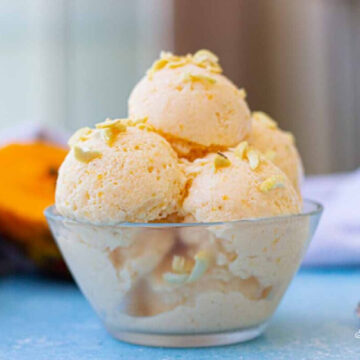
We love both crustless pumpkin pie and this banana pie. It really depends on your vibe! Banana pie is cool, creamy, and perfect for spring and summer. Pumpkin pie brings that warm, spiced coziness we all crave in fall. Honestly? They both deserve a spot on your table, just not at the same dinner.
💖 Serving Suggestions
Here are some great ways to serve your classic banana dessert:
- Fresh Kiwi Fruit Salad – Berries and citrus add color and contrast.
- Cinnamon Spiced Nuts – Crunchy candied pecans or almonds are a perfect match.
- Iced Coffee or Chai – A lightly spiced drink balances the sweetness.
- Mini Chocolate Cups – Serve pie slices with a tiny chocolate shot for a fun twist.
- Berry Coulis Drizzle – A swirl of raspberry or blueberry sauce makes it look fancy!

🍽 More Delicious Desserts To Try


Did you make this recipe? Leave a review and a ⭐⭐⭐⭐⭐ rating below, or tag us in our Facebook Group! Alternatively, bookmark it in your browser or save to Pinterest.

Old Fashioned Banana Cream Pie
Ingredients
- 1 Pie Crust Baked
- 3 Cups Milk I Used Skim
- 1 Cup Sugar
- ⅓ Cup Flour
- ¼ teaspoon Salt
- 3 Bananas Sliced
- 3 Eggs
- 2 tablespoon Butter
- 1 teaspoon Vanilla
Instructions
- Begin by placing the pie crust into your baking dish. Bake blind for 12-15 minutes or until the crust is golden. Allow to cool completely whilst making the remaining ingredients.
- Measure the milk and heat it in a small saucepan until just before boiling.
- In a medium saucepan, combine dry ingredients. Gradually stir in the hot milk and cook over medium heat, stirring constantly, until the mixture thickens (about 2-3 minutes).
- In a small bowl, lightly beat the eggs. Gradually add some hot mixture to the eggs, stirring until smooth. Return the egg mixture to the saucepan, cook for 1 minute while stirring, then remove from heat. Stir in vanilla and butter, and let cool to lukewarm.
- While the filling cools, whip 8 oz of heavy cream in a stand mixer or by hand until soft peaks form. Add sugar (or powdered sugar) to taste.
- Slice the bananas and place them in the baked pie crust.
- Pour the cooled filling over the bananas and top with whipped cream. Chill in the fridge for at least 30 minutes before serving. Enjoy!