
Craving a creamy, chocolatey milkshake that’s totally dairy-free and wildly delicious? This Vegan Oreo Milkshake made with oat milk is it. It’s thick, dreamy, and ready in 5 minutes flat—just toss in a few ingredients and blend away.

This plant based milkshake is everything a non dairy milkshake should be—sweet, creamy, and totally indulgent. Perfect for hot days or when you need a fast oat milk dessert to impress the kids.
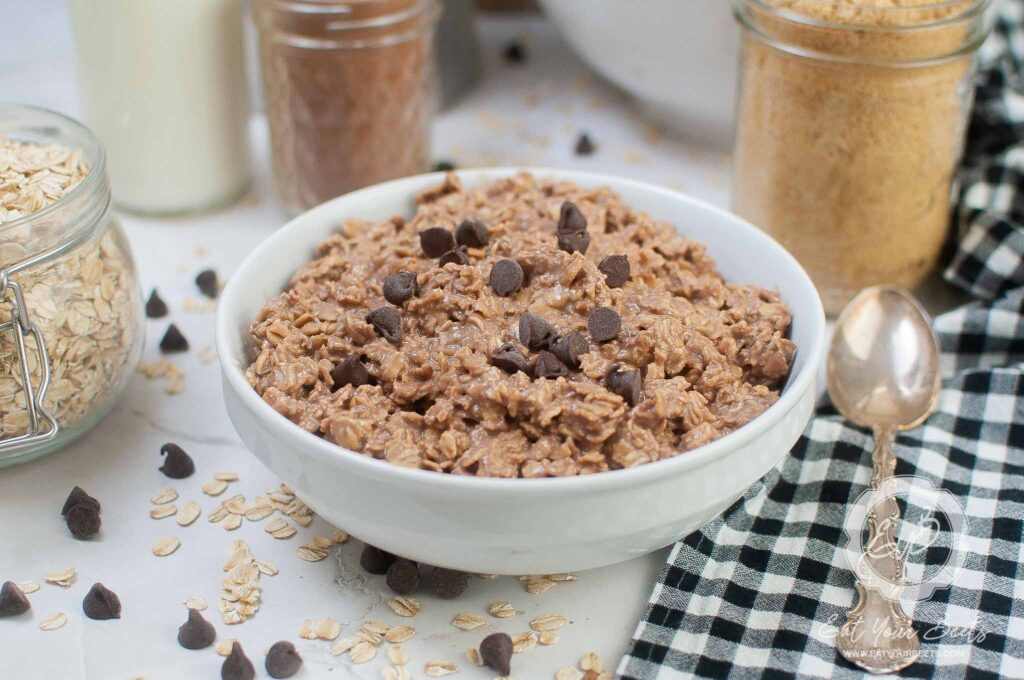
Want more vegan-friendly sweet treats? Don’t miss my Chocolate Overnight Oats or Banana and Beetroot Smoothie!
[feast_advanced_jump_to]💖 Why This Recipe Works
- Creamy without the dairy – Oat milk and vegan ice cream = lush, rich texture.
- Quick and fuss-free – This vegan oreo milkshake needs just 4 ingredients and 5 minutes.
- Kid-approved and totally nostalgic – Tastes like childhood, but all grown up and plant-based.
Spoiler alert: this one made my picky daughter do a happy dance—and that’s saying something.
⭐ Star Ingredients

You'll need just 4 simple ingredients for this thick Oreo milkshake recipe.
- Vegan Vanilla Ice Cream – I go for coconut-based for that extra thick, creamy scoop. Almond works too if you want it lighter.
- Oreos – Roughly crushed for that classic cookies-and-cream vibe. I never measure—I just throw in “a generous handful” and call it a day.
- Oat Milk – Oat Milk – Naturally thick and slightly sweet, oat milk is hands-down the best for milkshakes. I’ve tested almond and soy, but oat milk gives that rich, creamy finish every time. Want to make homemade oat milk? Blend 1 cup oats with 4 cups cold water, strain, and chill—it’s easy and extra creamy.
- Vegan Chocolate Chips (Optional) – For a “double chocolate Oreo” situation. Toss them in the blender or use them as a chunky topping!
For the complete list of ingredients with measurements and instructions, please see the recipe card at the bottom of the post.
📖 Substitutions & Variations
- Minty Vibes – Use mint Oreos for a fresh twist.
- Strawberry Swirl – Blend with strawberry ice cream instead of vanilla.
- Caramel Drizzle – Top with my Instant Pot Caramel Sauce for a decadent touch.
- Protein Boost – Add a scoop of vegan protein powder for a post-workout treat.
🍪 Need Gluten Free Biscuits?
Swap the Oreos for Kinnikinnick or Back to Nature gluten-free sandwich cookies (U.S.), or if you're in New Zealand, try Lotus Biscoff or Griffins Chocolate Thins—just check the label, as many are accidentally vegan!
🧋Blender Tips: What Works Best?
- Vitamix – Perfect for that ultra-smooth milkshake finish. It easily blends frozen ice cream and cookie chunks without needing to stir or scrape down.
- Ninja – I actually use a Ninja at home, and it works like a charm for this milkshake. Just let the vegan ice cream soften for a minute or two, and it blends everything up perfectly—even when I sneak in extra Oreos or chocolate chips.
- Bullet Blenders – Totally works for single servings! Crush your Oreos beforehand and pulse to keep things from getting too thick to blend.
💡 Pro Tip: For the creamiest result, layer oat milk first, then ice cream, then cookies—this helps prevent air pockets and blends faster!
🔪 How To Make Vegan Oreo Milkshake

- Step 1: In a blender add the ice cream, milk, Oreos and chocolate chips and mix until smooth. You can also add some vanilla extract if you want to, for a more pronounced vanilla flavor.

- Step 2: Pour in a glass and serve immediately. Enjoy

💡Love thick shakes? Use less oat milk, add a handful of ice, or throw in a frozen banana. Want it drinkable? Use more oat milk and skip the ice.
👩🍳 Expert Tips
- Use Barista-Style Oat Milk: It’s thicker and makes your milkshake creamier.
- Freeze Your Oreos: Cold cookies crush up better and keep the shake chilled.
- Add Ice: Want it frostier? Blend with 3–4 ice cubes for a milkshake-meets-frozen-dessert texture.
💭 FAQs
Yes, classic Oreos don’t contain dairy or animal ingredients, but they are processed in facilities that handle milk. Always check the label if you're highly sensitive.
Absolutely! You can use various plant-based milks such as almond, soy, or cashew. Each type will slightly alter the flavor and creaminess of your milkshake, so choose one that suits your taste.
To thicken your milkshake, use less oat milk or add ice cubes. For extra creaminess, blend in frozen fruit or swap some liquid for vegan yogurt or more ice cream.
This milkshake is best served fresh, but if you must save it, store in the freezer for up to a week. Let it thaw for 10–15 minutes or blend with a splash of oat milk to refresh.
You can blend it up, freeze in a shallow container, then re-blend with a splash of oat milk right before serving. It’s a great make-ahead dessert for summer BBQs or birthdays.

💖 Serving Suggestions
- Party Style – Serve in mason jars with colorful straws and a cookie on top for a fun treat bar.
- Paired with a Sweet Bite – Enjoy with my Chocolate Covered Bananas or Zucchini Chocolate Chip Muffins for the full dessert experience.
🎉 Shake It Up:
Want to make it extra? Try one (or all) of these topping ideas:
- Oreo crumb rim (just press crushed Oreos around the glass edge).
- Coconut whipped cream (store-bought or homemade!)
- Chocolate or caramel swirl.
- Vegan rainbow sprinkles.
🍽 More Tasty Dessert Ideas


Did you make this recipe? Leave a review and a ⭐⭐⭐⭐⭐ rating below, or tag us in our Facebook Group! Alternatively, bookmark it in your browser or save to Pinterest.

Best Vegan Oreo Milkshake
Ingredients
- 2 cups Vegan Vanilla Ice Cream I used So Delicious vanilla bean coconut milk
- ½ cup Vegan Milk I used oat milk
- 10 Oreos
- ⅓ cup Vegan Semi Sweet Chocolate Chips
Instructions
- In a blender add the ice cream, milk, Oreos and chocolate chips and mix until smooth.
- You can also add some vanilla extract if you want to, for a more pronounced vanilla flavor.
- Pour in a glass and serve immediately. Enjoy!