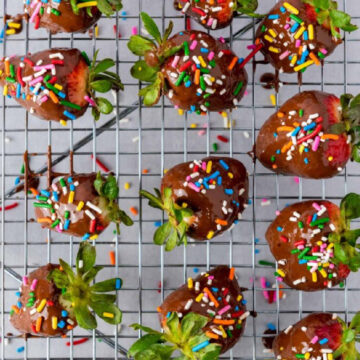
These vegan Chocolate Covered Strawberries are sweet, juicy and chocolatey all at the same time. They're the perfect indulgent dessert or sweet treat to make when you're hit by a sweet craving, but still don't want to go overboard and indulge.

Why This Recipe Works
- Healthy: My favorite part about making chocolate-dipped strawberries is the fact that they're actually a healthier option than most other desserts out there.
- Delicious: By simply coating the fresh strawberries in some melted chocolate, we've turned them into next-level delicious.
- Great For Valentines: These chocolate dipped strawberries can be a perfect Valentine's Day treat too!

🥘 Ingredients

You'll need just three simple ingredients to make chocolate-covered strawberries.
- Strawberries: The star of the show, providing natural sweetness and a juicy, tart contrast to the chocolate.
- Vegan chocolate chips: Serve as the rich, sweet coating for the strawberries.
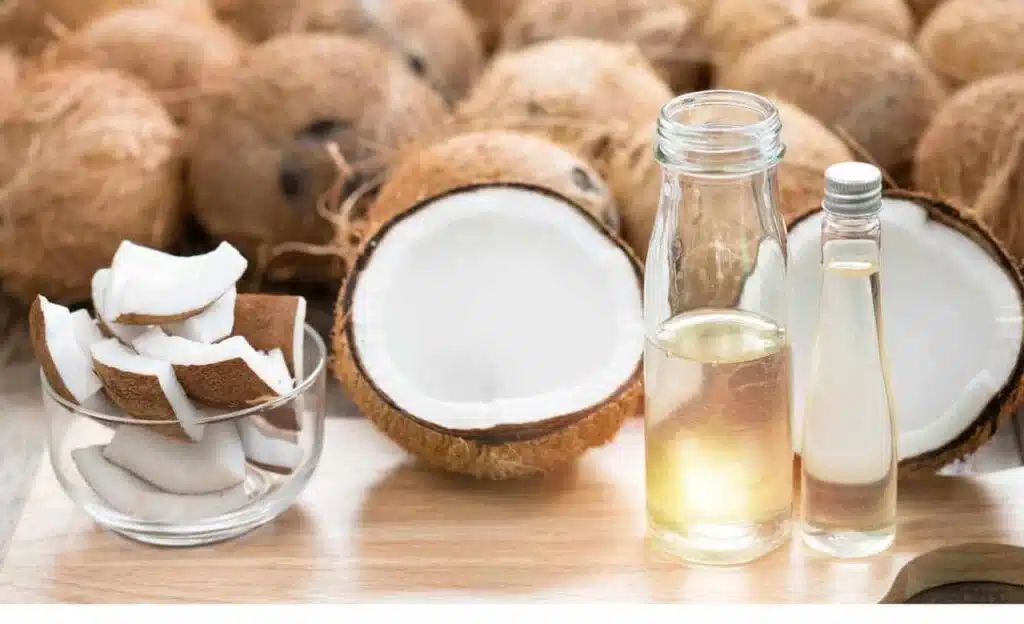
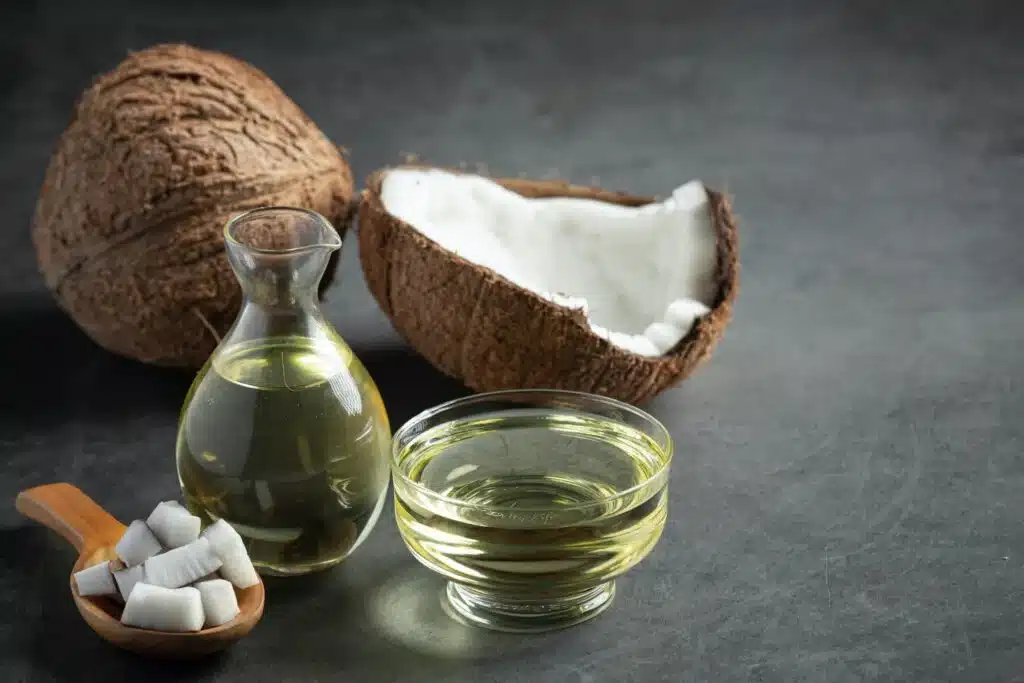
- Coconut oil: Helps the chocolate harden into a crisp shell, enhancing the texture contrast.
For the complete list of ingredients with measurements and instructions, please see the recipe card at the bottom of the post.
📖 Substitutions & Variations
- You can bring in tons of variations to this easy chocolate covered strawberries recipe by adding different toppings and using different kinds of chocolate.
- You can try dipping strawberries in dark chocolate or white chocolate- or both!
- You can also choose to top the chocolate covered strawberries with your desired toppings to bring some more flavors and textures into the picture.
- Chopped nuts, sprinkles and shredded coconut are some good choices for these and other chocolate dipped fruits.
🔪 How To Make Chocolate-Covered Strawberries
Once you have all your ingredients ready, here's what you will need to do to make chocolate-covered strawberries.

Step One: Melt chocolate chips and the coconut oil in the microwave for about 2 minutes, or until completely melted. Whisk together until well combined.

Step Two: Dip the strawberries in the melted chocolate, make sure to keep the green stems clean. Let them rest on a baking sheet with parchment paper or wax paper to catch the excess chocolate drip.

Step Three: Let them rest on a baking sheet with parchment paper or wax paper to catch the excess chocolate drip. Before the chocolate sets, sprinkle your favorite colorful sprinkles over the coated strawberries for an extra touch of fun and flavor.

Step Four: Put them in the fridge to let the chocolate harden for at least 30 minutes. Once the chocolate has hardened, enjoy, or keep refrigerated.

👩🍳 Expert Tips
- Remember to use a microwave-safe bowl to melt the chocolate. If you don't want to use the microwave, you can use a double boiler. Just remember to stir constantly when the chocolate is being melted.
- To get the perfect chocolate-dipped strawberries, use high-quality chocolate for the chocolate coating. Gourmet chocolate is a great choice.
- Make sure the strawberries are completely dry before you dip them in the melted chocolate. This will ensure that the berries are perfectly coated. You can use a paper towel to wipe off all the excess water from the surface.
- For best results, use semi-sweet chocolate instead of the sweetened variety. This will help the natural sweetness of the fresh strawberries shine through.
- You can use frozen strawberries for this recipe too, if that's what you have at hand. Just remember to get them at room temperature before you use them for the recipe.
- Remember to add toppings on the chocolate-dipped strawberries while the chocolate still hasn't set yet.
- To minimize the mess and clean up afterward, I would highly recommend setting a sheet pan lined with waxed paper under the wire rack. This prepared baking sheet will catch all the excess chocolate dripping off the strawberries.
💭 FAQs
Yes, dark chocolate is an excellent choice for vegan chocolate-covered strawberries. It pairs wonderfully with the sweetness of the strawberries and adds a rich flavor. However, if you plan to use food coloring for decoration, note that it may not show up well on dark chocolate.
While it's not strictly necessary, refrigerating the dipped strawberries helps the chocolate set faster. At room temperature, the chocolate will harden, but it may take longer, especially if it's warm in your kitchen. Refrigeration also ensures the chocolate maintains a firm texture.
It's best to use fresh strawberries. Frozen strawberries tend to release moisture as they thaw, which can make the chocolate coating less effective and may result in a soggy texture.
If the chocolate begins to harden in your dipping bowls, gently reheat it. Place the bowl in the microwave for 10-15 seconds, or use a double boiler method to warm it up until it reaches a smooth, pourable consistency again.
You can freeze chocolate covered strawberries in an airtight container for 3-4 days, if not more. If you have any leftovers, you can pop them in the refrigerator for a day.
🧂Serving Suggestions
These are some of the best desserts to serve with chocolate covered strawberries:
- Whipped Cream: A dollop of freshly whipped cream adds a light and creamy contrast to the richness of the chocolate.
- Vanilla Ice Cream: Serve the chocolate-covered strawberries alongside a scoop of creamy vanilla ice cream for a classic and indulgent dessert.
- Crushed Nuts: Roll the chocolate-dipped strawberries in finely chopped nuts like almonds, hazelnuts, or pistachios for added texture and flavor.

🍽 Related Recipes


Did you make this recipe? Leave a review and a ⭐⭐⭐⭐⭐ rating below, or tag us in our Facebook Group! Alternatively, bookmark it in your browser or save to Pinterest.

Chocolate Covered Strawberries
Ingredients
- 1 lbs. Strawberries
- 5 oz Vegan Chocolate Chips
- 2 tablespoon Coconut Oil
Instructions
- Melt chocolate chips and the coconut oil in the microwave for about 2 minutes, or until completely melted. Whisk together until well combined.
- Dip the strawberries in the melted chocolate, make sure to keep the green stems clean. Let them rest on a baking sheet with parchment paper or wax paper to catch the excess chocolate drip.
- Put them in the fridge to let the chocolate harden for at least 30 minutes. Once the chocolate has hardened, enjoy, or keep refrigerated.
Notes
Nutrition
More Unique Recipes
If you enjoyed making these easy and delicious chocolate-covered strawberries and are inspired to try some more such unique recipes, here are a few good ones to consider checking out.